This Kids Yarn Christmas Tree Craft DIY is such an easy and fun craft, and you can use them to decorate the house or hand out as gifts to the grandparents!
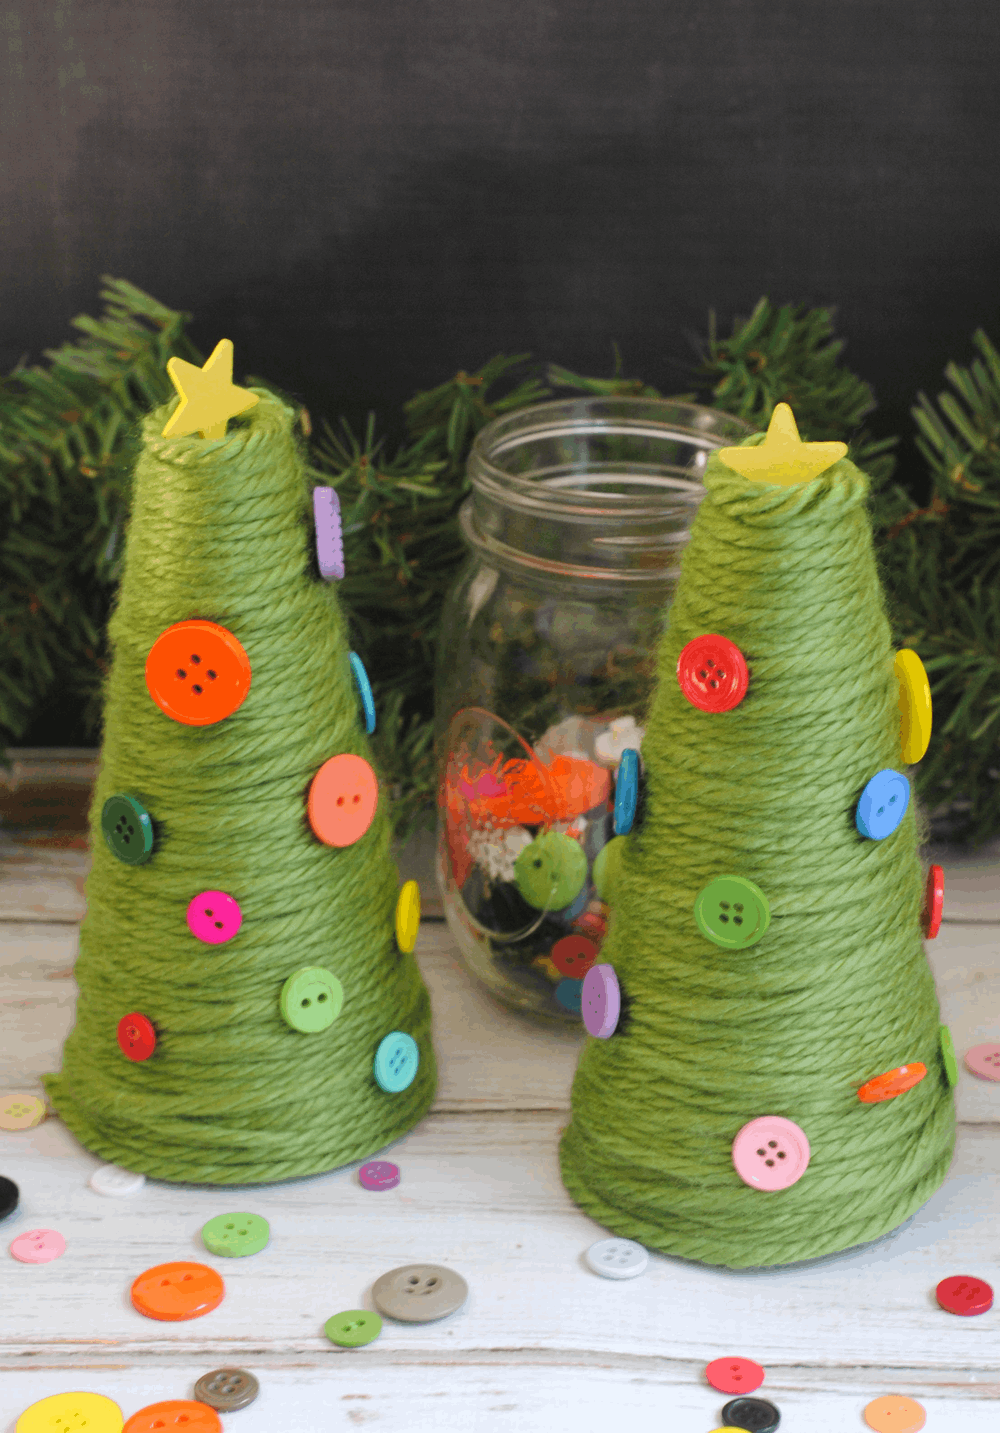
Kids Yarn Christmas Tree Craft DIY
Are you looking for a last minute fun activity to do with the kids now that school is about to let out for winter break?
Give this super easy and fun Homemade Christmas Tree Craft a try and kill two birds with one stone: give the kids something fun to do, AND decorate the house for the holidays!
Where can I find the How To Instruction Card for this Kids Yarn Christmas Tree Craft DIY?
If you’d rather skip all of my tips and important information for this craft, and similar holiday ideas – and get straight to the Kids Yarn Christmas Tree Craft DIY, just scroll right on down to the bottom, where I have a printable How To Instruction card just for you!
Where can I find the recipe card?
If you’d rather skip all of my cooking tips and similar recipe ideas, hit the Jump to Recipe button for the printable recipe card.
Jump to Recipe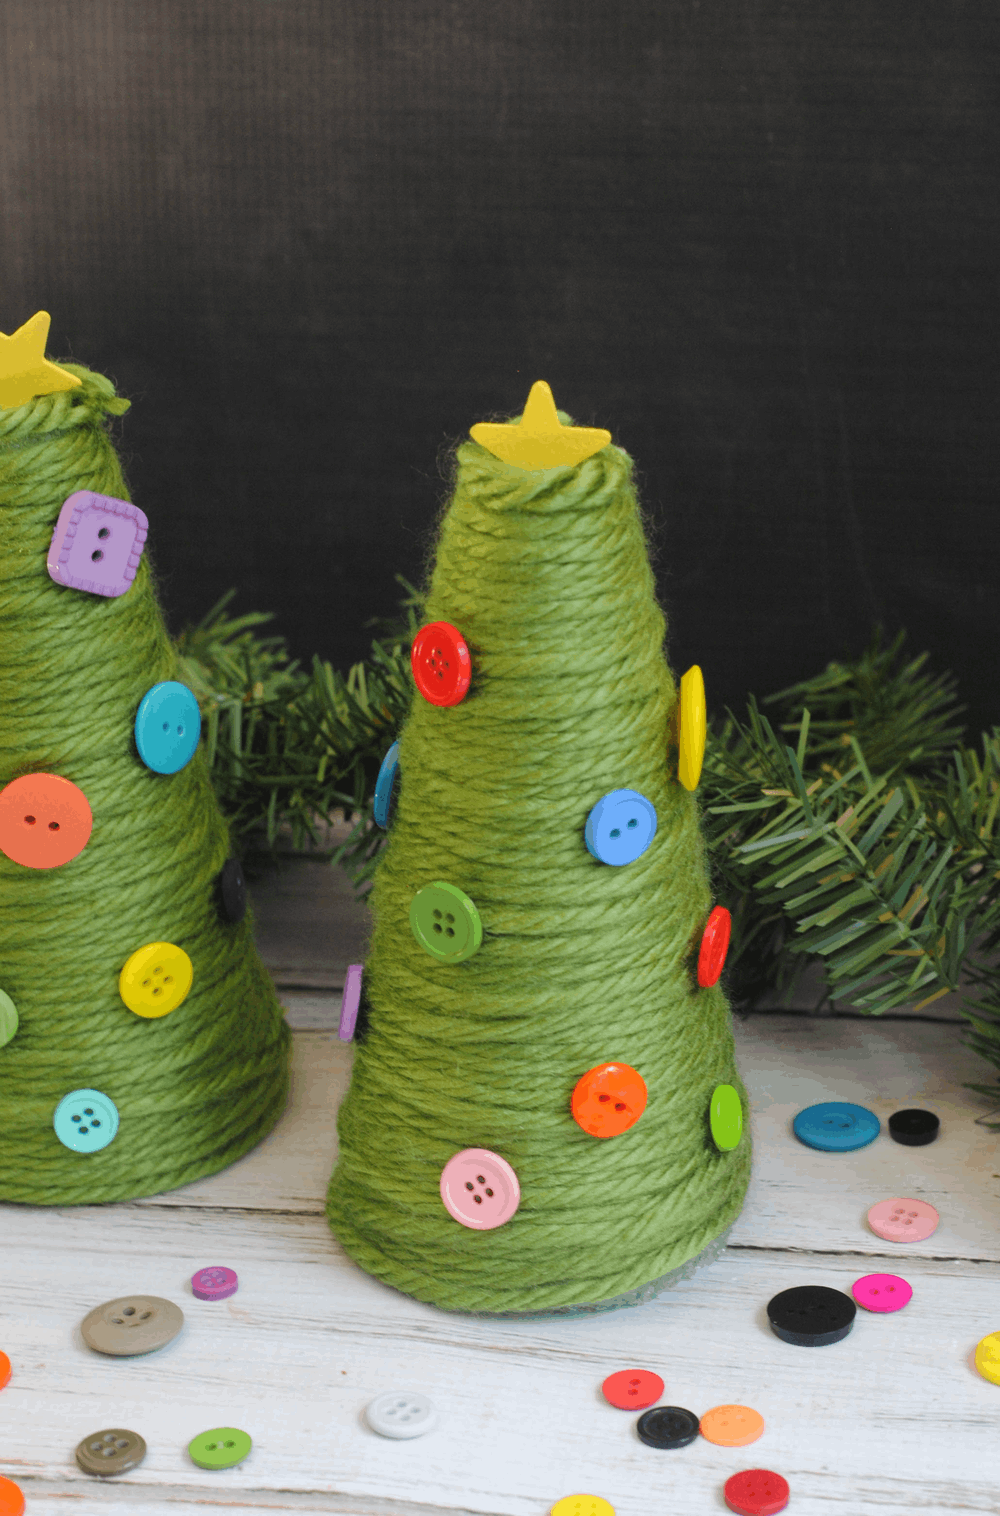
Are you looking for Christmas Recipes to make for your family this year?
Check out these super delicious Christmas recipes that I have shared over the years. Like our Hot Cocoa Cookies Recipe for Santa Claus! I think you will love them all, especially our Cake Mix Christmas Sugar Cookies Recipe!
Christmas Recipes
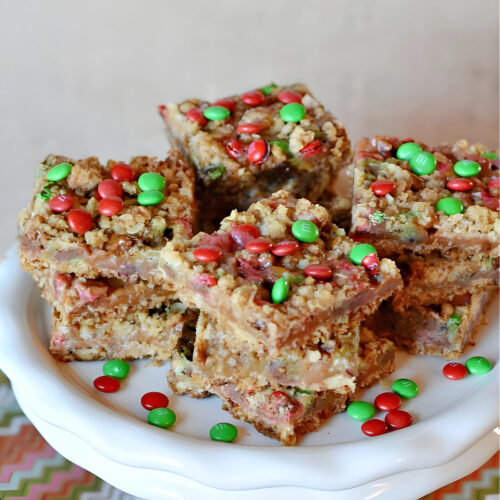
- Christmas Caramel Bars Recipe
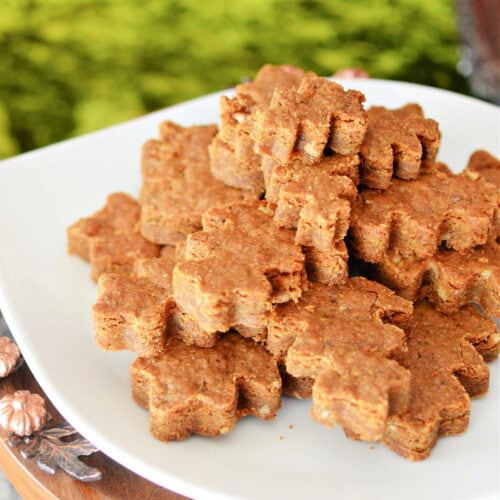
- Christmas Vegan Cookies
- Mocha Crinkle Cookies Recipe
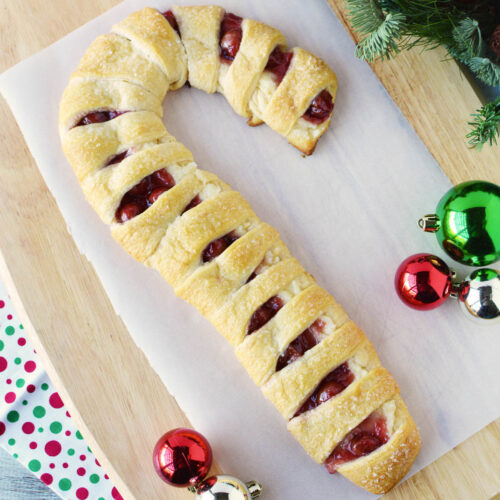
- Crescent Roll Cream Cheese Danish
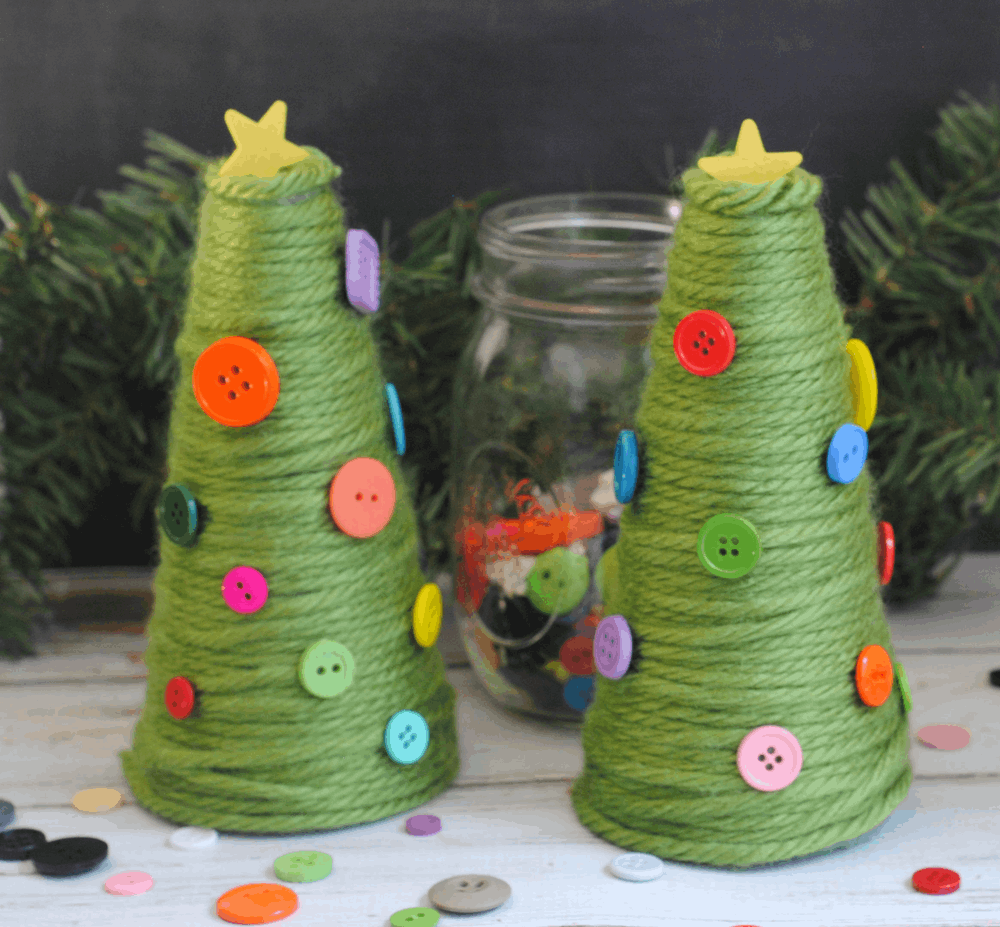
How to Make this Super Easy and Fun Kids Yarn Christmas Tree Craft DIY
Materials needed to make this Kids Yarn Christmas Tree Craft DIY
- 5" foam cones (located in the floral area at major retailers)
- green yarn
- hot glue gun
- small wooden stars
- yellow spray paint or yellow acrylic paint
- small paint brush (if using the acrylic paint)
- buttons in a variety of colors, shapes and sizes
Directions for making this Kids Yarn Christmas Tree Craft DIY
Apply a small dollop of hot glue on the bottom of one of the foam cones.
Place one end of the yarn on the hot glue and then gently wrap it around the cone all the way to the top (see photos).
Once you get to the top, simply wrap the yarn all the way back down to the bottom filling in any gaps you see.
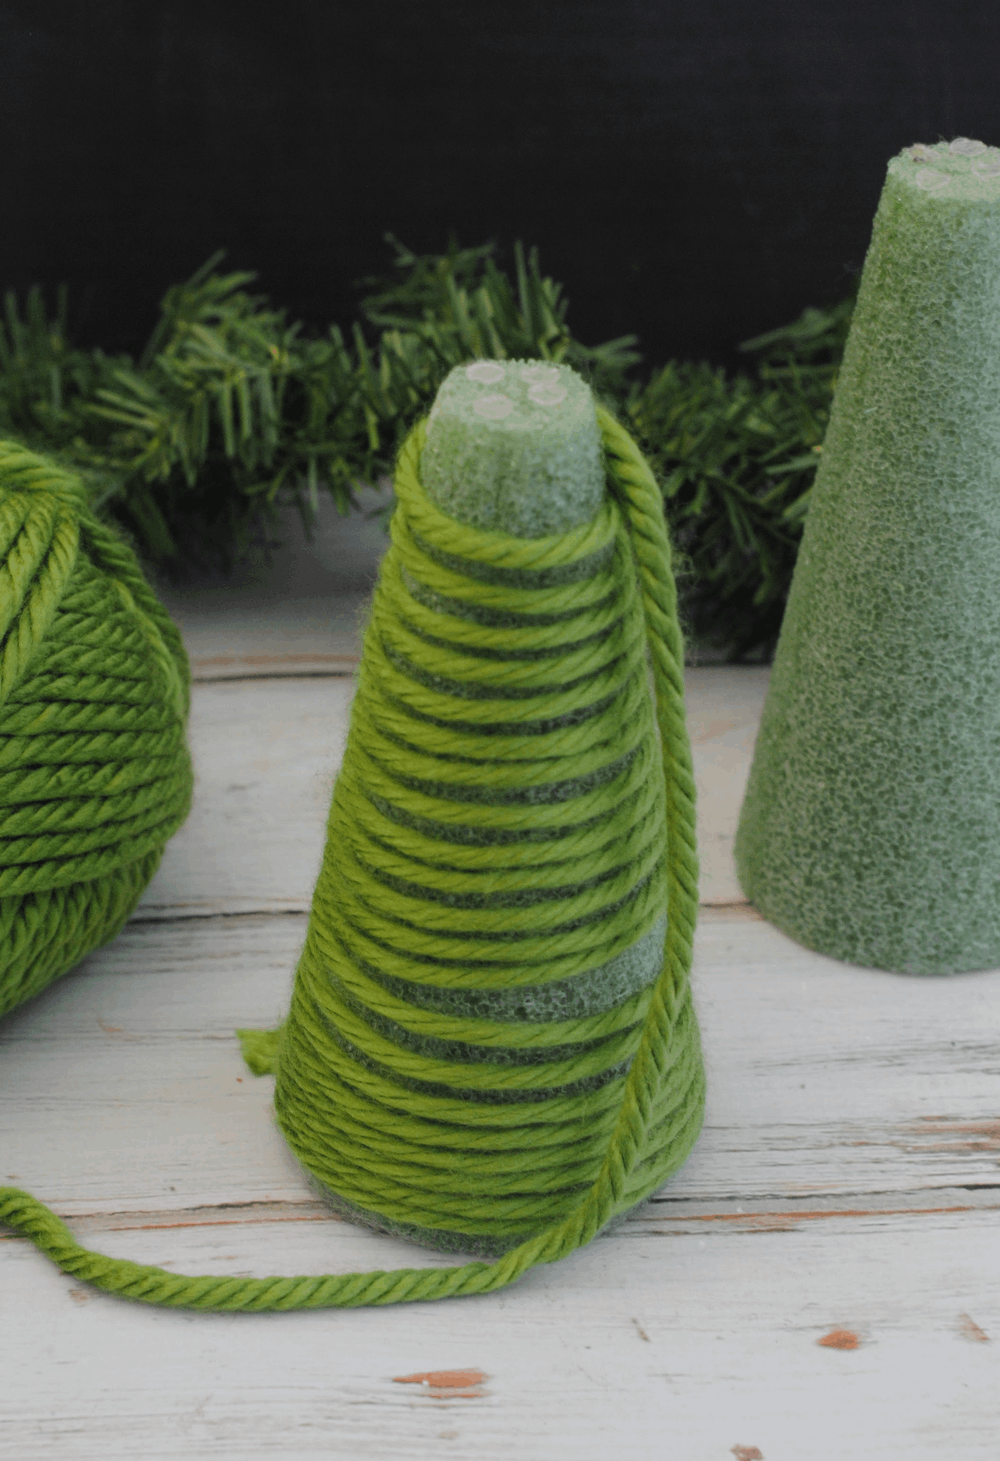
Once the yarn is wrapped top to bottom, place another small dollop of hot glue at the base to hold the yarn and snip the excess.
Paint your small wooden stars yellow and allow them to dry a few hours. Once they are dry, gently stick them into the top of the foam cone.
Take a small strand of excess yarn and gently wrap it around the star to hide the green foam and use the hot glue to hold in place.

Give each button a small dollop of hot glue and place on the tree. I like a variety of sizes and colors, have fun with it!
Repeat with your desired amount of cones.
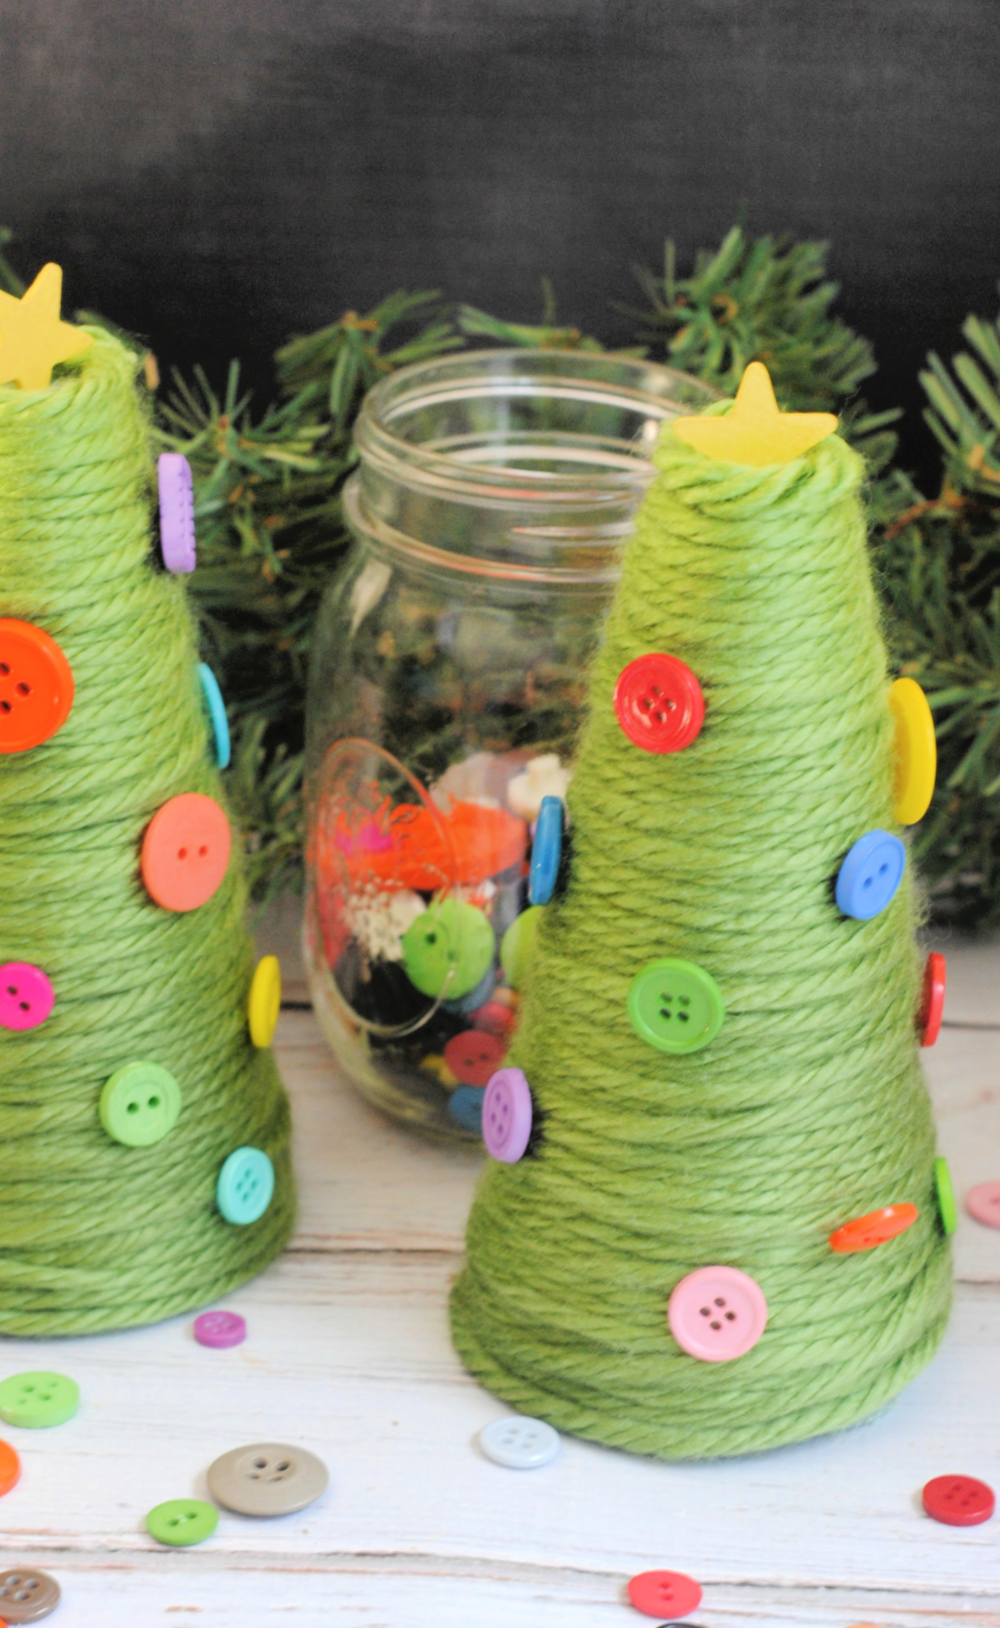
*The foam cones come in a variety of sizes so have fun with it and make a few different size trees!
Share this Kids Yarn Christmas Tree Craft DIY with your friends and family on social media!
If you love this Kids Yarn Christmas Tree Craft DIY as much as we do, please leave me a 5-star review below and help me share this tutorial on Facebook, Twitter and Pinterest!
If you do make the craft, I hope you’ll share that you tried it on Pinterest! I love it SO MUCH when readers share their feedback!
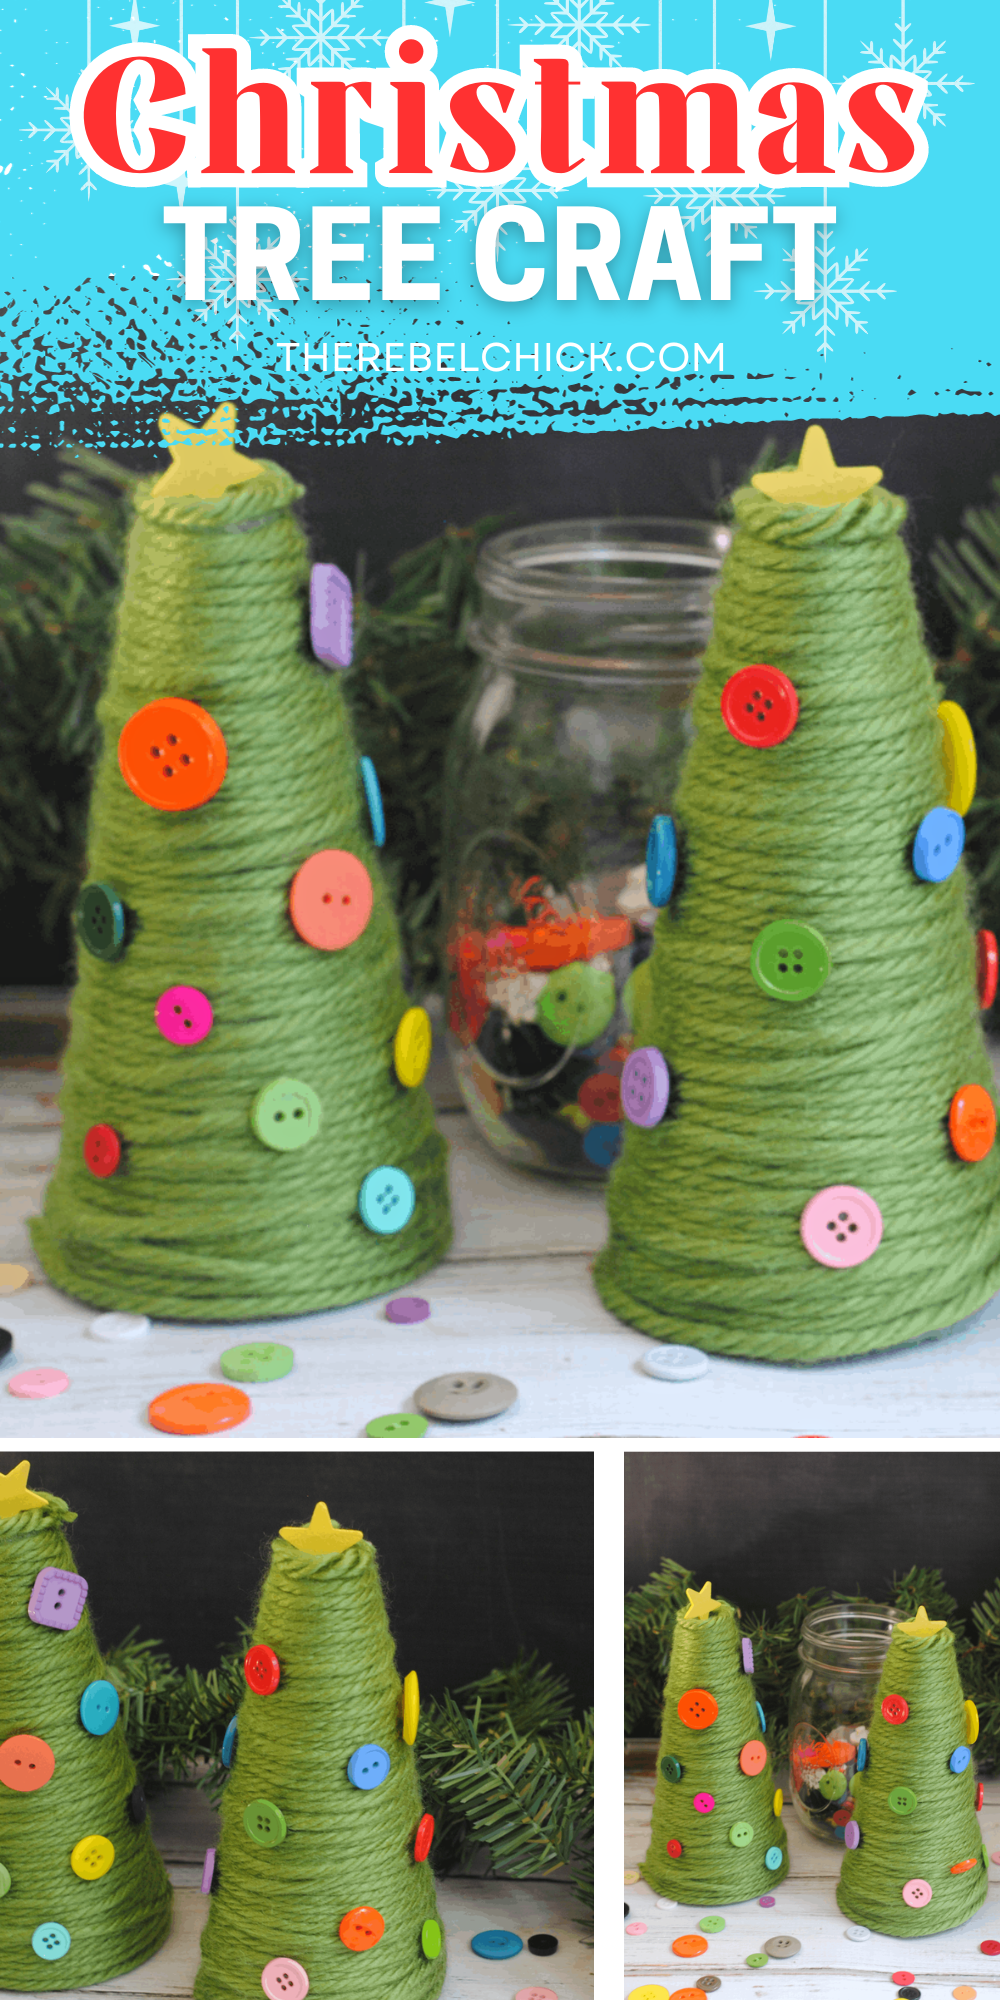
To print this Easy Holiday Kids Craft Tutorial, simply click the recipe card below!
I know that sometimes it is easier to go off a tutorial when it is printed right in front of you. Who wants to swipe their screen on their phone or tablet when their hands are messy? So I love offering this option as well!
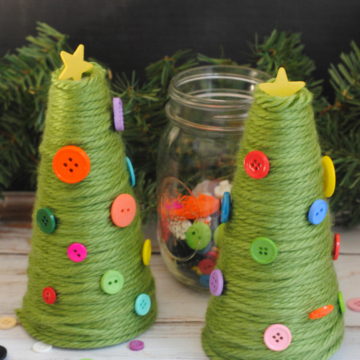
Kids Yarn Christmas Tree Craft DIY
Equipment
- 1 hot glue gun
Ingredients
- 1 5" foam cones located in the floral area at major retailers
- 1 green yarn
- 1 small wooden stars
- 1 yellow spray paint or yellow acrylic paint
- 1 small paint brush if using the acrylic paint
- 1 buttons in a variety of colors shapes and sizes
Instructions
- Apply a small dollop of hot glue on the bottom of one of the foam cones.
- Place one end of the yarn on the hot glue and then gently wrap it around the cone all the way to the top.
- Once you get to the top, simply wrap the yarn all the way back down to the bottom filling in any gaps you see.
- Once the yarn is wrapped top to bottom, place another small dollop of hot glue at the base to hold the yarn and snip the excess.
- Paint your small wooden stars yellow and allow them to dry a few hours.
- Once they are dry, gently stick them into the top of the foam cone.
- Take a small strand of excess yarn and gently wrap it around the star to hide the green foam and use the hot glue to hold in place.
- Give each button a small dollop of hot glue and place on the tree. I like a variety of sizes and colors, have fun with it!
- Repeat with the desired amount of cones.
- *The foam cones come in a variety of sizes so have fun with it and make a few different size trees!












Leave a Reply