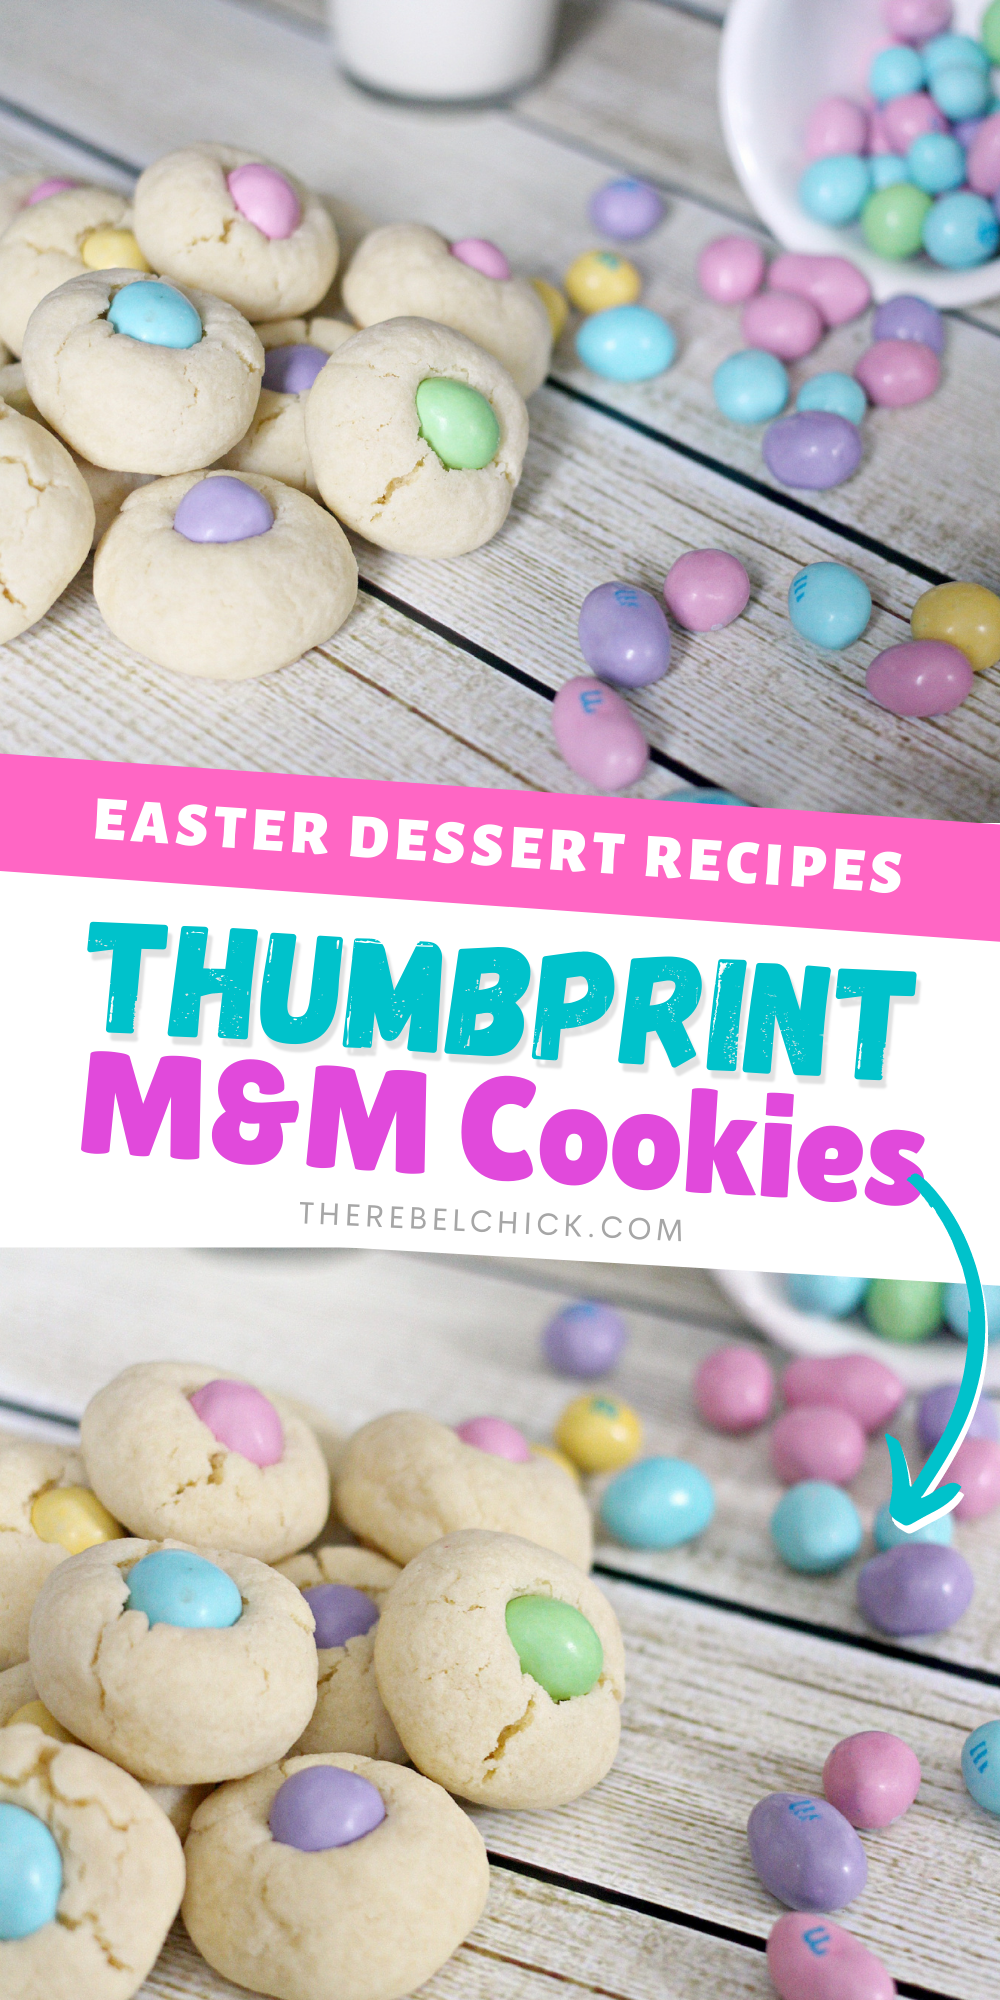
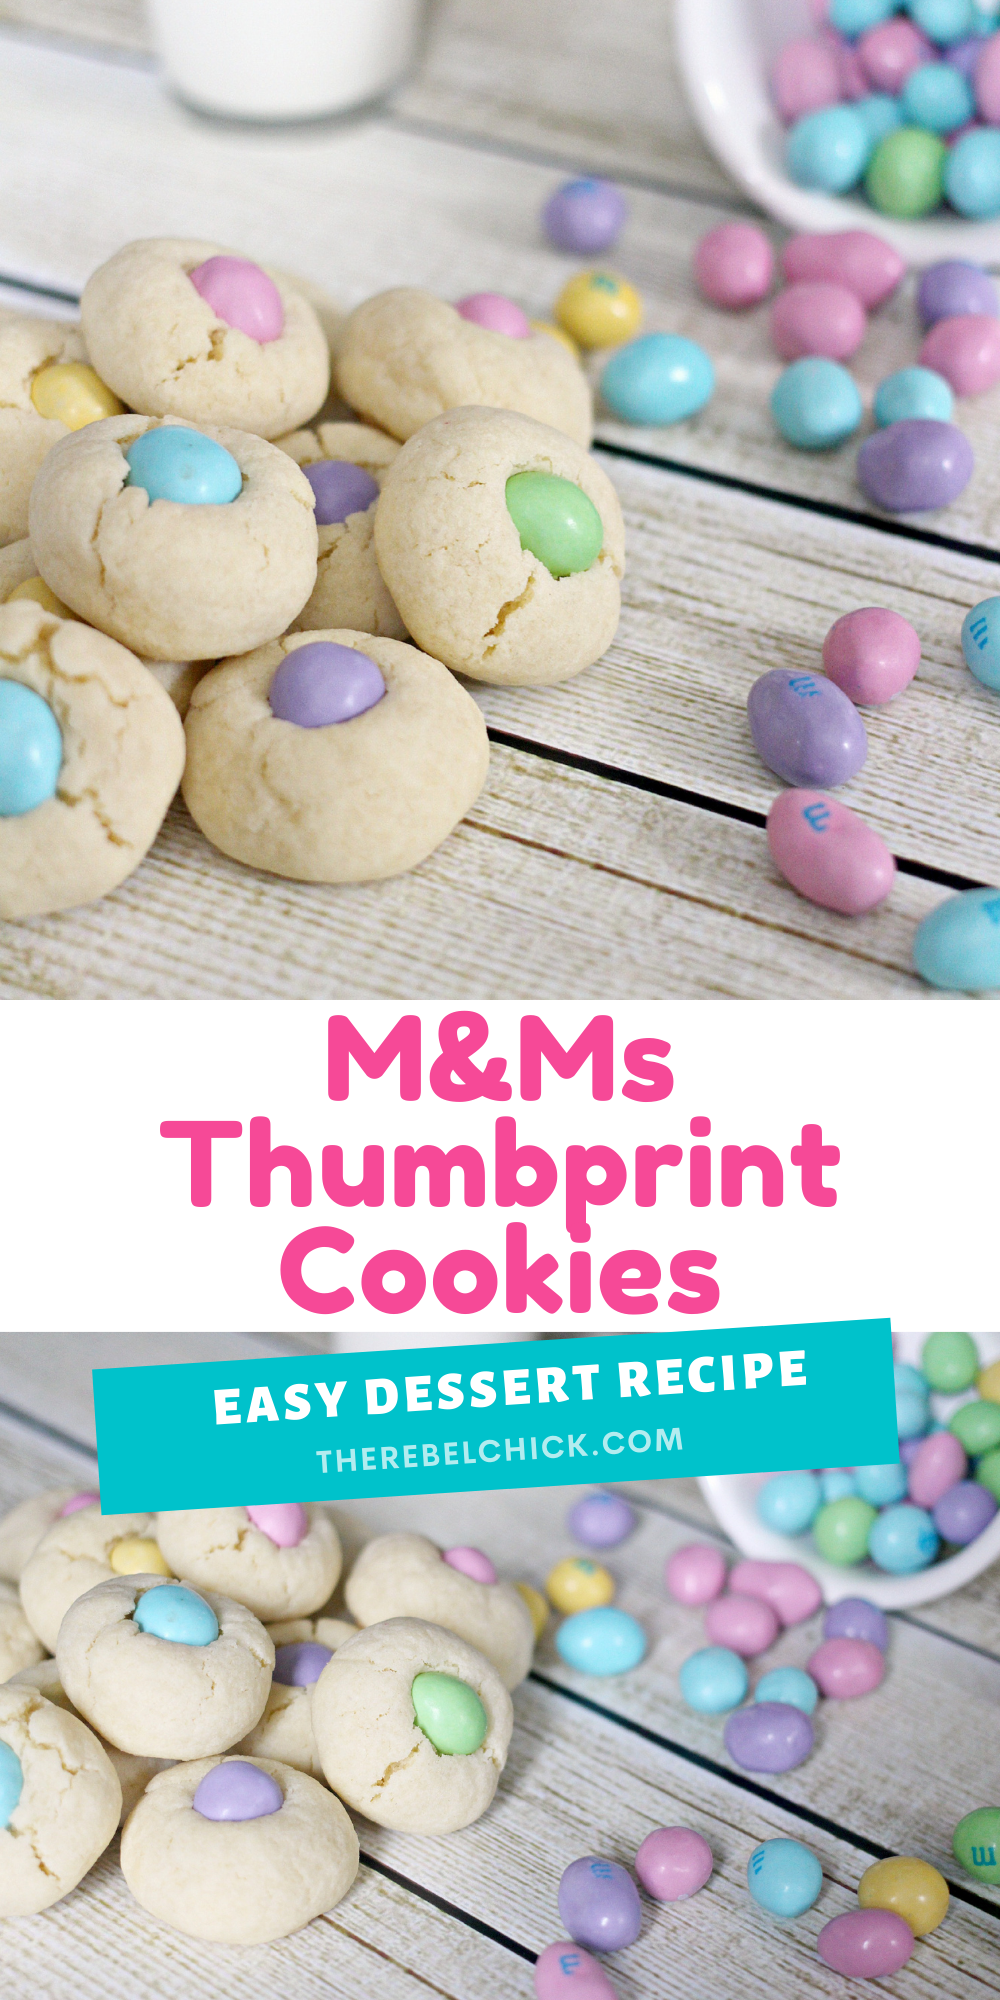
Our Easter Thumbprint Cookies are an easy Easter Cookies recipe made with M&Ms for an easy Easter dessert! Easter is the perfect time to indulge in an Easter cookies recipe, like our easy to make Easter Thumbprint Cookies!
Are you are looking for a recipe for easy thumbprint cookies that will impress your Easter guests? We have you covered with these simple thumbprint cookies!

Why you should make our Easter Thumbprint Cookies Recipe
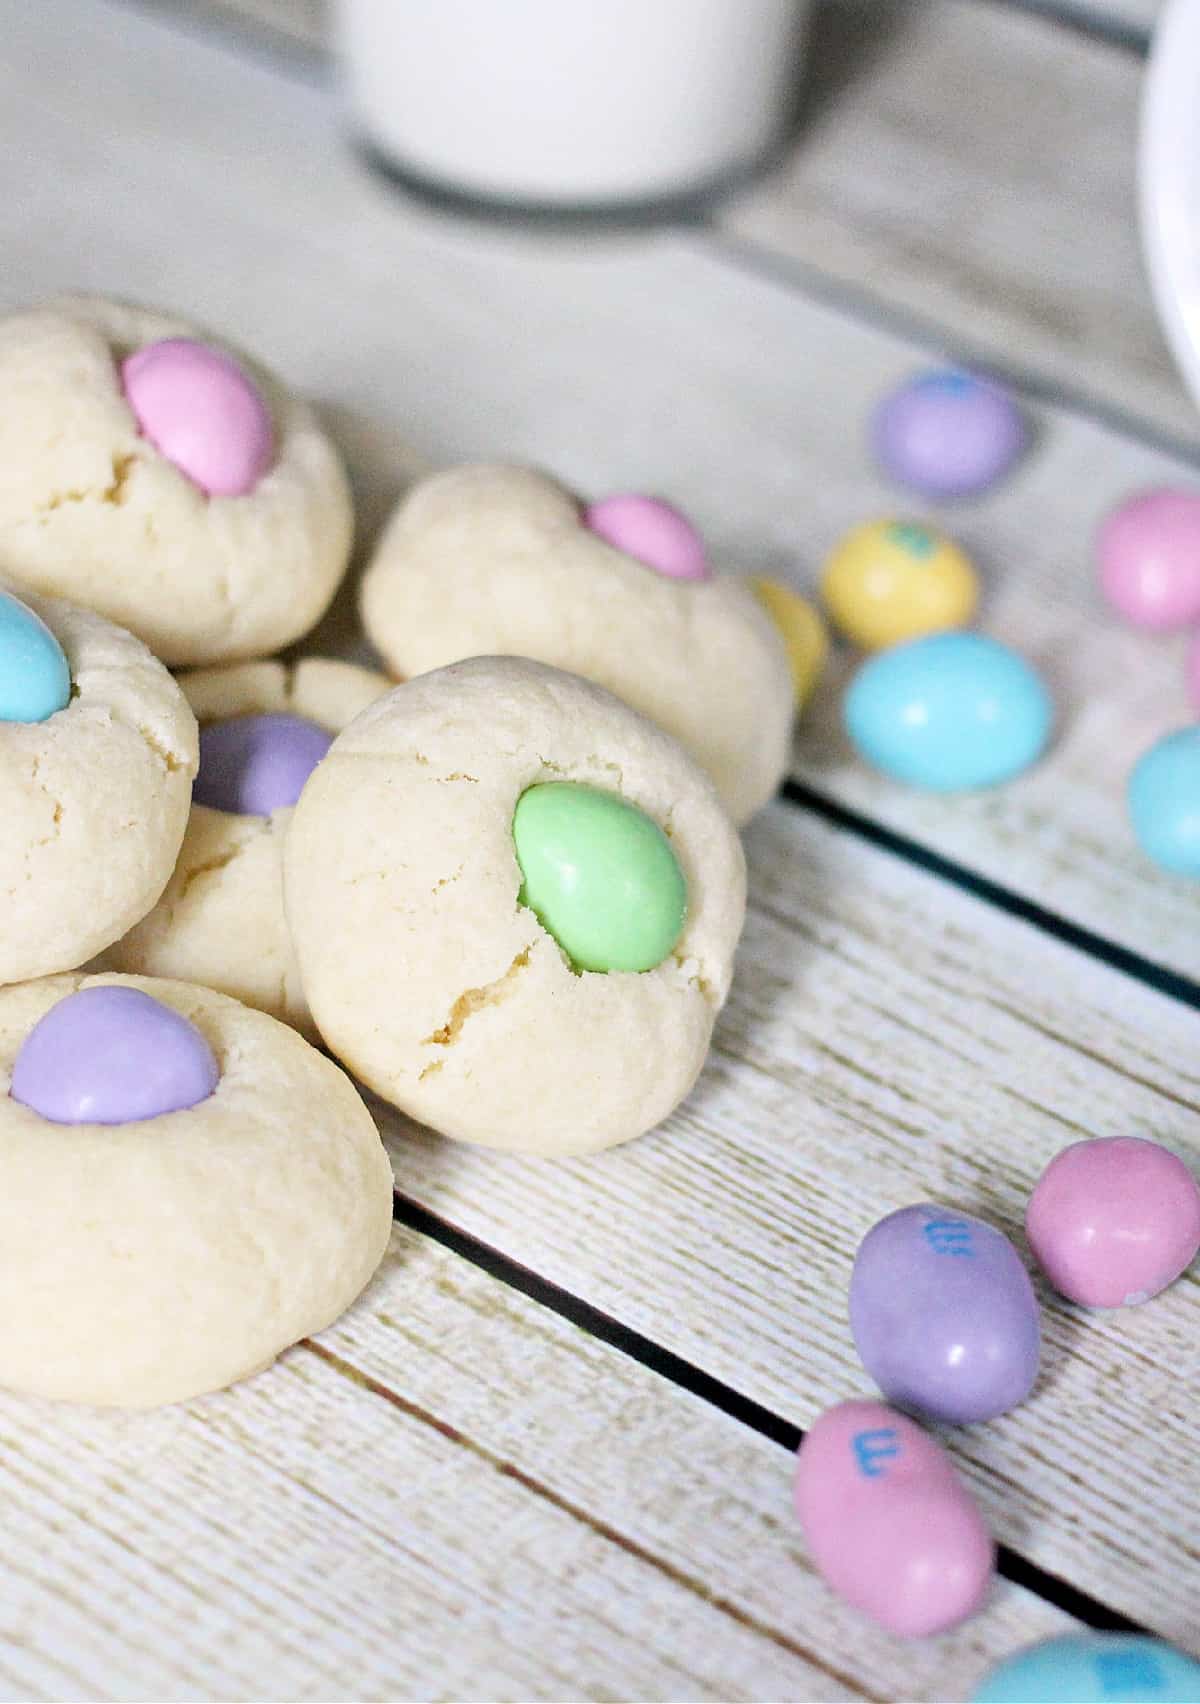
This old fashioned thumbprint cookies recipe combines the classic buttery cookie that usually has a sweet jam filling with our take that skips the mess and incorporates colorful M&Ms candies. This makes them the perfect recipe for Easter cookies.
If you have never made thumbprint Easter cookies before, this recipe for cookies for Easter is going to be perfect! We will guide you through the steps to create these easy Easter cookies! You can enjoy them with family and friends as you celebrate the holiday season together.
This recipe for perfect thumbprint cookies for Easter was inspired by my Junior Mint Cookies Recipe we shared for Valentine's Day. It also pairs well with this Easter Cake Roll recipe.

Are you looking for other Cookie Recipes like our Easter Thumbprint Cookies?
If you love cookies, then you are in for a treat! We love baking cookies over here and share new cookie recipes all the time! Like this Carrot Cake Cookies Recipe!
- Chocolate Chip Cookie Icebox Cake Recipe (No-Bake Dessert)
- Pumpkin Spice Cookies Recipe
- Whole Wheat Chocolate Chips Cookies
- Lemon Blueberry Cookies


Why our Easter Thumbprint Cookies are perfect for your family's Easter dinner
Here comes Peter Cottontail, hopping down the bunny trail...Yep, it is that time of year again! March brought us SPRING and it is almost time for the Easter holiday in April! My birthday is April 20th, and there are times when Easter falls on the same day as my birthday. I have had one or two birthday cakes served as the main Easter dessert before!
There are many reasons why I love Springtime and Easter. I can't get enough of all of the pretty, pastel colored candies! The mini Cadbury Eggs, pastel M&Ms candies and of course my favorite Easter candy: PEEPS! PEEPS of every shape, size and color! Baking during the Easter holiday in April is just so much fun! If you love PEEPS, check out our Bunny PEEPS Easter Cake Recipe too!
How to Make this Easter Thumbprint Cookies Recipe
While these Cookies for Easter are pretty simple to make, the trick is to soften your unsalted butter at room temperature for about an hour before you get started on making the recipe.
Go ahead and preheat oven to 350 degrees Fahrenheit now! That way, it is ready when you are ready to bake your Easter cookies!

Here are the necessary Ingredients to make our shortbread thumbprint cookies
- Unsalted butter, softened
- White Granulated sugar
- Eggs at room temperature
- Pure vanilla extract
- All purpose flour
- Baking powder
- Salt
- Pastel M&Ms
Get all of your cooking and baking supplies on Amazon.com!
Amazon Prime Fresh has TONS of household supplies and groceries at great prices and offers free delivery with an Amazon Prime membership! Sign up for Amazon Prime Fresh here!
Directions for how to make our Easter Thumbprint Cookies
We are going to begin making this Easter Cookies recipe by creaming the cup unsalted butter and cup granulated sugar together in a large mixing bowl. You want to cream together butter and sugar first, and it should be a bit creamy and fluffy once you are done.
Next you are going to mix in the egg and pure vanilla extract and beating everything together until it is well incorporated.
Next you are going to add in the all purpose flour, the salt and the baking powder slowly. Do not overmix your cookie dough!
Split your cookie dough into half and wrap each half in plastic wrap. Refrigerate your Easter cookie dough for 1 hour.
Top tip for making our Cookies Quickly
Alternatively you can freeze your formed Easter cookie dough balls for 12 minutes in the freezer prior to baking to speed up this process.
Shape your cookie dough into small balls about the size of a walnut, and space them 2 inches apart on your cookie sheet.
Please resist the urge to create thumb print at this point! We are not ready yet!
Bake your cookie dough for about 12 to 15 minutes, or until they are turning lightly golden brown on the bottom of the cookie.
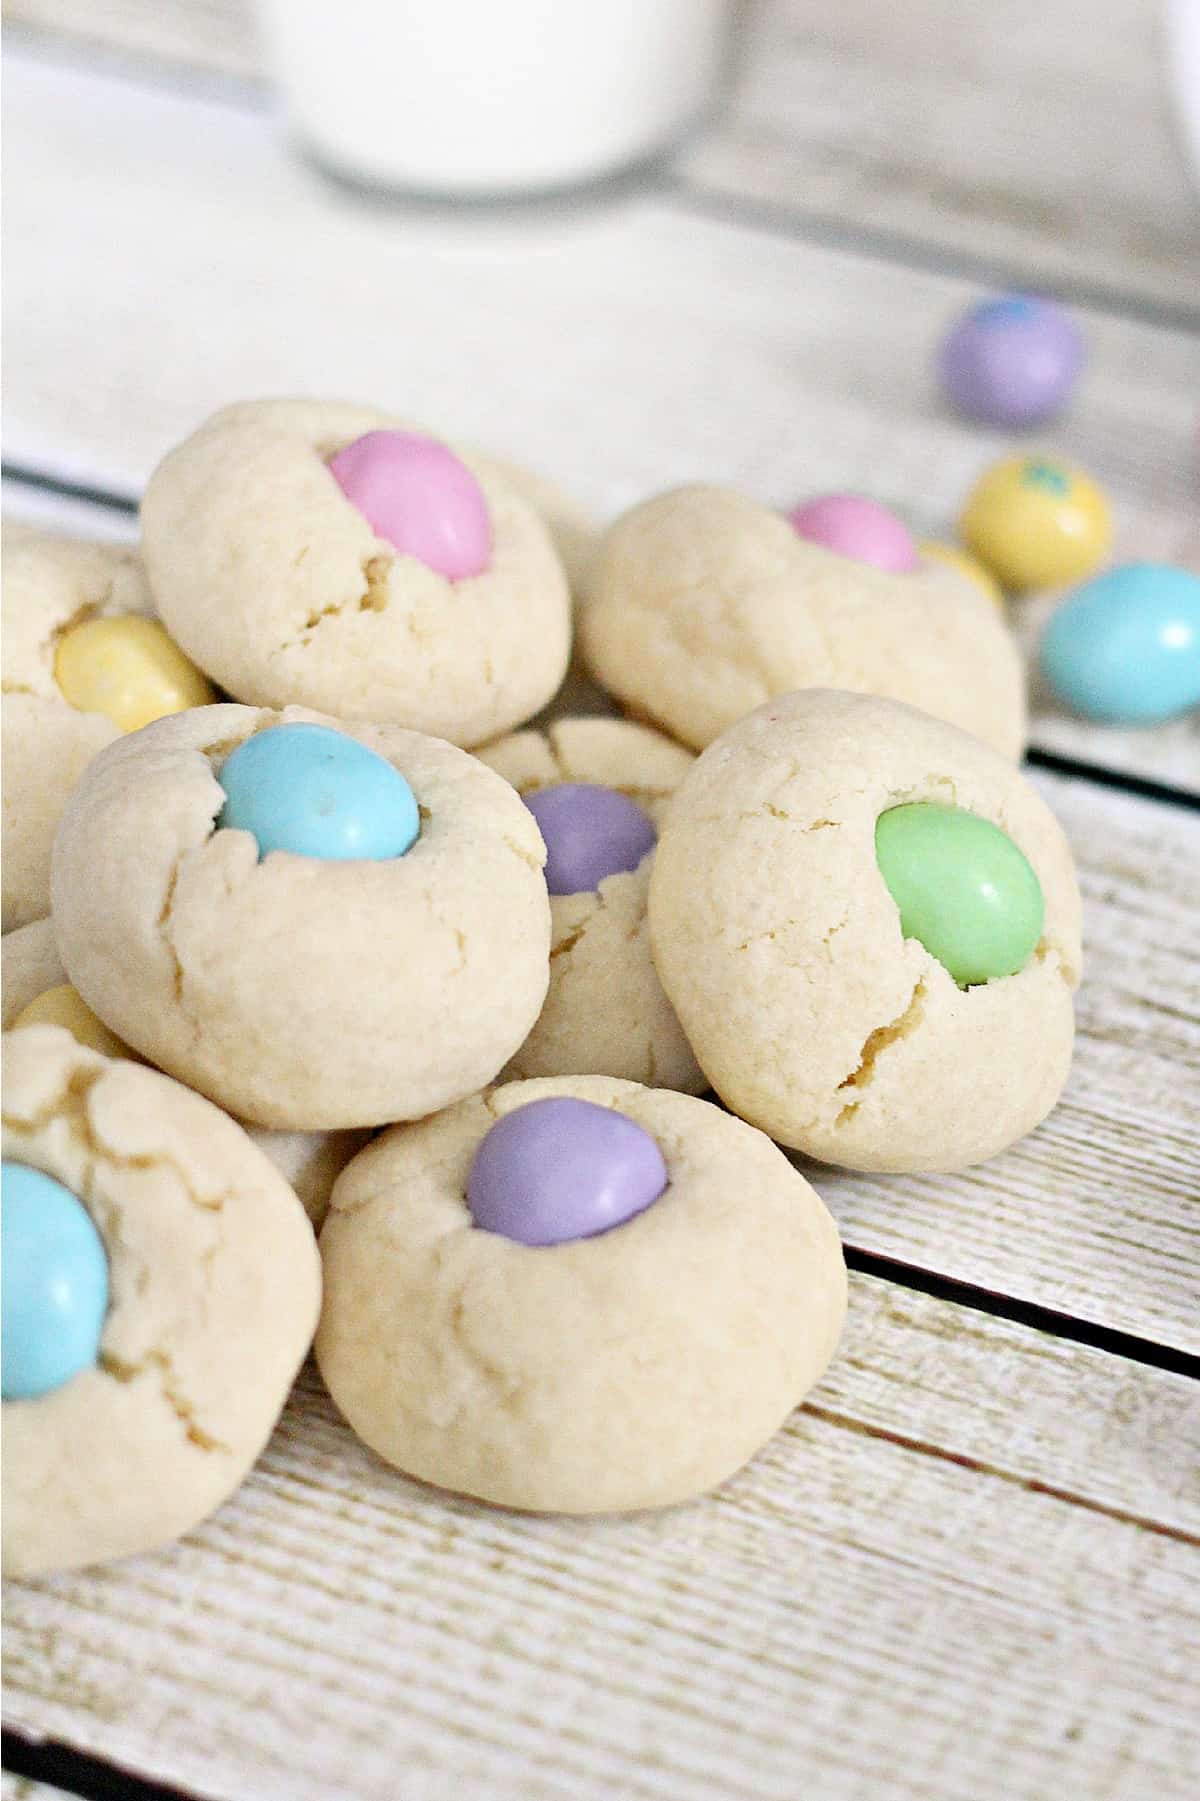
Remove your cookies from the oven and immediately press one M&M into center of each cookie. This must be done as soon as possible so that the cookie is still soft and the M&M settles into them nicely.
Remove your Easter cookies from the cookie sheet pan and place them on a cooling rack and allow them to cool completely before serving.
This Easter M&Ms Thumbprint Cookies Recipe makes about 4 dozen cookies.
Substitutions and Variations of our Easter Thumbprint Cookies Recipe
I love how simple this Easter Thumbprint cookie recipe is, and it can be so easily customized to your particular taste buds! Our favorite cookie recipes for Easter are ones that are easy to make and versatile!
- Peanut Allergies - Do you suffer from a peanut allergy or are just not a fan of Peanut M&Ms? Then just use regular milk chocolate M&Ms!
- Hershey's Kisses - Skip the M&Ms and use Hershey's Kisses instead! You can even use those pretty pastel Hershey's Kisses instead of M&Ms!
- Basic Thumbprint Cookie Recipe - You can also use this thumbprint cookie recipe any time of year, it is not just regulated to the Easter holiday. Just switch up the type of candies that you put on top and it will match any holiday or theme that you wish to incorporate.
- Add food coloring - if you want to get extra festive, you can add a drop of food coloring to your cookie dough to get an Easter-colored cookie beneath the M&Ms!
Are you looking for more Easter recipes?
Check out these Easter dessert recipes, like our Carrot Cake Cups Recipe! You might also love our Sugar Cookies Bars Recipe!
Take a look and see if there is anything that sounds tasty to you, like our popular White Chocolate Sugar Cookie Bites Recipe!


Share this Easter Thumbprint Cookies Recipe with your friends and family on social media!
If you love this Easter Thumbprint Cookies Recipe as much as we do, please leave me a 5-star recipe rating review below and help me share this recipe on Facebook, Twitter and Pinterest!
If you do make our thumbprint Easter cookies recipe, I hope you will share that you tried it on Pinterest! I love it SO MUCH when readers share their feedback!

To print the recipe for these Easter Thumbprint Cookies, simply click the recipe card below!
I know that many people still like to print out recipes and keep them in a recipe binder, or simply have the printed recipe sitting in front of them when it comes time to cook! You can also email this recipe!

Easter Thumbprint Cookies
Ingredients
- 1 cup unsalted butter softened to room temperature
- 1 cup granulated sugar
- 2 Eggs
- 1 teaspoon vanilla extract
- 3 ½ cups all purpose flour
- ½ teaspoon baking powder
- ¼ teaspoon salt
- 48 Peanut M&Ms pastel or regular
Instructions
- In a large bowl, beat together your butter and sugar until light and creamy.
- Gradually mix in the eggs, one at a time, and then add your vanilla.
- Beat at medium speed until thoroughly combined, and then add your flour, salt and baking powder and mix at low speed for one minute. You do not want to over-mix!
- Split your dough into half and wrap in plastic wrap, refrigerating for one hour.
- Begin by pre-heating your oven to 350 degrees F.
- When you're ready to start baking, take one ball of dough out of the fridge and begin to shape the dough into small balls (about the size of a walnut) and place them two inches apart on un-greased cookie sheets.
- Bake at 350 degrees F for about 12-15 minutes until lightly brown - this depends on your oven. Mine were turning light brown by the 13th minute. Remove them from the oven and immediately press an M&M into center of each cookie.
- Note: If you are using regular M&Ms, you might want to put two M&Ms into each cookie because they're so much smaller.
- Remove from sheet pan to a cooling rack and allow to cool completely!

Risa says
These have a serious cute factor going on. I've been thinking about doing an Easter cookie basket and if that idea really ever comes to fruition, these are definitely going in them!
dina says
what great easter cookies!
Scarlet Paolicchi says
These look delicious! Thanks for sharing! 🙂
Shannon says
These are beautiful..thank you for sharing these cookies.
Create With Joy says
Such a yummy and cheery Easter cookie recipe!
Congrats - you are on our Features list at this week's Inspire Me Monday party at Create With Joy!
april says
These look so good. My kids would love them. Thanks for linking up at Tell Me About It Tuesday. We hope you hop over and share with us again next week.
Jennie @ Little Girl Designs says
Love these! What a great idea to make Easter-themed thumbprint cookies. 🙂 Pinning and sharing! 🙂
Kelly @ Mum-bo-Jumbo says
What a simple recipe with ingredients almost every household would have on hand! Pinning this. Stopping by from Happiness is Handmade over at A Peek into My Paradise
Laura@ Baking in Pyjamas says
Visiting from Treasure Box Tuesday. These are so fun and pretty, great use for Easter candy. I would love for you to stop by and share this and other recipes with us over at Sweet and Savoury Sunday. Have a great day!
Amanda says
I just had some thumbprint cookies, and now I want some of yours! Love these! Thank you for sharing this post with Friday Favorites this week! We love having you 🙂
Miz Helen says
Your Easter Thumbprint Cookies look wonderful! Hope you have a wonderful week and thanks so much for sharing with Full Plate Thursday.
Miz Helen
Michelle says
So pretty--I love the Spring colors!
Laura says
These look so yummy and cute! Thanks for sharing your recipe at The Creative Exchange.
xo,
Laura
Wendy says
Is it baking soda or baking powder? You mention baking powder in the ingredients and baking soda in the instructions. Please advise. Thx.
Pat says
I made these with the ingredients that you stated and used the baking powder that was listed. In the printed instructions, you state to use baking soda. It was too late to change the powder to soda so I baked them as directed. The cookies looked cute, but tasted rather dense. I’m assuming the baking powder is a mistake in your ingredient list. Can you clarify this?
Jackie says
Can these be frozen after baking?
Jennifer says
Yes! Though I will note that the chocolate usually gets those white spots on it after being frozen and defrosted. They still taste the same though!