
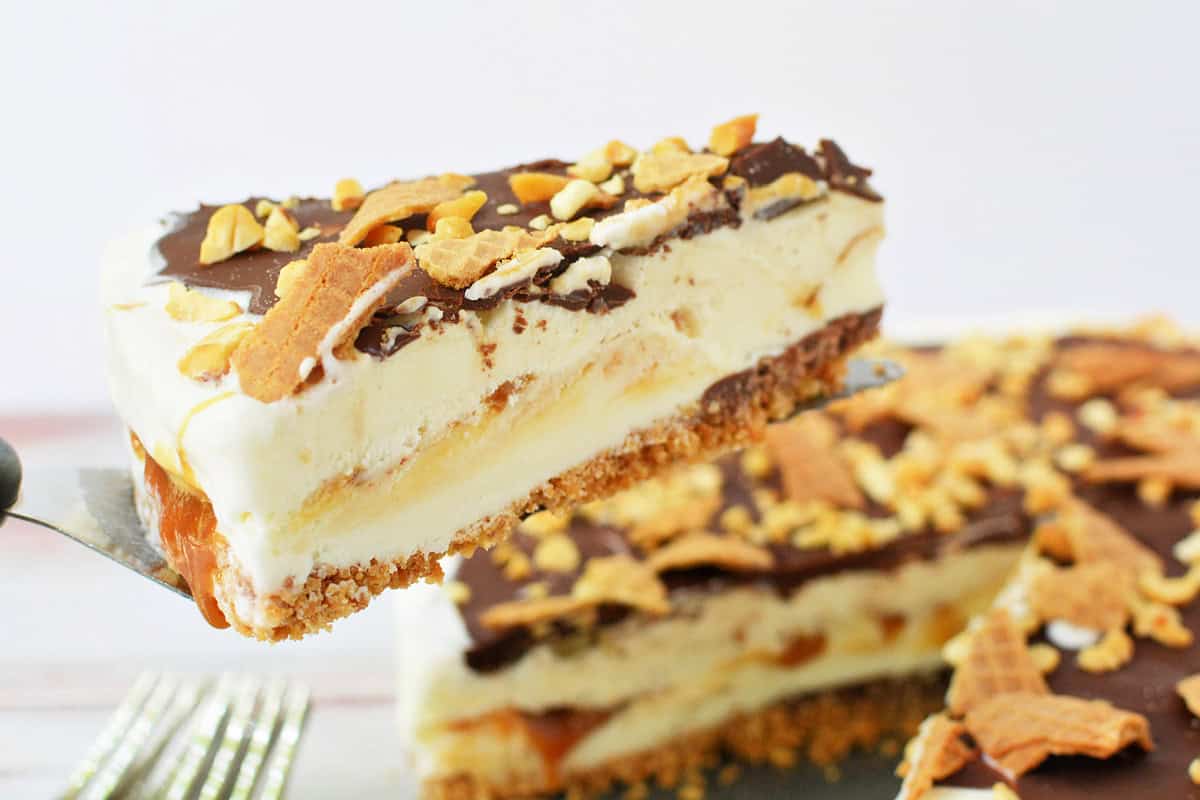
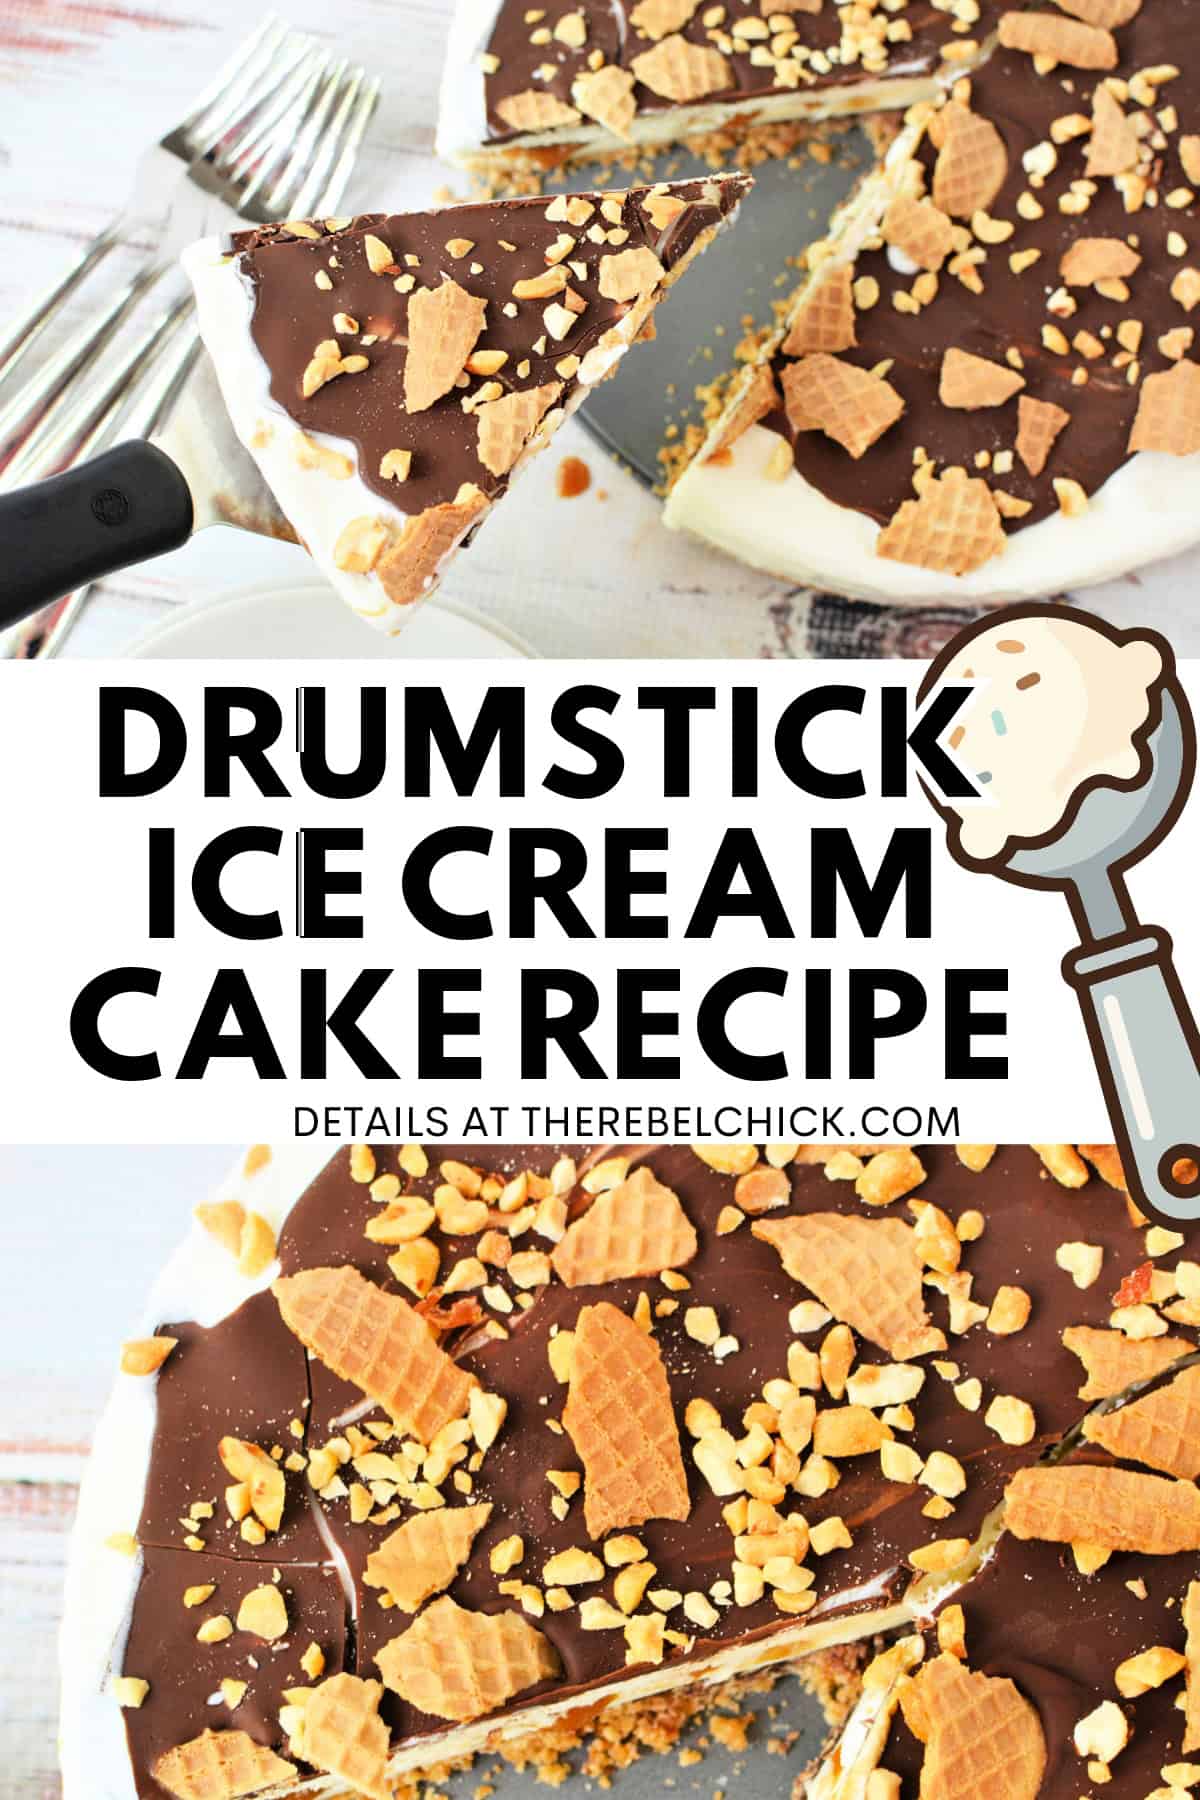
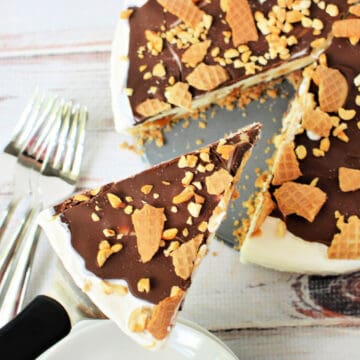
This Drumstick Ice Cream Cake Recipe is a refreshing dessert that's perfect for easy snacks! This ice cream cake is made with a crunchy sugar cone crust, then layered with vanilla ice cream, caramel, and a snappy chocolate shell.
Since it’s a frozen dessert and sliceable, with a one crust base, this Drumstick ice cream cake lands between a cake and a drumstick ice cream pie - and that’s part of what makes it such a fun dessert!
What’s never up for debate is that this Drumstick cake recipe comes together fast and makes everyone at the table happy.
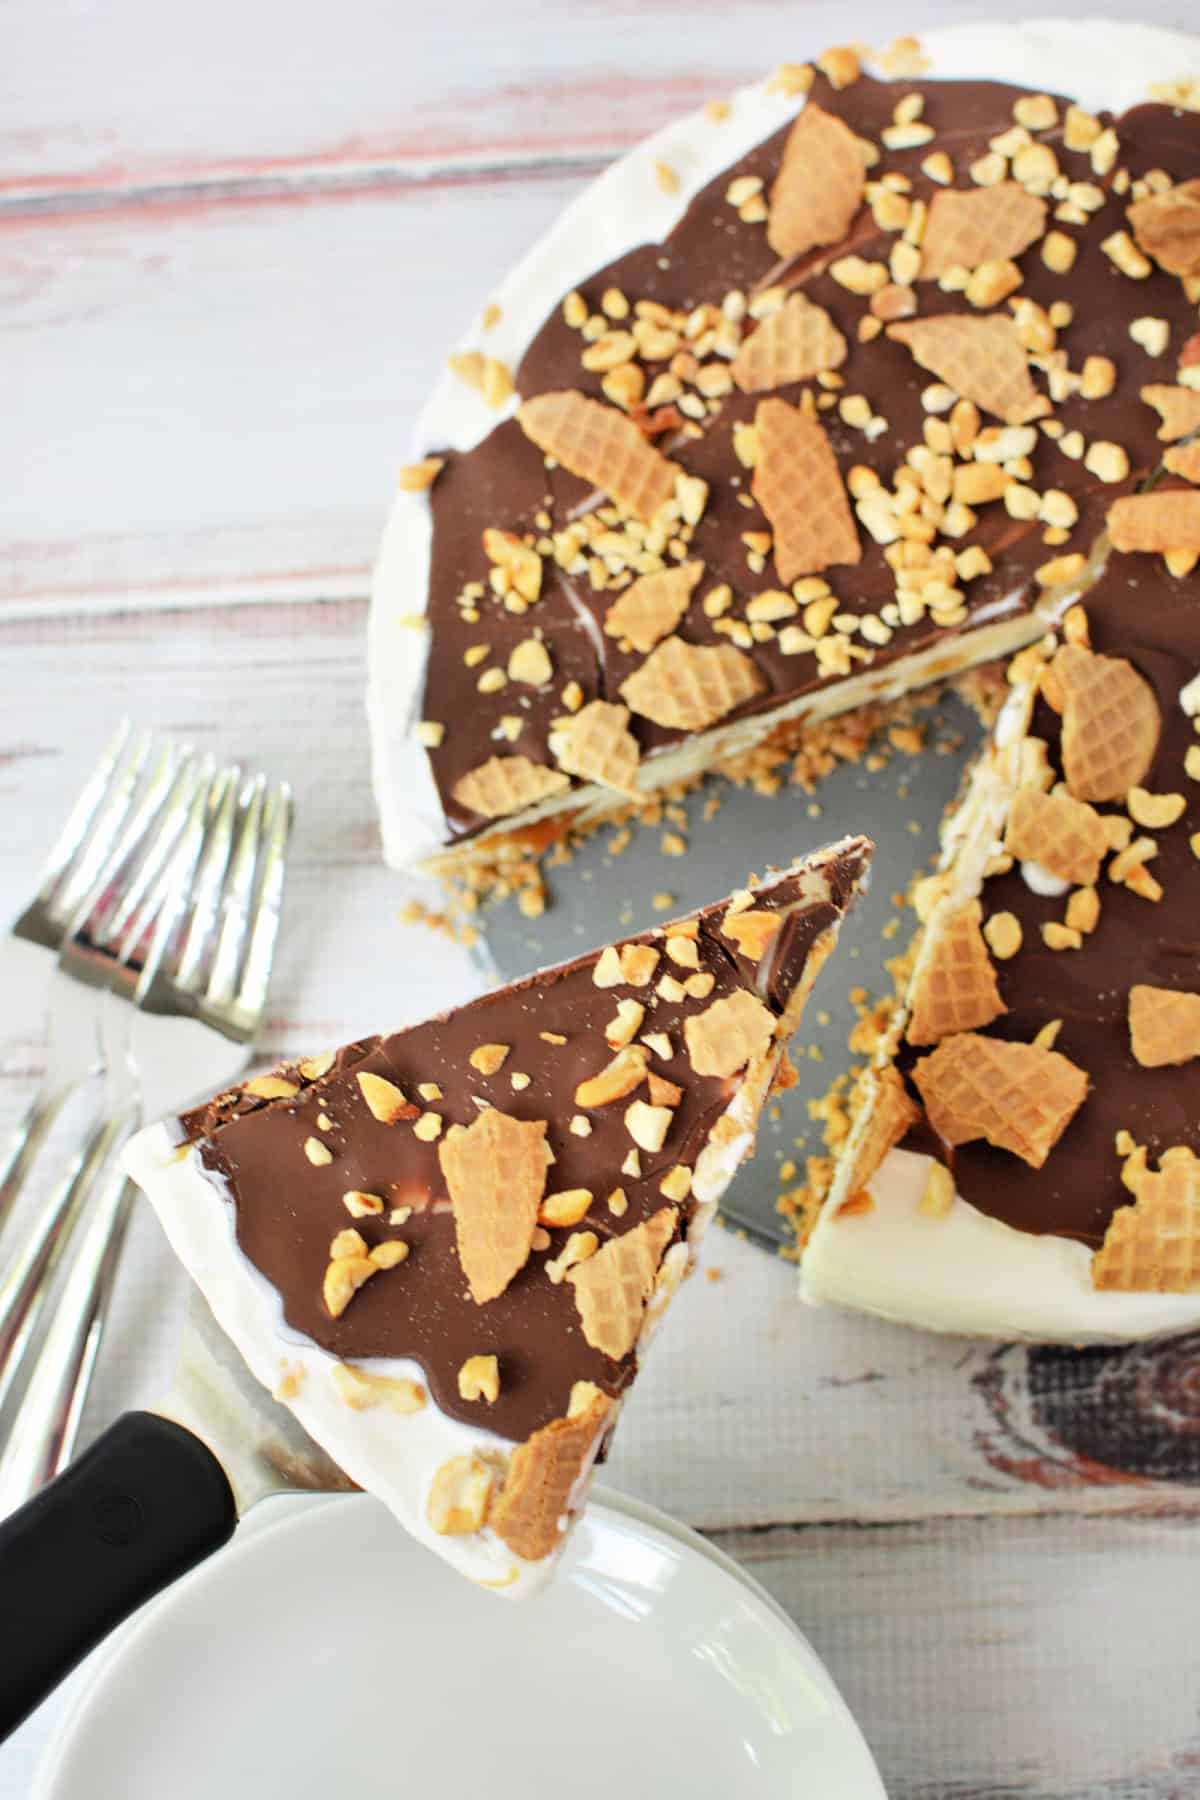
Why You Will Love Our Drumstick Cake
I mean… where do we even begin. Here are just a few reasons why you and everyone around you will love this drumstick ice cream cake recipe!
- Using your favorite vanilla ice cream gives this dessert a richer, creamier texture than a traditional drumstick.
- You do not have to turn on the oven or deal with anything complicated. This is a mix, layer, freeze, and done kind of dessert.
- This is a drumstick cake no eggs recipe, which makes it perfect for a no bake dessert and ideal for anyone who prefers to avoid raw eggs.
- You can make this days in advance and keep it in the freezer until you are ready to serve it.
- This drumstick torte delivers crunchy cone, creamy vanilla ice cream, caramel, chocolate, and peanuts in every bite.
- It feeds a bunch of people and slices clean, which makes it perfect for parties, cookouts, and family get togethers.
- Simple ingredients, easy steps, and a dessert you already know people are going to love.
Want More No Bake Dessert Ideas?
If this drumstick vanilla cake has you realizing how nice it is to skip the oven, welcome to the club! If you love layered desserts like this one, the chocolate chip cookie icebox cake is always a solid choice, and chocolate lasagna dessert is one of those recipes people request over and over again.
- Lemon Icebox Cake with Graham Crackers Recipe
- Chocolate Chip Cookie Icebox Cake Recipe (No-Bake Dessert)
- Pumpkin Poke Cake
- Oreo Mug Cake
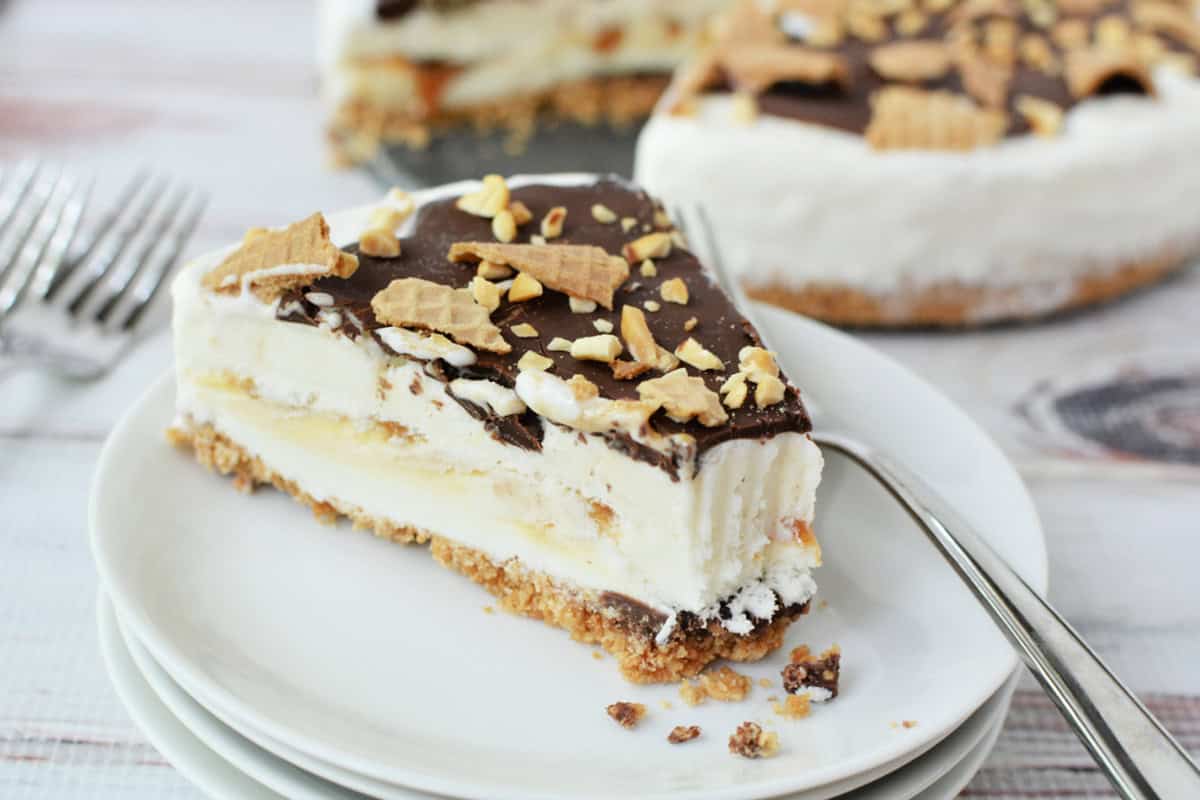
Drumstick Cake Ingredients for This Summer Dessert Recipe
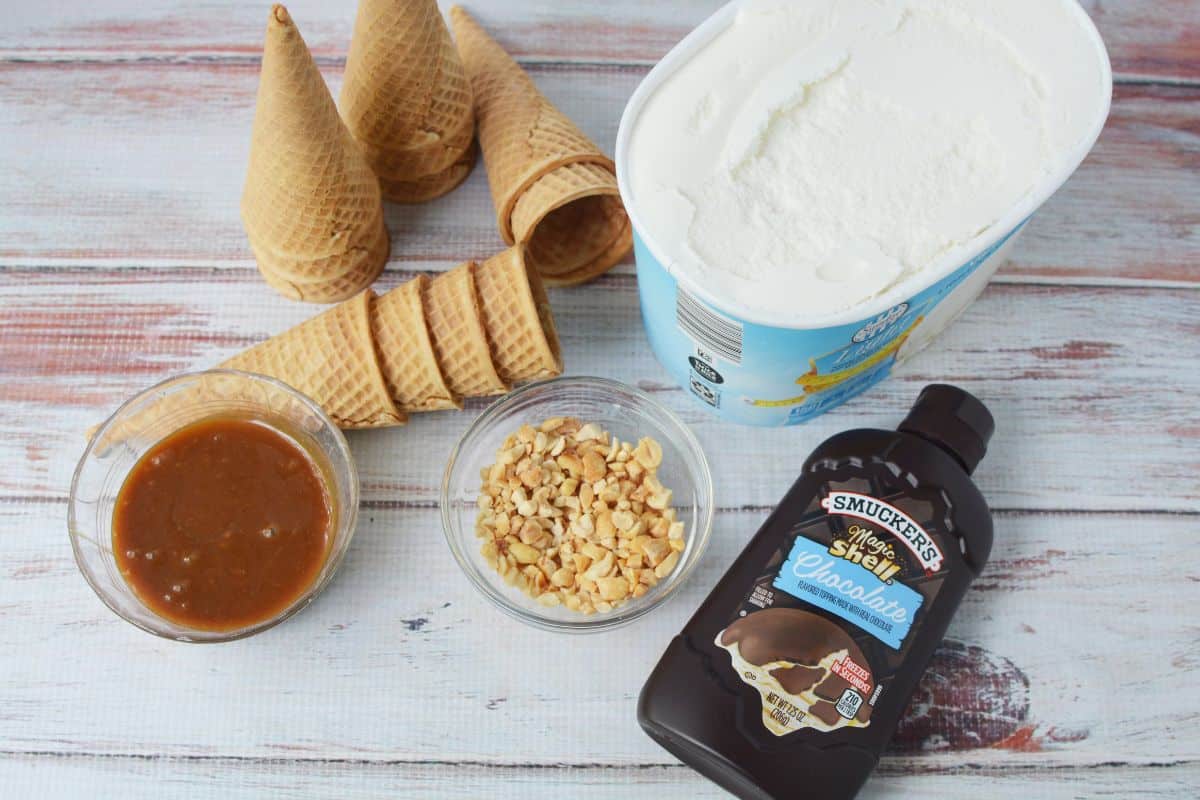
This drumstick cake recipe uses simple, familiar ingredients that work together to give you all the classic flavors and textures of a drumstick in sliceable form.
- 1 package (5 ounces) sugar ice cream cones These get crushed to form the crunchy base of the cake, just like the bottom of a cone.
- 2 additional sugar cones for topping Crushed on top for extra crunch and that classic drumstick cones finish.
- 2 tablespoons granulated sugar Adds a little sweetness and helps bind the cone crust together.
- 6 tablespoons butter (melted) Holds the cone crumbs together so the crust sets up firmly in the freezer.
- 1 bottle (7.25 ounces) chocolate magic shell ice cream topping Creates that signature chocolate layer that hardens when cold.
- 1.5 quarts vanilla ice cream (slightly softened) The creamy center that gives this dessert its ice cream cake texture.
- ½ cup caramel ice cream topping Adds a sweet, gooey layer that balances the chocolate.
- ¼ cup chopped peanuts Brings the salty crunch you expect from a classic drumstick.
Directions for Making This Drumstick Cake
Once your ingredients are ready and your freezer has a little room, let’s get started and talk about how to make drumstick pie step by step.
Make the Sugar Cone Crust
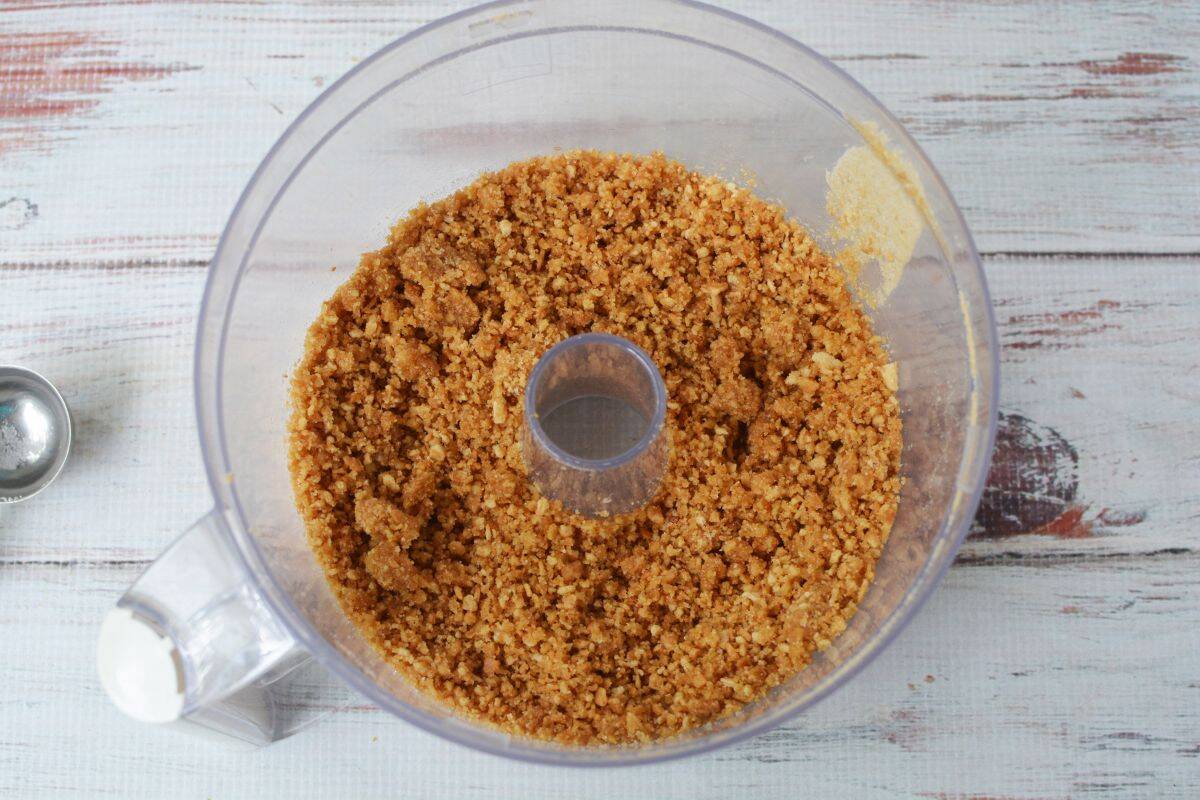
Add 1 package 5 ounces sugar cones to a food processor and process until fine crumbs form.
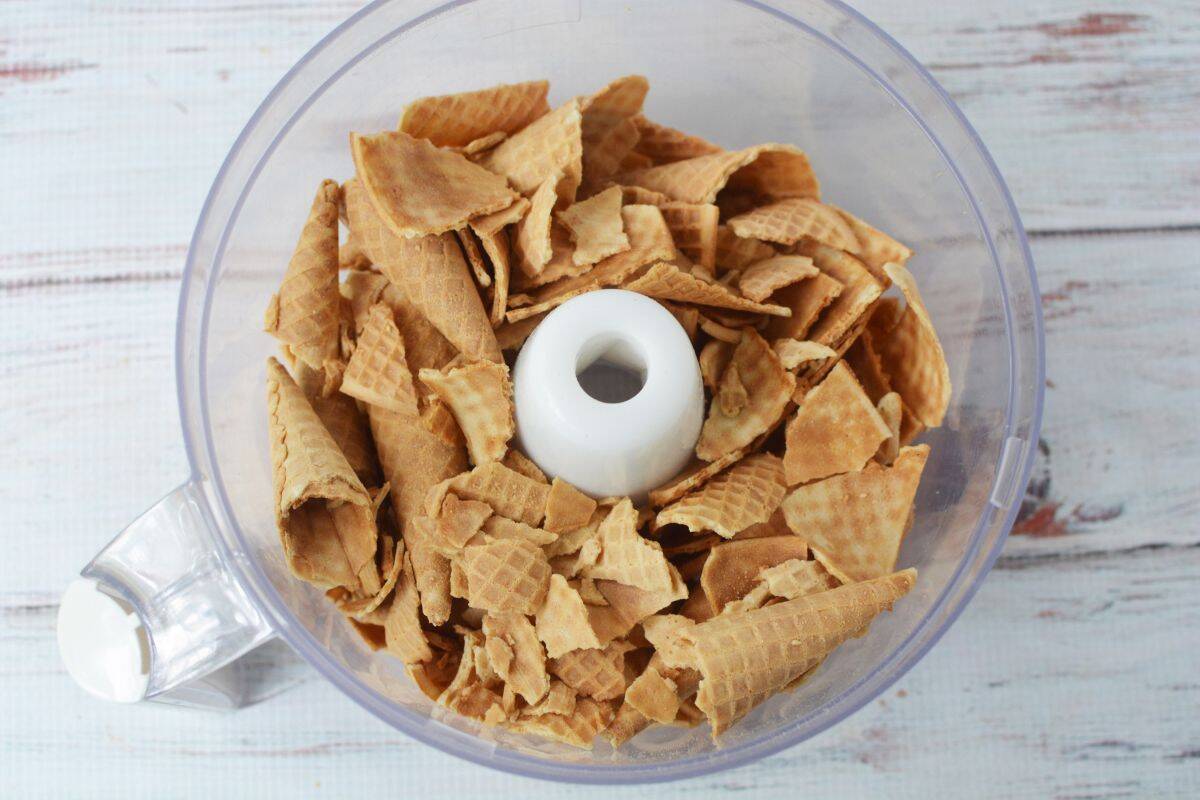
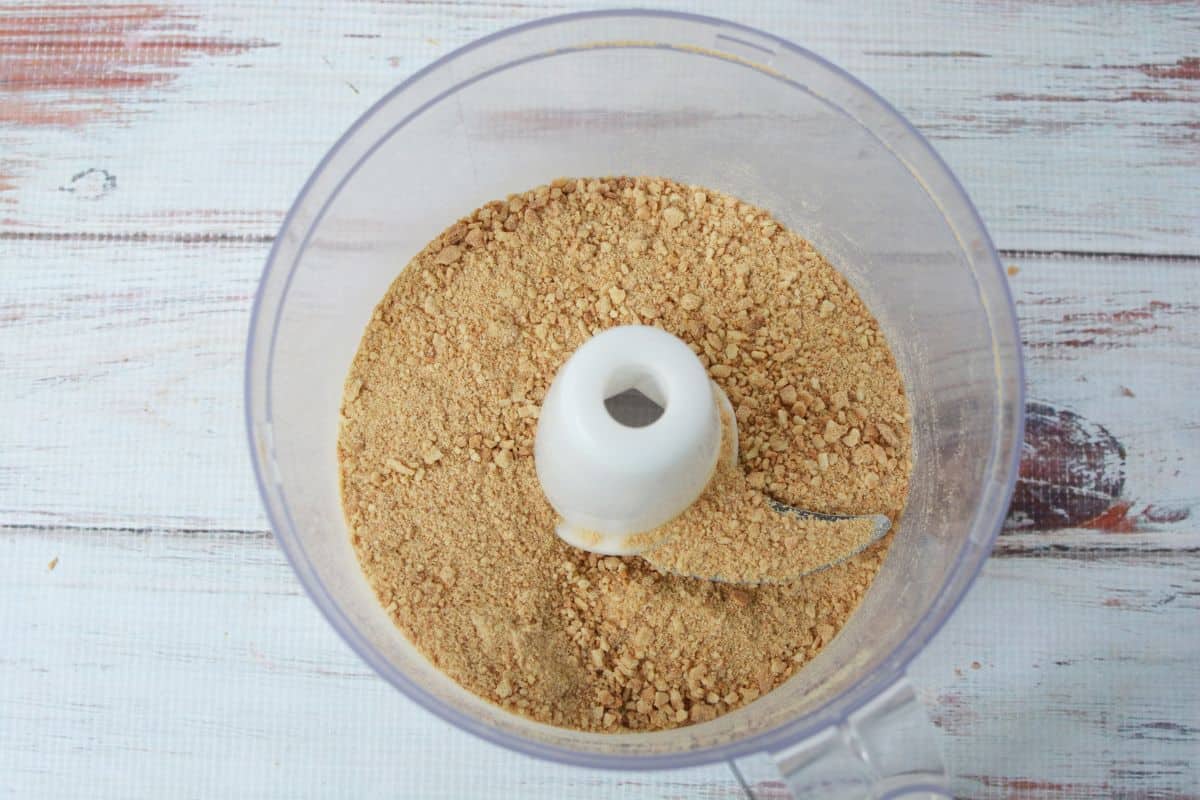
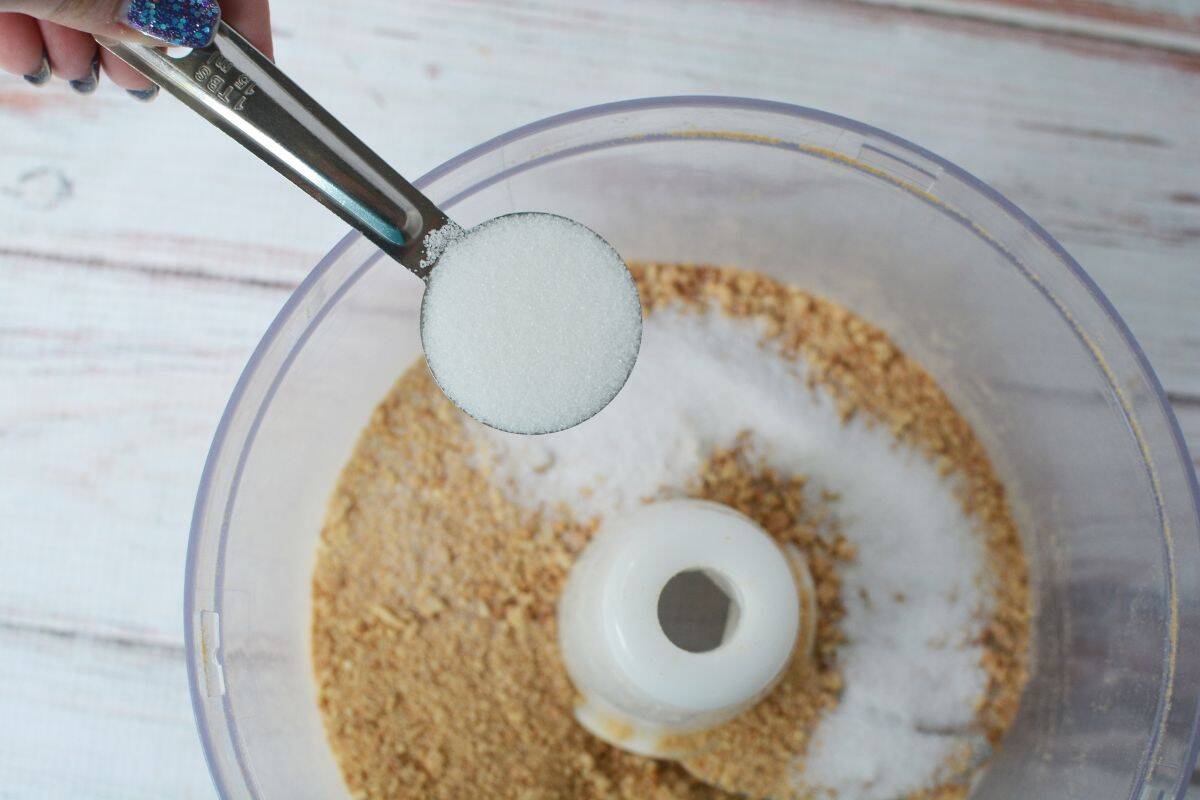
Add 2 tablespoons granulated sugar and pulse for about 5 seconds so it is mixed in evenly.
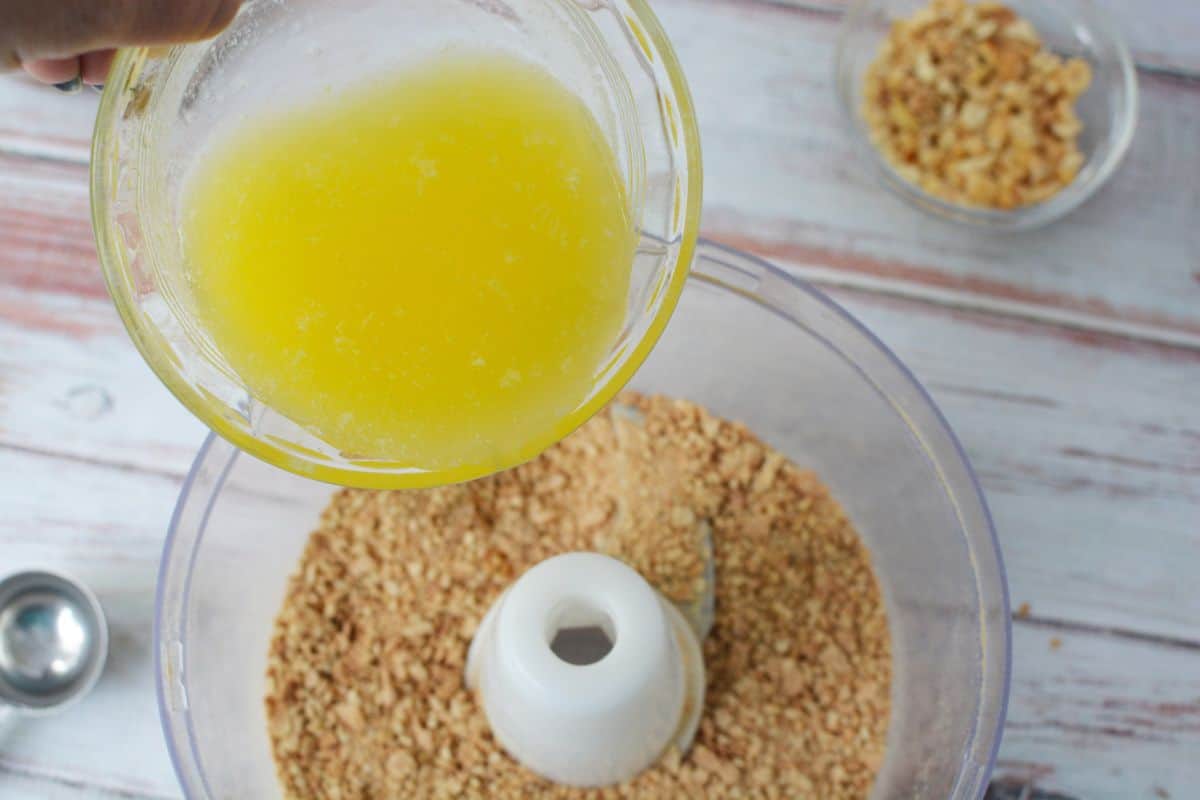
Pour in 6 tablespoons melted butter, then process for 5 to 10 seconds, or until the mixture is very well combined and holds together when pressed.
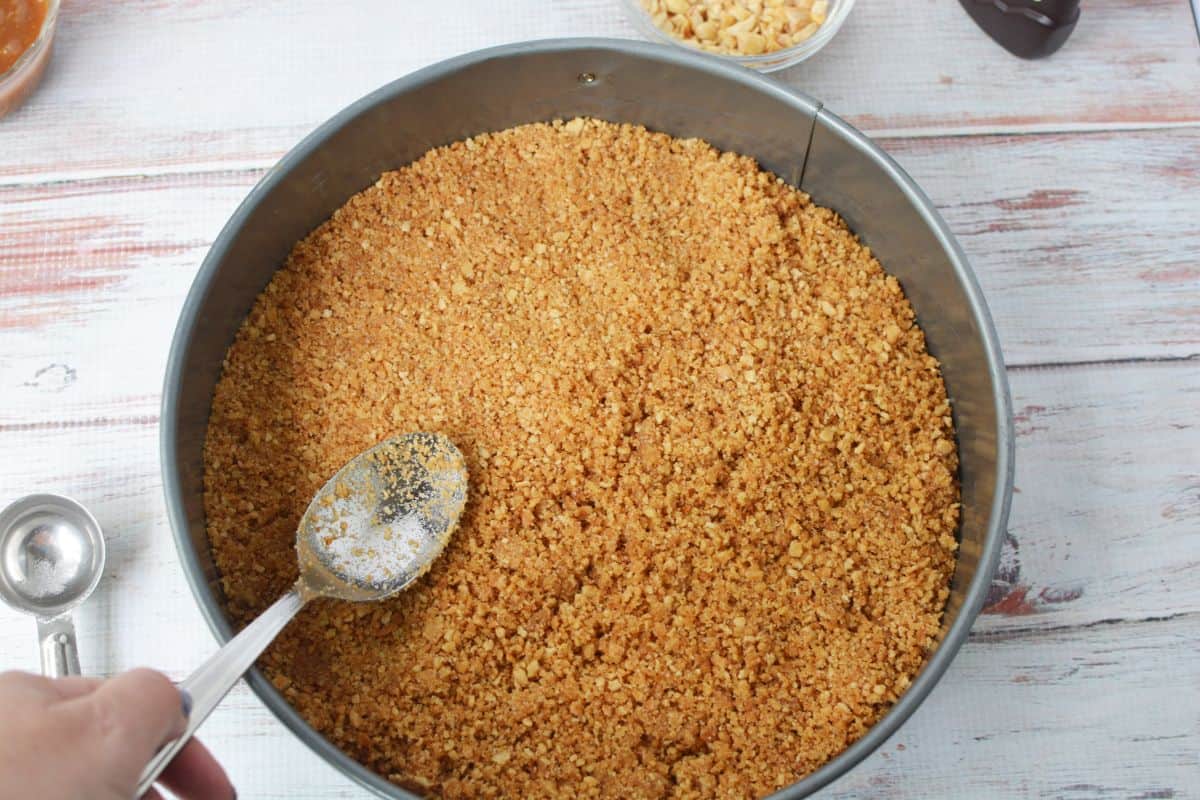
Press the cone mixture evenly into the bottom of a 10 inch springform pan. I used a 10 inch because that is what I had, but an 8 inch or 9 inch pan works great too and gives you slightly thicker layers. Place the pan in the freezer and freeze for 15 minutes to set the crust.
Add the First Chocolate Layer
Take the pan out of the freezer and pour half of the 7.25 ounce bottle of chocolate magic shell ice cream topping over the crust. Use the back of a spoon to carefully spread it into a thin, even layer.
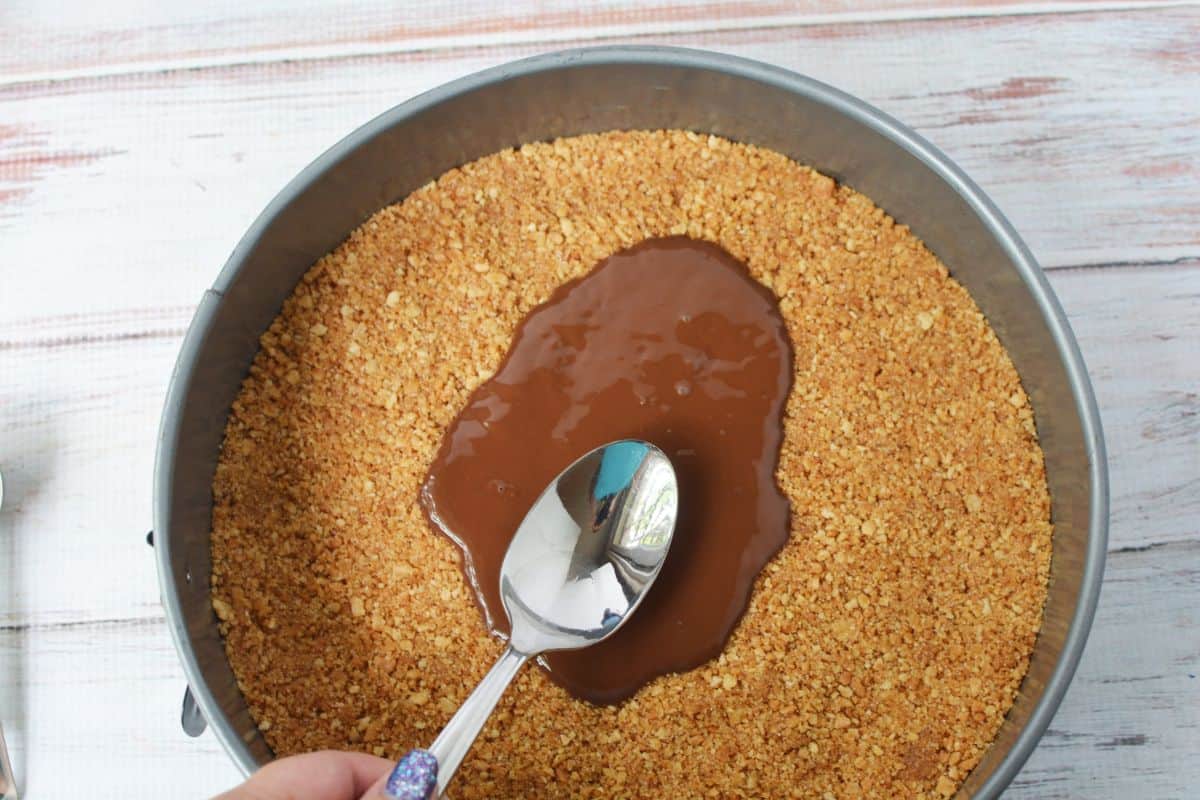
If you are using a 10 inch pan, you might have to work it a bit to get good coverage. Pop the pan back into the freezer for 5 minutes, or until the chocolate is firm.
Add the Ice Cream Layer and Caramel
Take the pan out of the freezer and spoon half of the 1.5 quarts of vanilla ice cream (slightly softened) over the chocolate layer. Spread evenly to create a smooth layer. This is where it really starts to look like a cake.
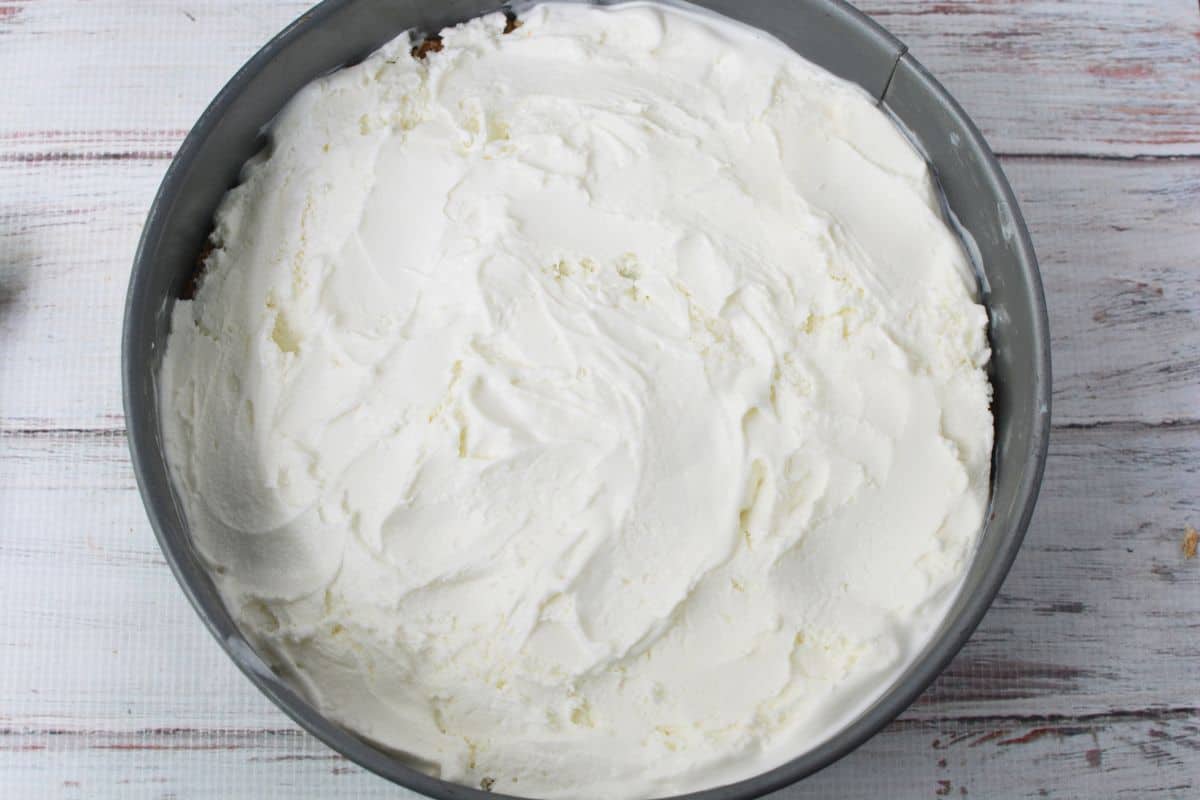
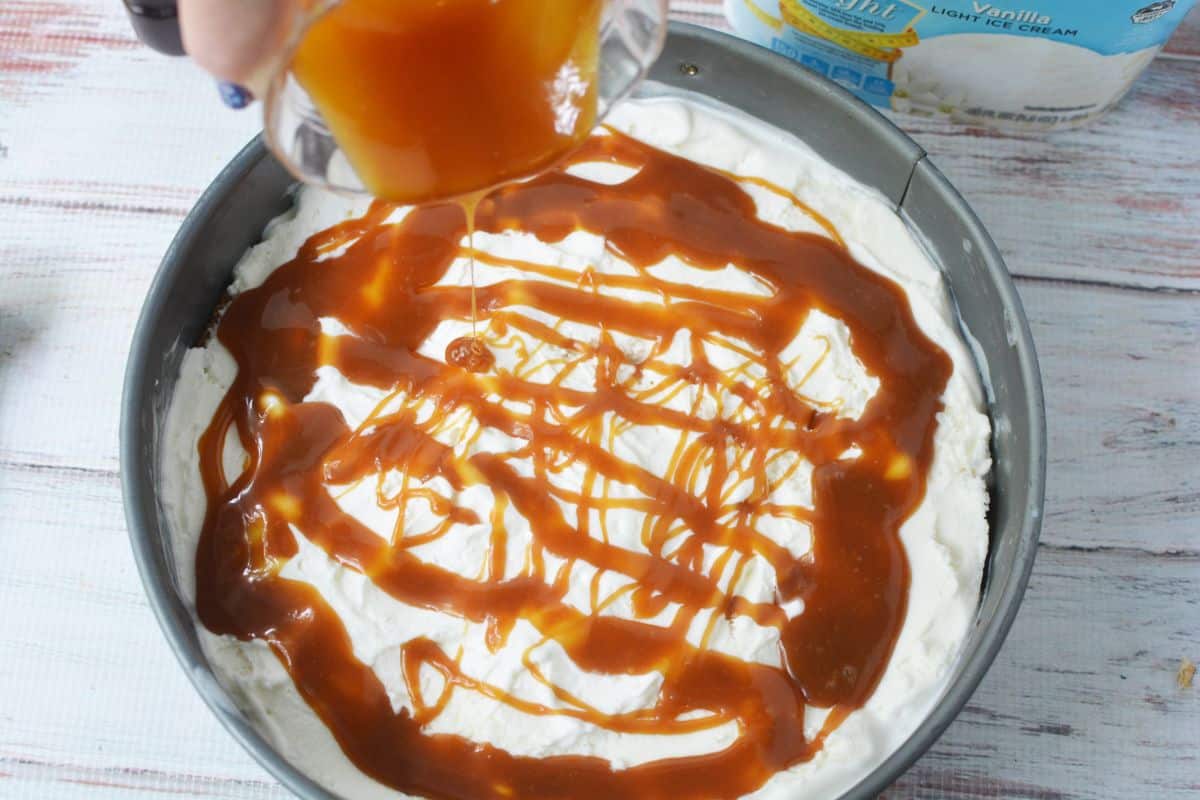
Drizzle ½ cup caramel ice cream topping evenly over the ice cream.
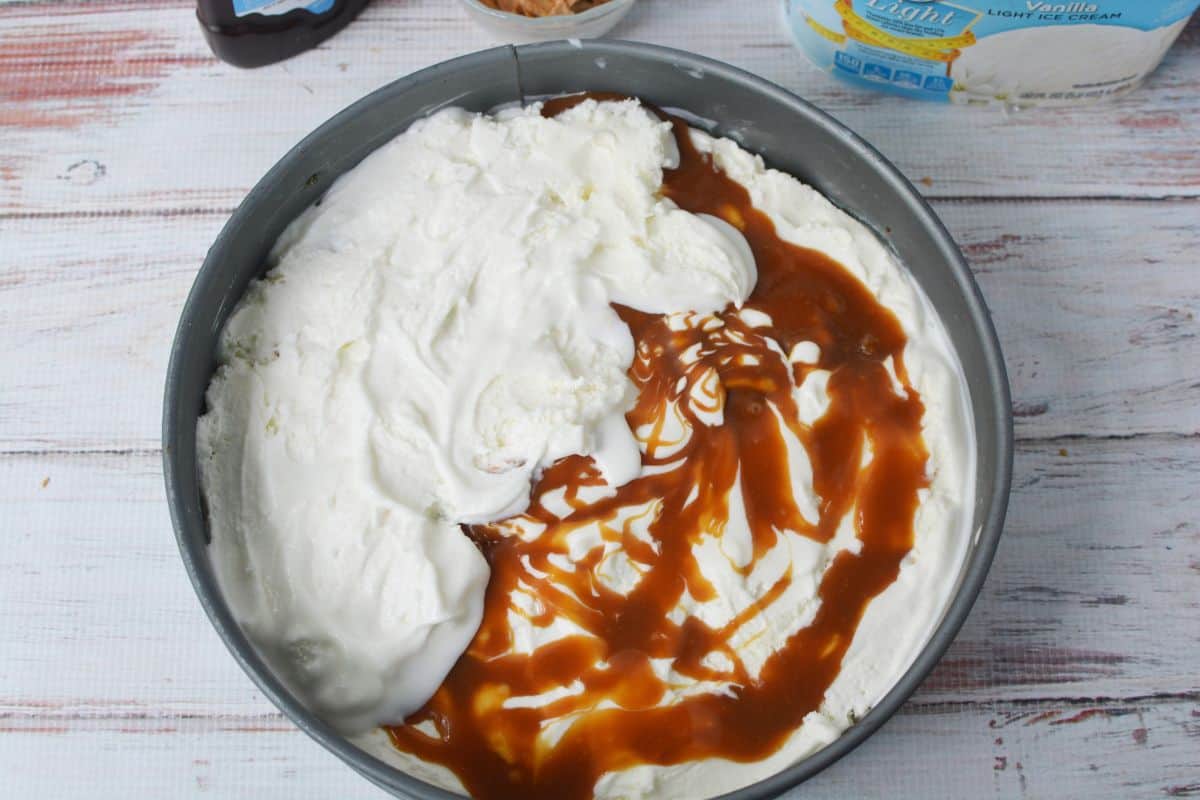
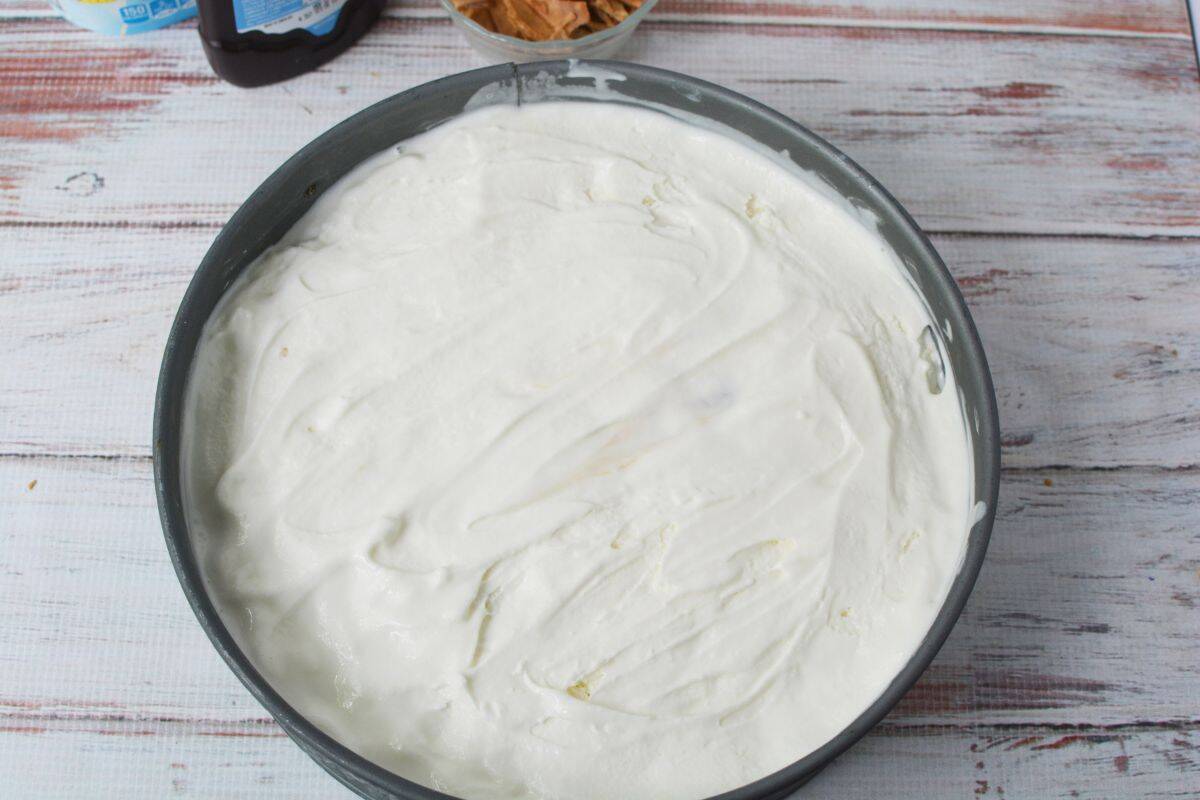
Spoon the remaining ice cream over the caramel layer and smooth it out.
Finish the Top
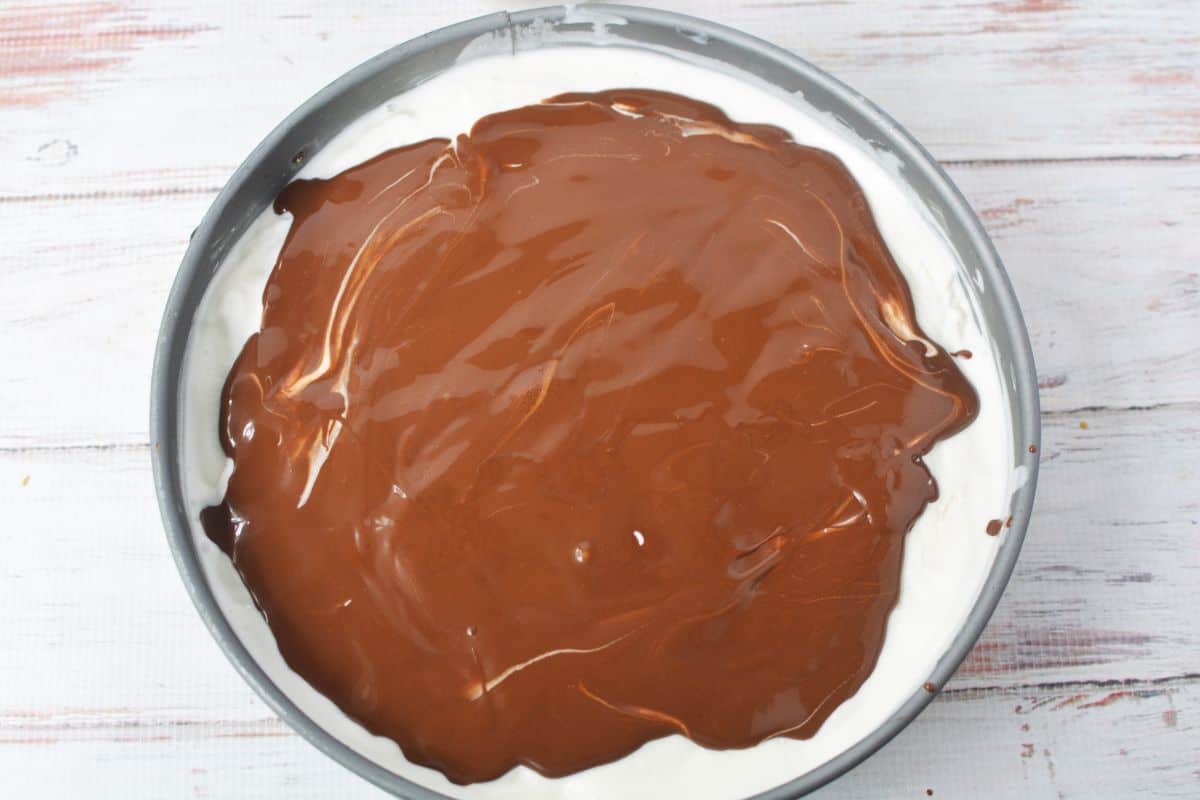
Pour the remaining half bottle of chocolate magic shell topping over the ice cream.
Working quickly before the chocolate sets, crush the 2 additional sugar cones and sprinkle them over the top along with ¼ cup chopped peanuts.
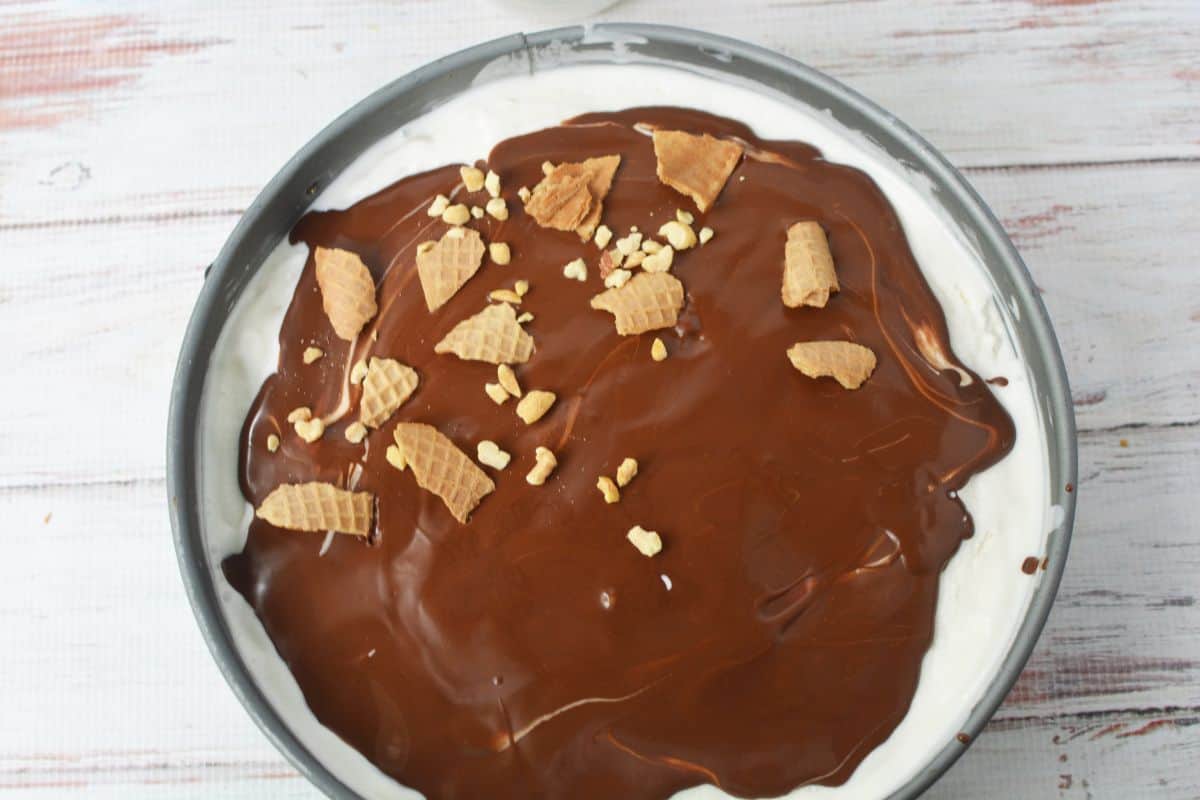
If you’re using a larger pan, having a second bottle of Magic Shell on hand makes spreading the chocolate much easier.
Freeze and Serve
Place the cake in the freezer and freeze overnight until completely firm.
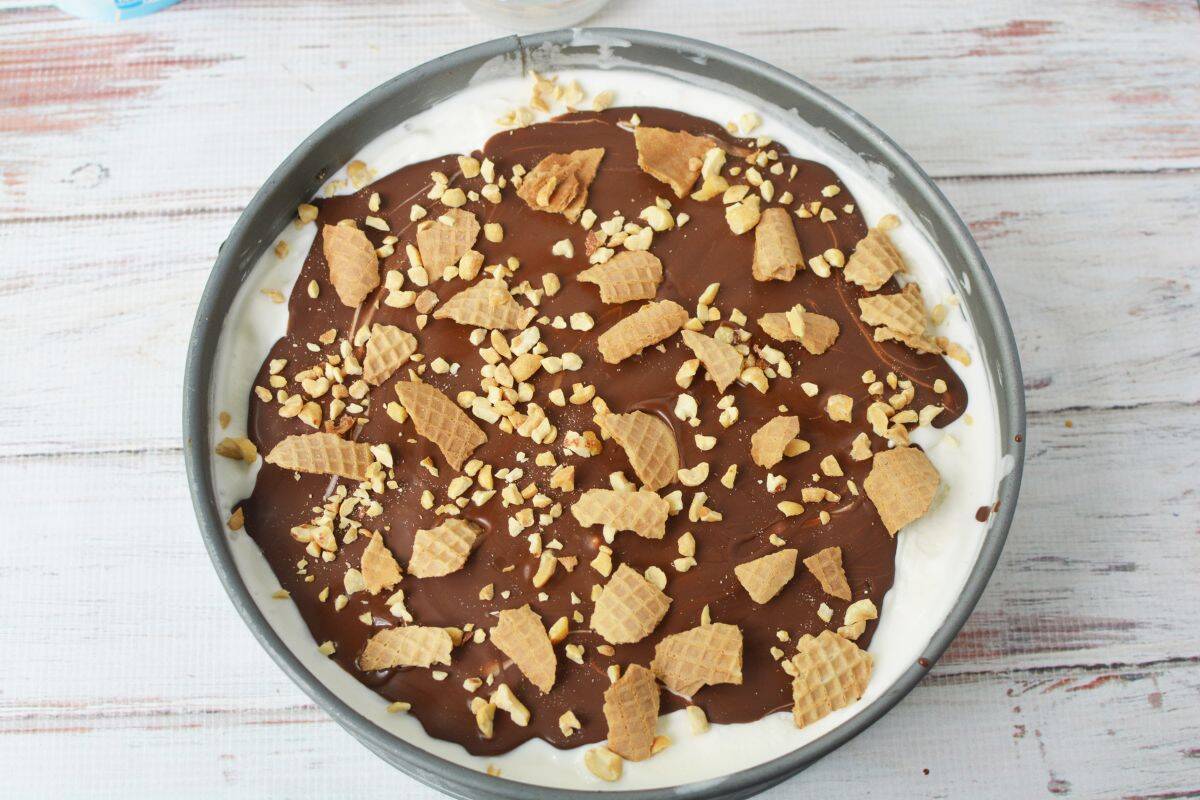
When you are ready to serve, remove it from the freezer and let it sit for about 5 minutes. Release the springform pan ring, slice it up, and serve.
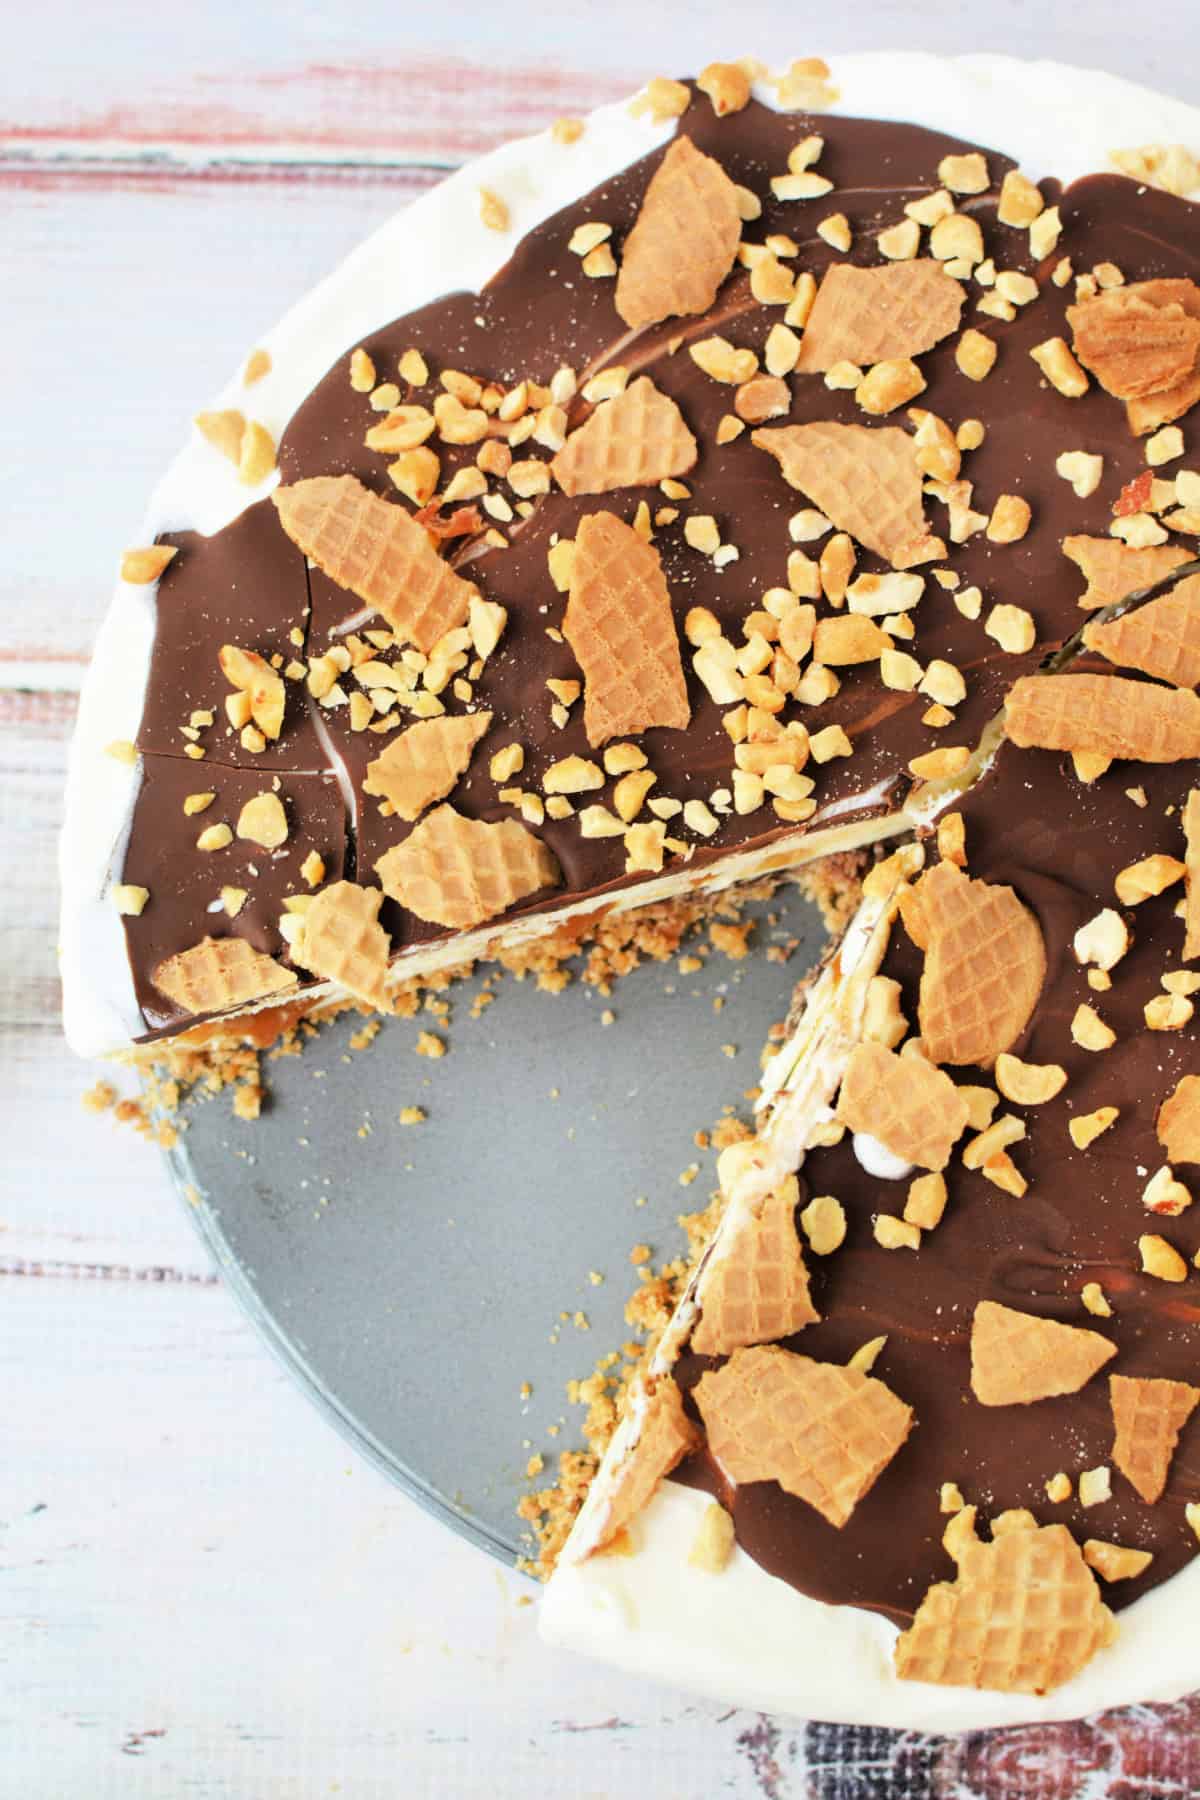
You will get 12 good-sized slices out of this easy summer dessert recipe, which makes it great for summer parties, backyard cookouts, or just feeding a hungry crowd.
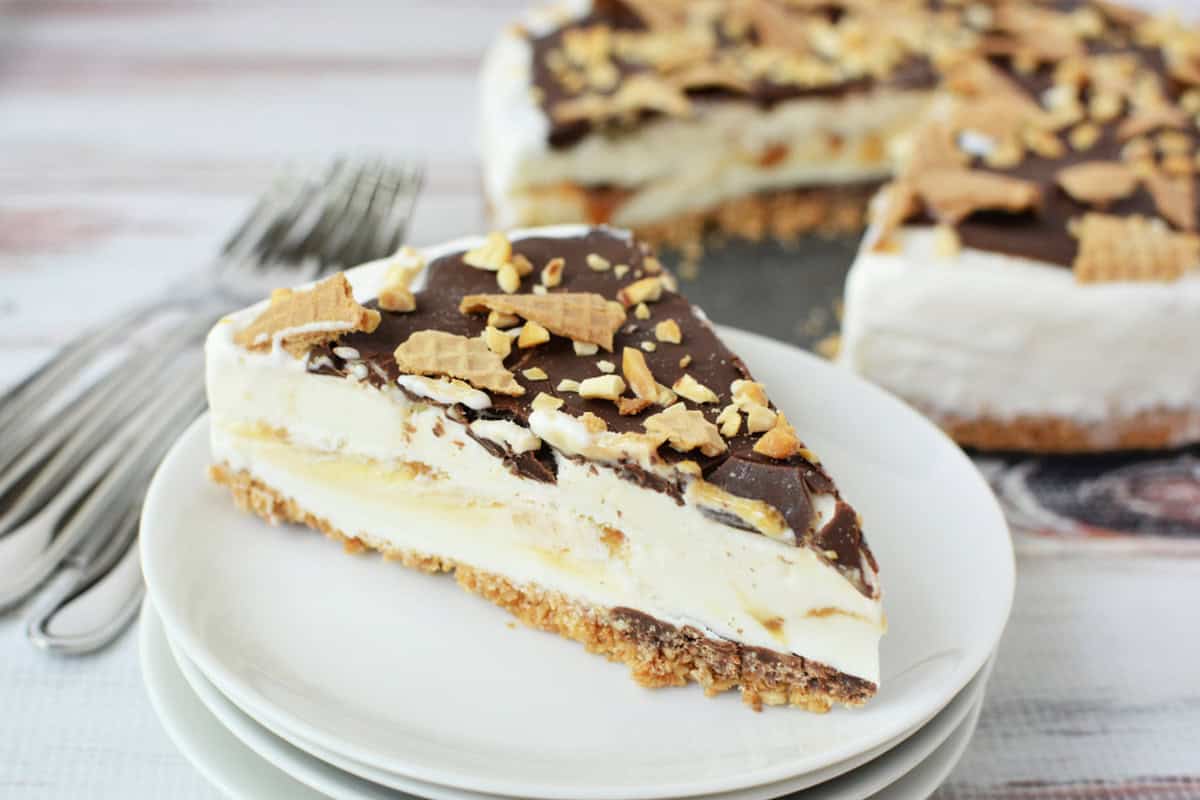
Share this Drumstick Cake with your friends and family on social media
If you try this drumstick layer cake, I would love to hear how it turned out for you. Leave a star rating or a quick comment and let me know what you think.
Feel free to share this recipe for drumstick cake with friends or family, and tag me if you happen to post it on social media or Pinterest. It is always fun to see these recipes showing up in other kitchens.
To Print This Drumstick Ice Cream Cake, Simply Click the Recipe Card Below
I know that many people still like to print out recipes and keep them in a recipe binder, or simply have the printed recipe sitting in front of them when it comes time to cook! You can also email this recipe!
- 13 Summer No Bake Desserts
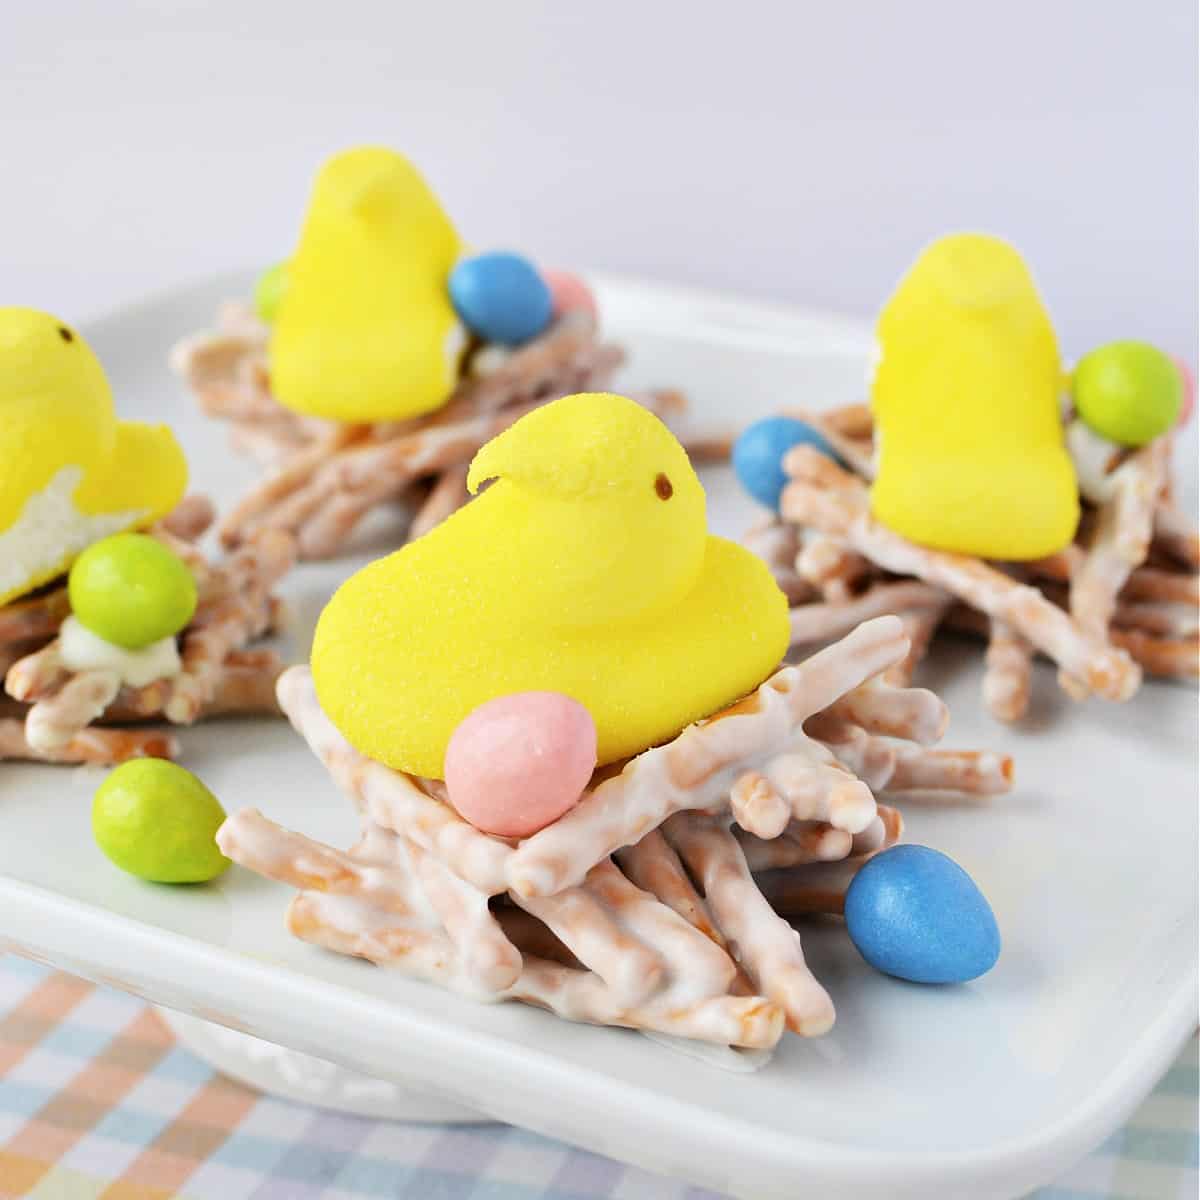
- PEEPS Bird’s Nest Cookies
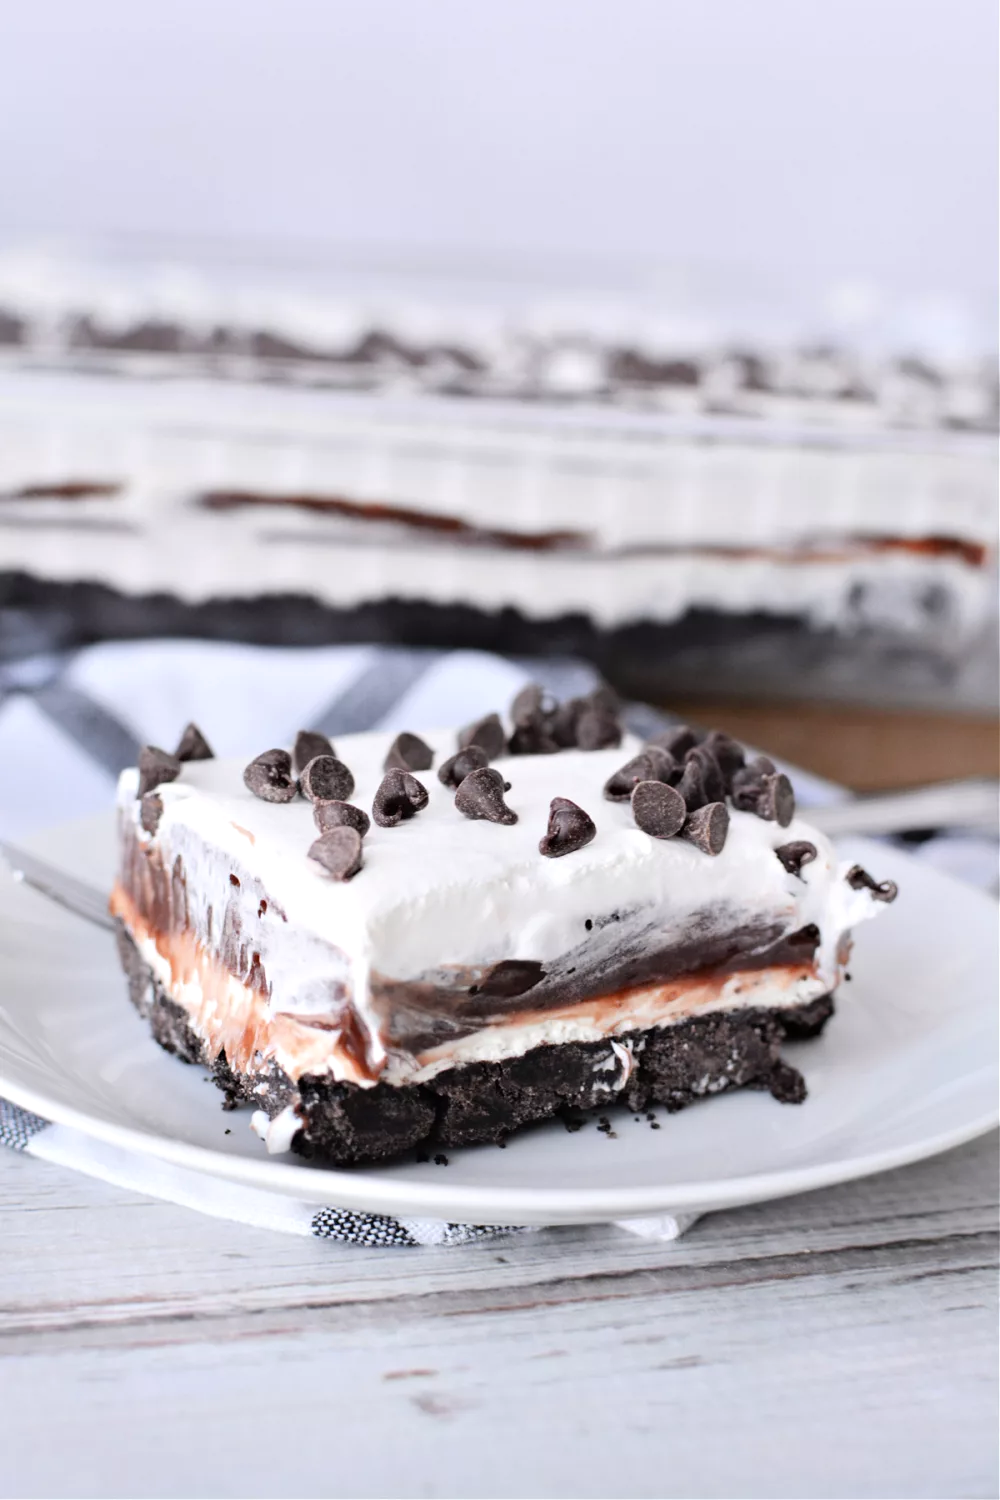
- Chocolate Lasagna Dessert Recipe
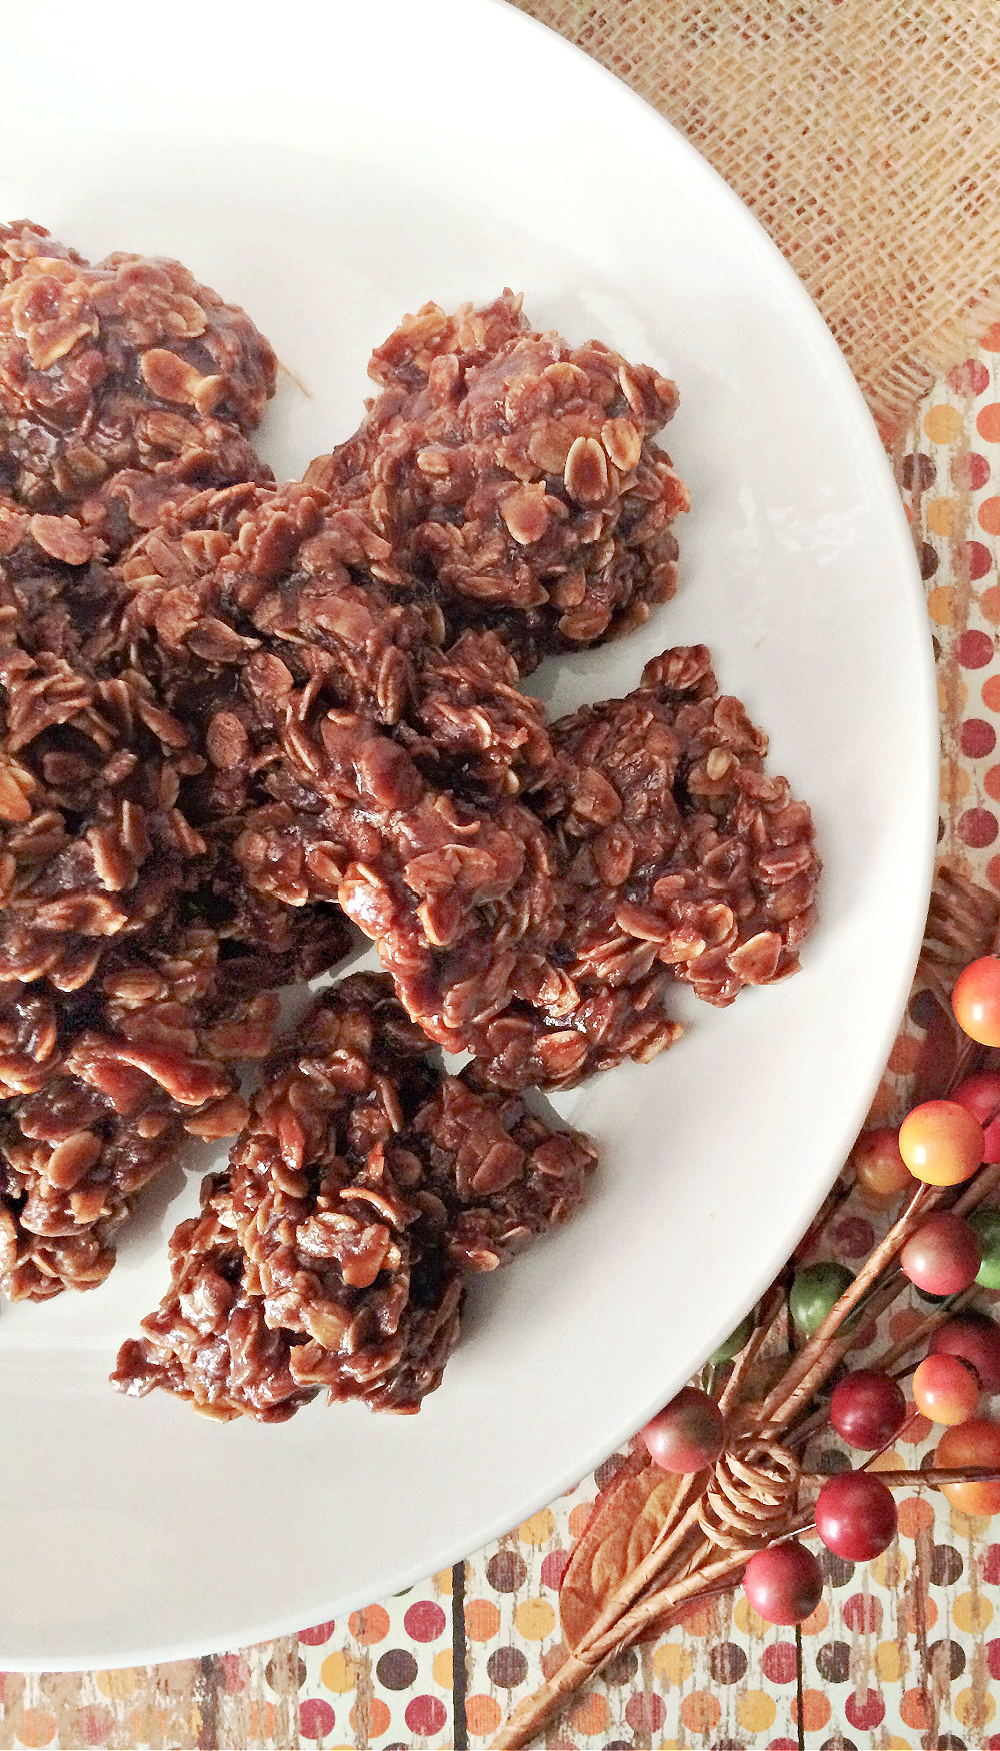
- No Bake Pumpkin Cookie

Drumstick Ice Cream Cake Recipe
Ingredients
- 5 oz sugar cones (1 package)
- 2 additional cones for topping (crushed)
- 2 tablespoons granulated sugar
- 6 tablespoons melted butter
- 7.25 oz chocolate magic shell topping (1 bottle)
- 1.5 quarts vanilla ice cream (softened)
- ½ cup caramel ice cream topping
- ¼ cup chopped peanuts
Instructions
- Add 5 oz sugar cones to a food processor and pulse into fine crumbs.
- Mix in 2 tablespoons granulated sugar.
- Add 6 tablespoons melted butter and process until fully combined.
- Press mixture into a springform pan and freeze 15 minutes.
- Spread half of the 7.25 oz magic shell topping over crust and freeze 5 minutes.
- Add half of the softened 1.5 quarts vanilla ice cream and spread evenly.
- Drizzle ½ cup caramel ice cream topping over ice cream.
- Add remaining vanilla ice cream and spread evenly.
- Top with remaining magic shell topping, crushed sugar cones, and ¼ cup chopped peanuts.
- Freeze overnight until firm.
- Let sit 5 minutes, remove pan ring, slice, and serve.
Nutrition
The Best Way to Store Drumstick Cake
To avoid a soft or messy dessert, knowing how to store Drumstick pie properly is key. This dessert is happiest in the freezer, where it stays firm and sliceable.
Once fully frozen, wrap it tightly in plastic wrap or foil so it stays fresh and doesn’t absorb freezer smells. No one wants dessert that tastes like frozen garlic bread.
For extra convenience, slice it before storing. Place the slices in a freezer-safe container and you’ll have dessert ready whenever the mood strikes. I love a dessert that’s basically on call.
When it’s time to serve, take the frozen drumstick dessert out and let it sit on the counter for about 5 minutes. That’s just enough time for it to soften slightly so it slices cleanly without becoming a mess. Slice and enjoy.
Leave a Reply