I absolutely love the Easter holiday, and I have so much fun sharing Easter recipes each year – so much so, that I have this DIY Easter Bunny Banner for you today! This DIY Easter Bunny Banner is super, super easy to make, and it comes out really cute and whimsical. This homemade Easter banner will look adorable sitting on your Easter dessert table at your family gathering, and they’re really fun to make with the kids too!
DIY Easter Bunny Banner
DIY Easter Bunny Banner
Easter is such a fun holiday for the kids, what with Easter Egg Hunts, Easter plays at church, dying Easter eggs, getting to take their photo with the Easter bunny at the mall (do they still do that? Angeline is WAY too old for me to know about these things anymore!), and waking up looking for that Easter basket on Sunday morning! I still give Angeline a stuffed animal and Easter candy, even though she is well into adulthood…
Looking for more fun Easter ideas? Check out these Easter Dessert Recipes!
I LOVE Easter and all of the fun and quirky little Easter desserts that we get to relish in during this time of year! This White Chocolate Sugar Cookie Bites Recipe for Easter is really fun and incredibly easy to make, making it perfect not only for your family’s Easter dinner celebration, but for making to put in your children’s Easter baskets and sharing with friends!
- Carrot Cake Whoopie Pies Recipe
- Bunny PEEPS Easter Cake Recipe
- Mini Lemon Cheesecakes Recipe?
- Easter Cinnamon Roll Bundt Cake Recipe
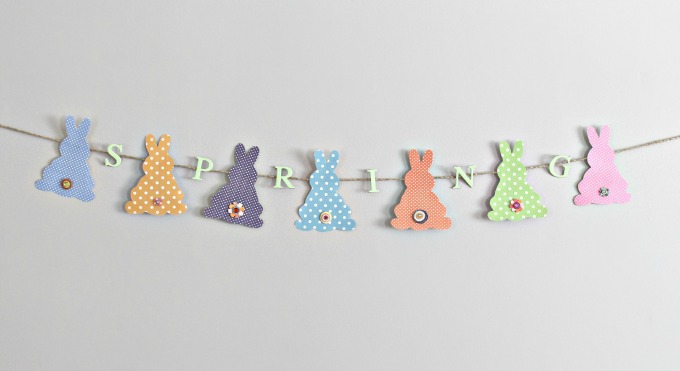
How to Make a Homemade Easter Decor - DIY Easter Bunny Banner
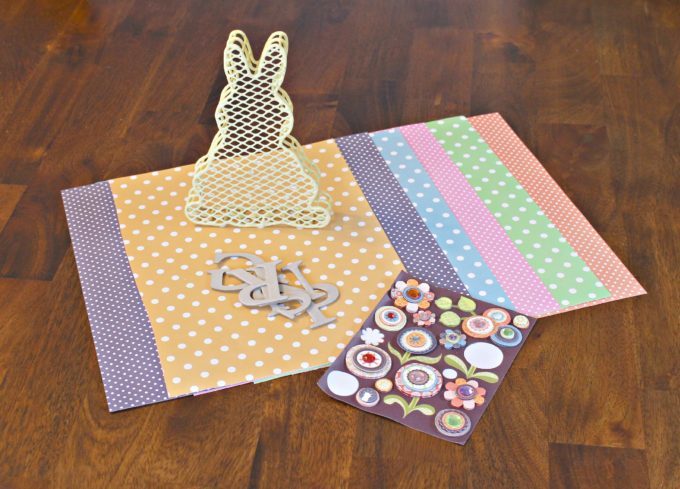
Supplies:
- decorative paper
- scissors
- transparent tape
- glue gun or glue dots
- pen
- template outline of bunny
- craft paint in spring green (or other spring color)
- paint brush
- chipboard letters that spell "spring"
- twine
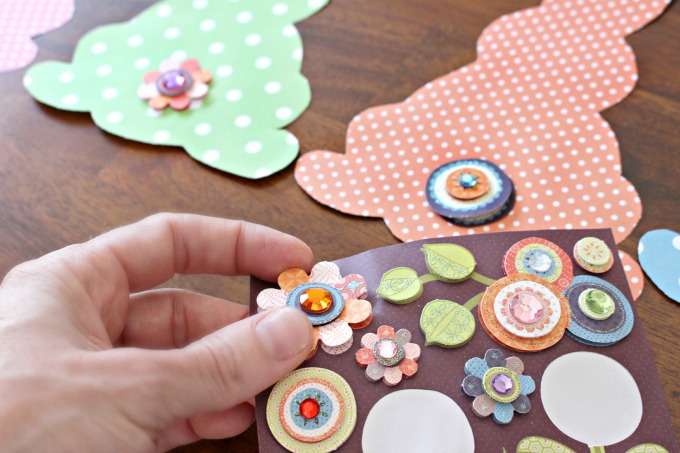
- embellishments for the bunny tails (found in scrapbooking supplies)
Instructions:
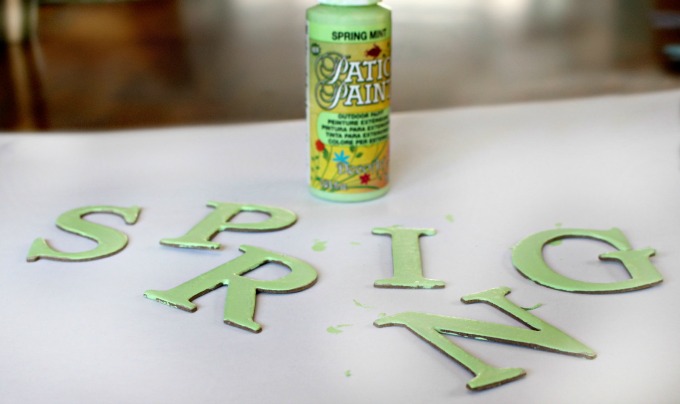
Paint your chipboard letter that spell "spring" and set aside to dry.
Trace 7 Bunnies (approx 6 inches tall) on your choice of decorative paper.
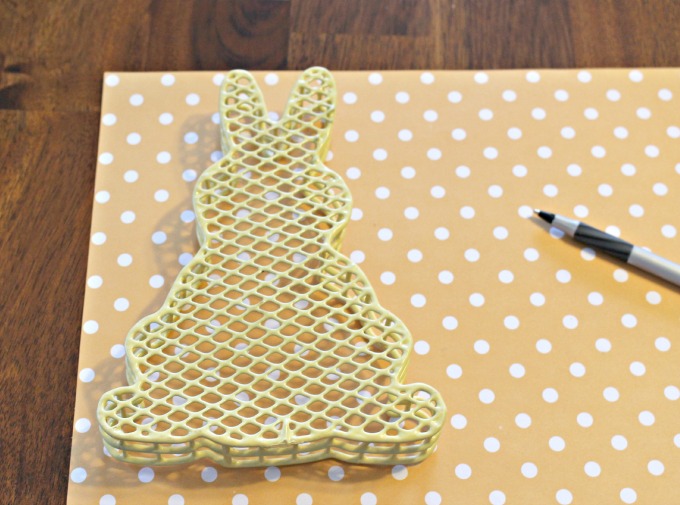
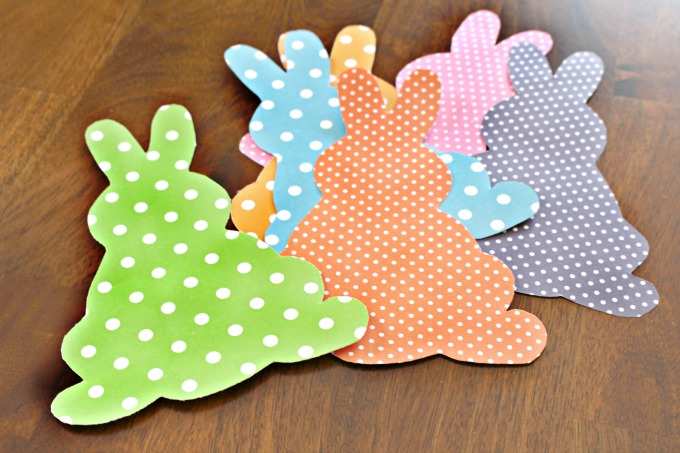
Cut out your bunnies.
Add embellishments as bunny tails.
Lay out your bunnies and the letters with the spacing you prefer.
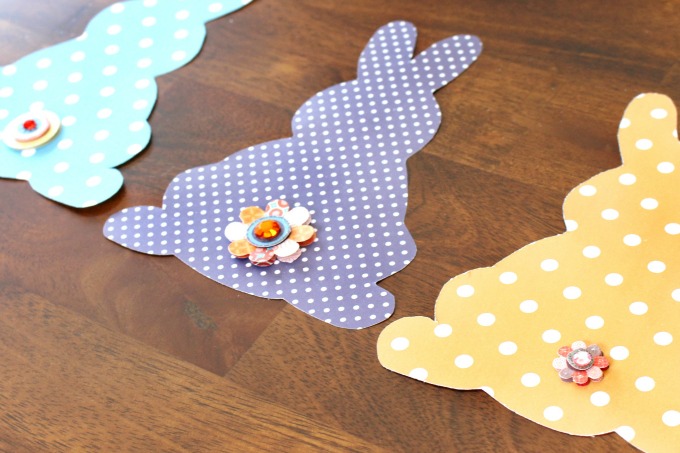
Measure out your twine so that there is extra on each side of the banner for hanging. Starting at the first bunny, start attaching the twine to the back of the bunnies and chipboard letters using a bit of tape or glue gun dab on each. Continue until every piece is secure.
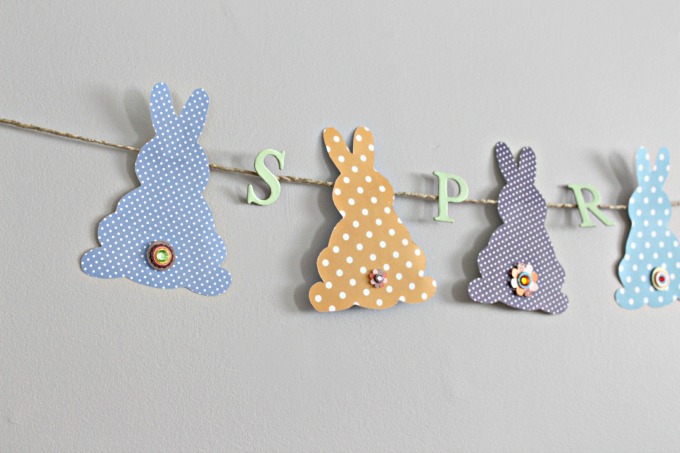
Your banner is ready to hang!
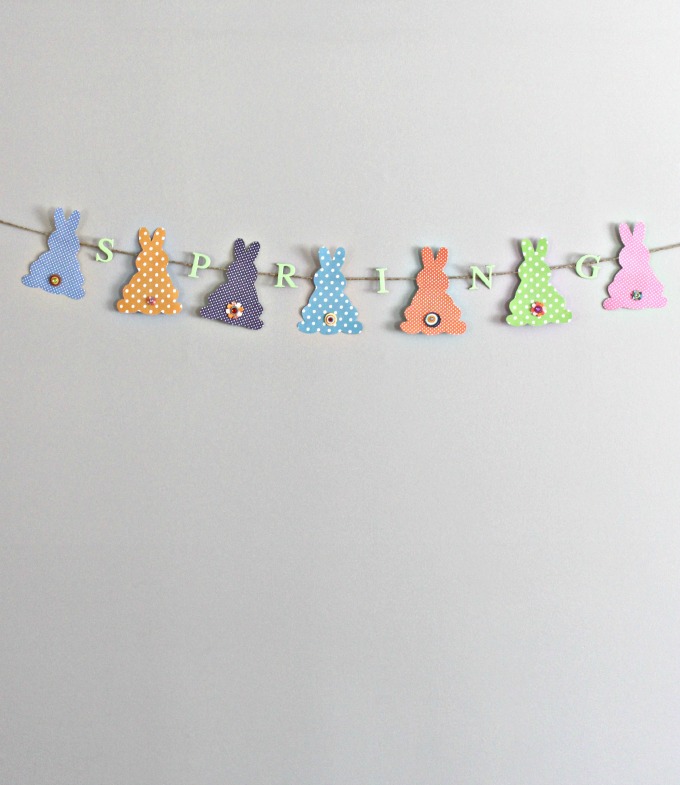
TIP: by using tape instead of glue to secure the pieces, you are able to adjust them after you hang the banner if needed.




Leave a Reply