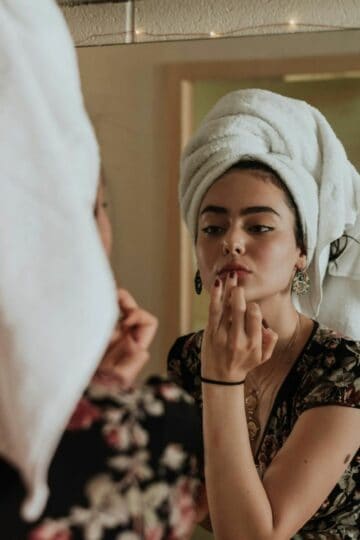
A stylish and neat manicure is an essential part of the feminine attribute.
It is always in the spotlight when communicating or demonstrating small objects.
But, how to create the "foundation" of the image, if the manicurist is busy, and he or she does not have the opportunity to book you?
One of the solutions is at home nail art ideas.
Below we will describe how to do it, and what manicure ideas you can use.
Step 1: Preparation
The first rule of impeccable nail art is proper preparation.
What should be done:
- remove the cuticle;
- remove rough skin from lateral nail folds;
- correct the shape and length of the nail plate.
For every step, you need a specific nail art supply.
To cut the cuticle and rough skin, you will need two tools - cuticle scissors or skin nippers (cuticle nippers, tweezers). They have thin and sharp working parts with which you can quickly and accurately cut the skin. A nail spatula is also useful. With its help, you can "unstick" the cuticle from the nail plate. After that, the removal of the cuticle will be easier and faster.
To correct the length and shape of the nail plate, a glass nail file manicure set is used. It delicately "removes" the extra length and irregularities on the nail plate.
Step 2: Design Preview
To look through the best manicure ideas and choose one is not an easy task.
To speed up and simplify the search for a suitable idea, we recommend that you consider several important factors:
- an acceptable color palette: if you work in an organization with a strict dress code, choose discreet shades - white, beige, light brown or light pink. If you have no restrictions, you can choose more daring shades - red, blue, pink, green;
- the method of applying the design: there are nail art designs to do at home, in a few minutes. It's about sliders and stickers. To work with them, you need tweezers with thin blades to gently transfer them to a colored base. There are ideas that are implemeted with the help of a special brush. Their implementation will require some skill. And their application will take more time;
- manicure format: edged, combined or hardware. For the first option, nippers, scissors and spatula are used, for the second and third ones, a LED lamp is added to all the equipment, which is necessary for the polymerization of consumables - base, gel polish, top coat.
After that, you can choose a design idea.
Step 3: Choosing the Best Design
There are several at home nail art ideas that girls choose more often.
The first idea is a single-color coating. This is a universal solution. The main thing is to prepare the “base” and choose the right color.
One-color coating takes less time. This design is easy to make even for a beginner in nail art.
Key rules for a flawless single-color coating:
- accuracy at every stage when cutting the cuticle, correcting the length of the nail plate, applying the base, gel polish, top;
- adherence to the rules of polymerization of materials, holding the coating for a certain time - 30, 60 or 120 seconds.
The second idea is a single-color coating with sliders or stickers.
This home manicure idea will fit girls who want to make a beautiful and rather complicated design without any effort.
To make this design you need:
- supplies for removing the cuticle and correcting the length of the nail plate;
- base, gel polish of a suitable color, top;
- sliders or stickers;
- tweezers with thin tips;
- lamp for polymerization of materials.
The main rule of this design is accuracy. You need to carefully put the sticker or slider on a colored base, and then put a top coat.
The third idea that girls choose for home manicure is french. This is the most complicated, but elegant design.
To make french at home you need:
- manicure supplies;
- consumables: base coat, white gel polish, top coat;
- french sticks to make a neat line;
- lamp for polymerization of materials.
The key point that you need to pay attention to when preparing french is a smooth and accurate drawing of the strip. That is why it’s recommended to use special strips. They are glued to the nail after applying and drying the base coat. The distance between the strip and the edge of the nail is completely painted over.
After that, the top is applied and the final drying of the materials is made.
All ideas are quite simple to implement, and are suitable for girls who want to look stylish and demonstrate the perfect manicure in society.

Leave a Reply