
From relaxed fishtail braids to ribbon-tied updos, these braided hairstyles bring a little extra charm to your cold-weather look.
There's something about braided hair that feels especially right when the weather gets cooler. Maybe it's the way a loose braid looks with an oversized sweater, or how a velvet ribbon can make even a simple hairstyle feel ready for the holidays. Either way, braids are one of those styling options that never really go out of fashion.
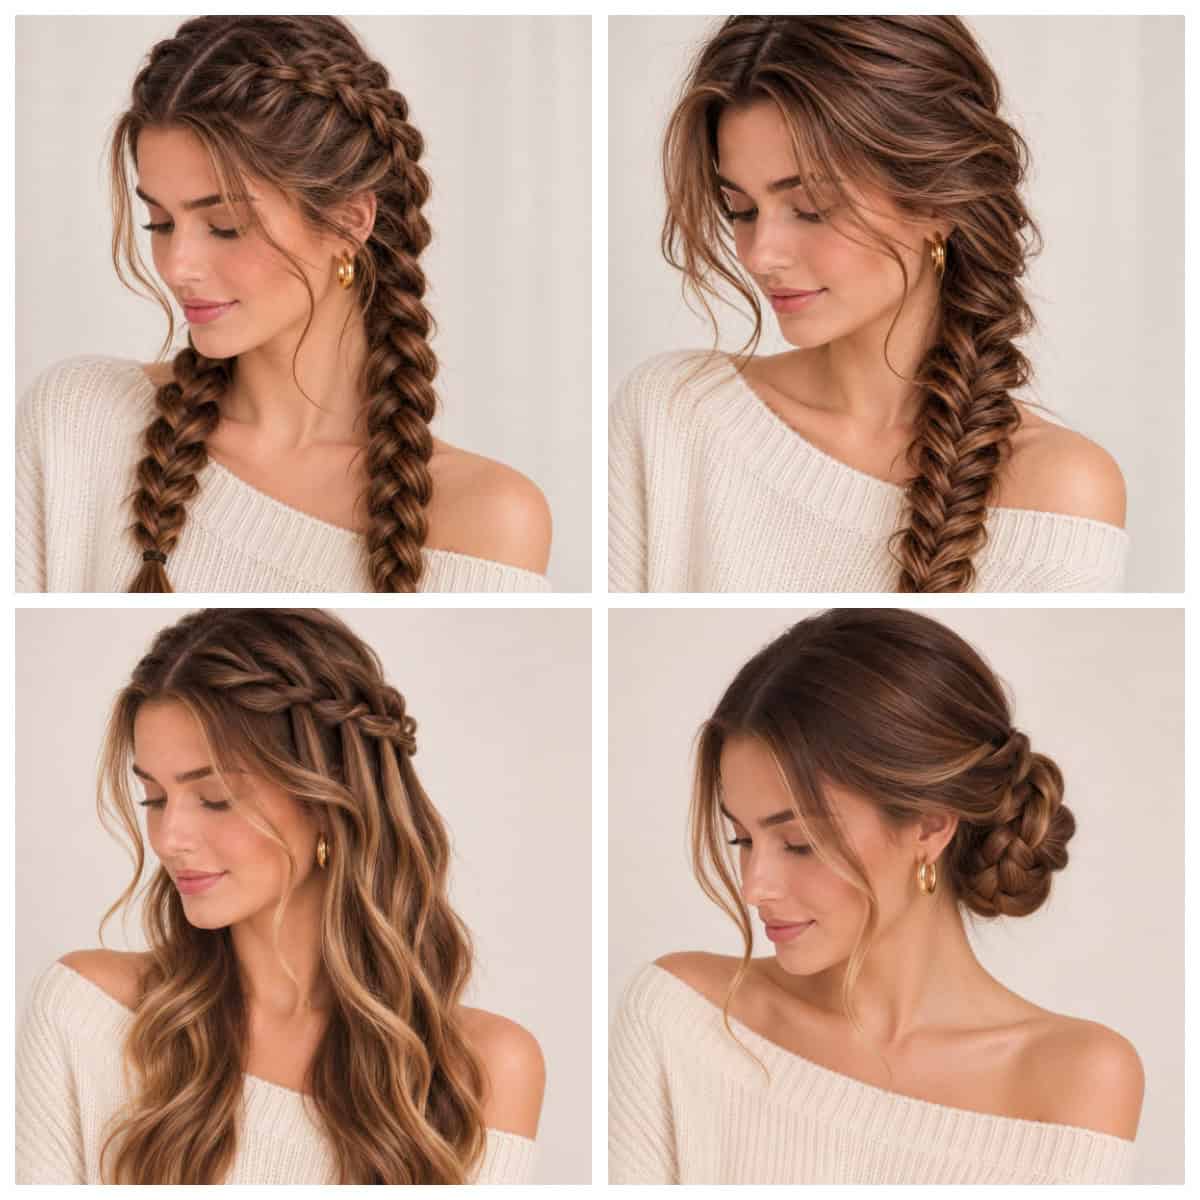
For Fall and Winter 2026, the appeal is all about making classic braids feel a little more personal. Think softer textures, intentionally loose strands, romantic details, and accessories in rich seasonal shades. You don't need professional-level braiding skills to try them, either. A few basic techniques can take you from a quick everyday hairstyle to something that looks surprisingly polished.
Here are six braided hairstyles to add to your seasonal rotation, along with tips for making each one your own. And if your hair could use a little extra length or fullness, clip-in extensions can help create a thicker, more dimensional braid.
The Loose Fishtail Braid
Some hairstyles look like they took much longer than they actually did. The loose fishtail braid is one of them.
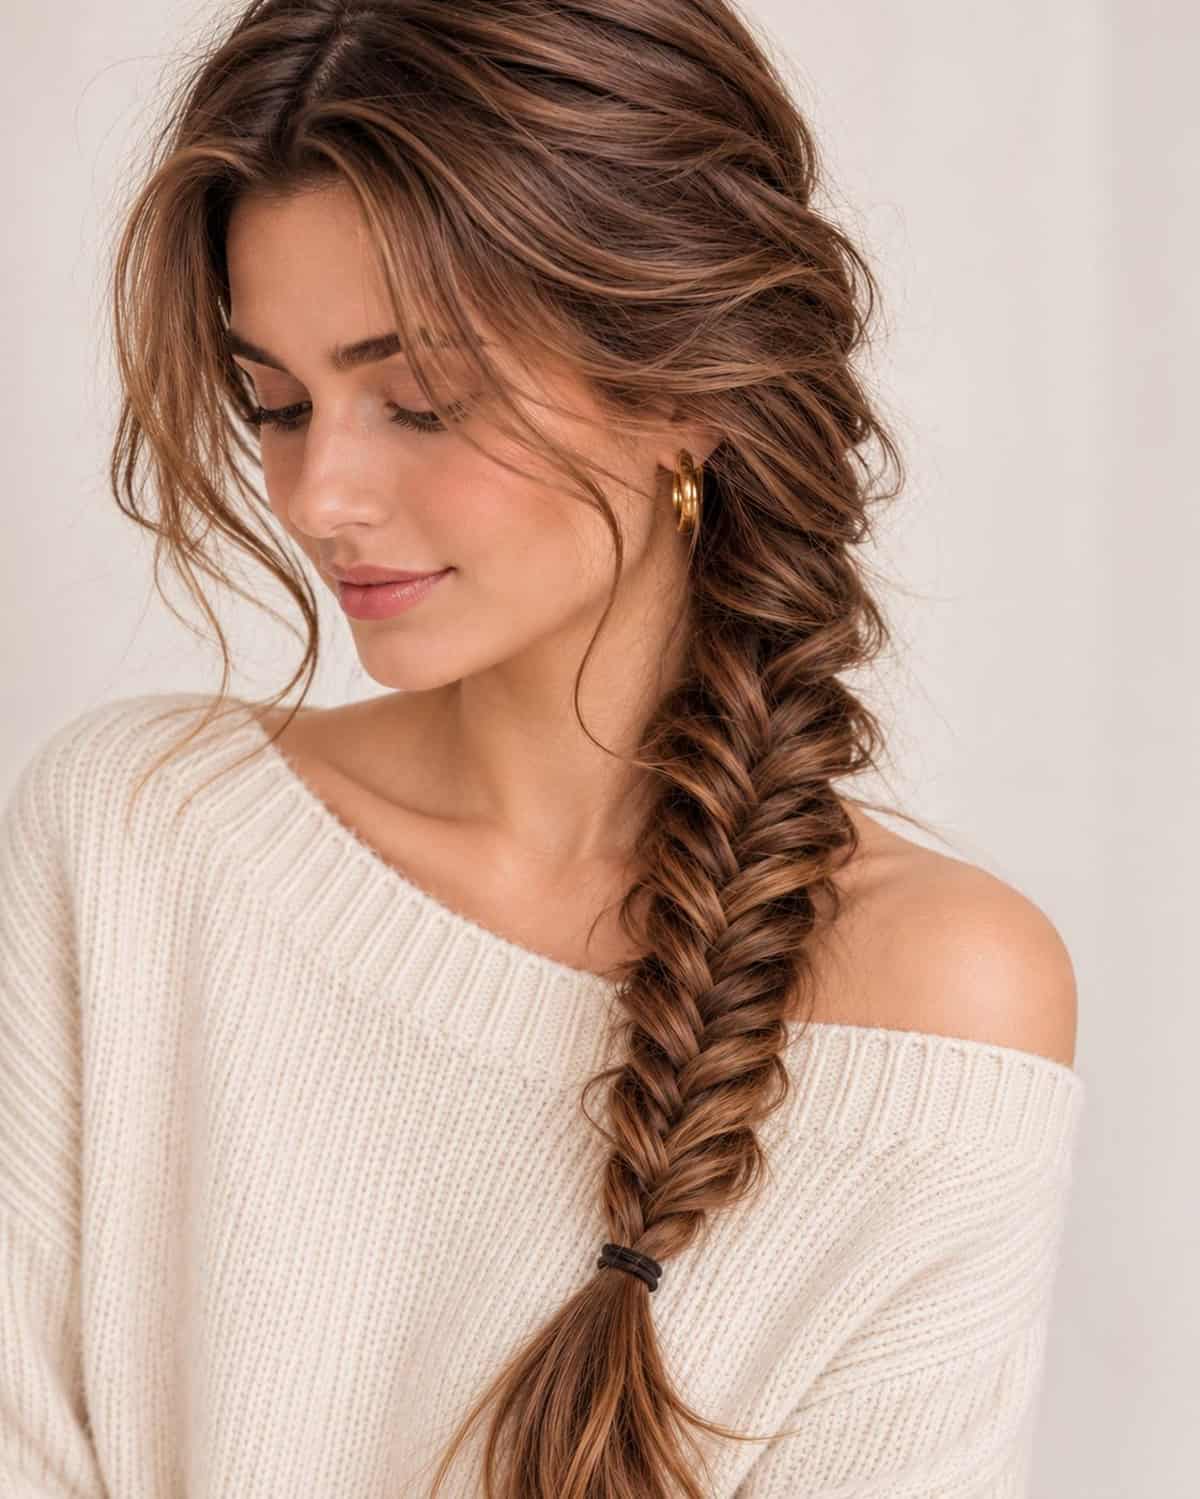
Unlike a traditional three-strand braid, a fishtail uses just two sections of hair, with small pieces crossed from one side to the other. The finished pattern looks intricate, but the technique is easier than it appears. Worn loosely over one shoulder, it has a relaxed, slightly romantic feel that works beautifully with chunky knits and long coats.
How to create it:
- Gather your hair to one side and divide it into two equal sections.
- Take a small piece from the outside of the left section and cross it over to the inside of the right section.
- Repeat on the opposite side, crossing a small piece from right to left. Laying it over the strand you just brought across from the left, then incorporate it into the left section.
- Keep taking small sections of hair, crossing them over and repeat.
- Gently pull the edges of the braid outward to make it look wider and softer.
The secret is not making it too neat. A few loose pieces around the face and a slightly undone finish give this braid its charm.
Double Dutch Braids for a Sporty-Chic Look
If you're looking for a hairstyle that stays put through a busy day, double Dutch braids are worth learning. They're practical, but they don't have to look overly sporty. Loosen the braids slightly and leave a few soft strands around your face, and the result feels much more relaxed.
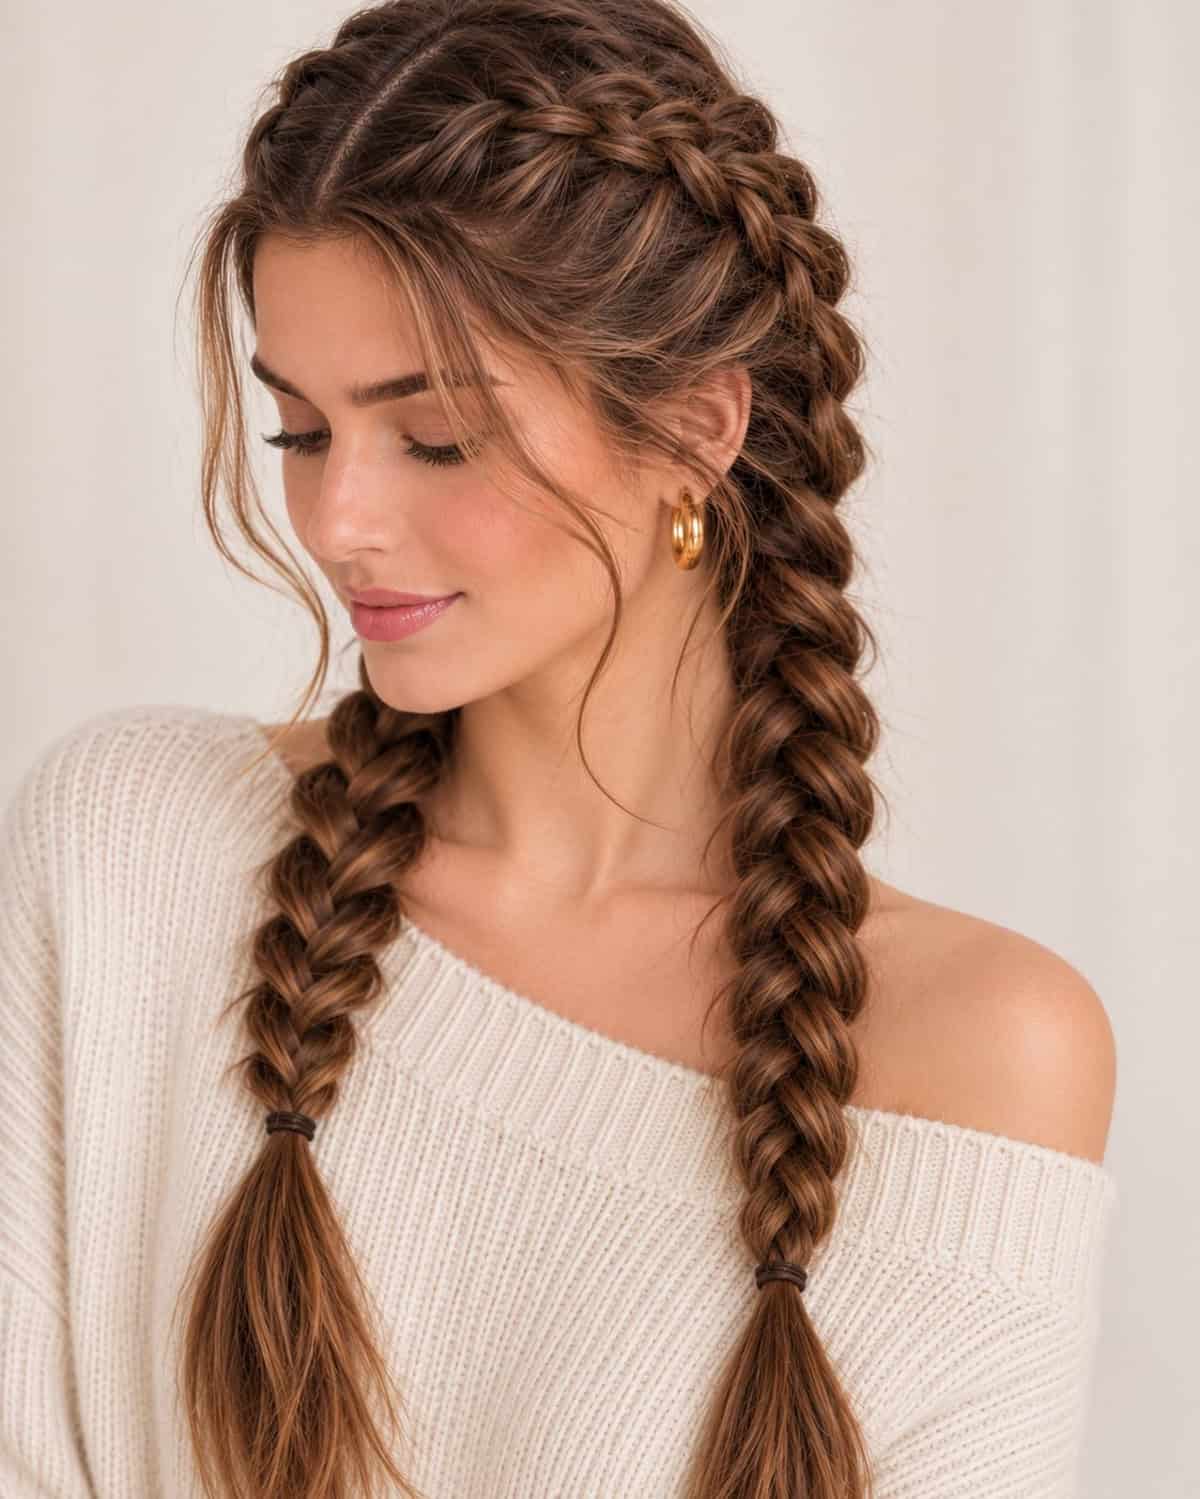
The main difference between a Dutch braid and a French braid is the direction of the weaving. Instead of crossing each section over the middle, you cross it underneath. This makes the braid sit visibly on top of the hair, creating a more dimensional effect.
A quick step-by-step:
- Start by creating a clean center part and dividing your hair into two sections.
- Take three small sections near the hairline on one side.
- Cross the outer sections underneath the middle section, adding a little more hair each time as you work toward the nape.
- Continue braiding the remaining length and secure with an elastic.
- Repeat on the other side.
For a softer finish, gently loosen the braid with your fingertips. You can also pull out a couple of face-framing pieces for a less structured look.
This style is especially handy for cold-weather activities when you don't want your hair getting tangled in scarves or blowing across your face.
The Half-Up Waterfall Braid
Not every braided hairstyle needs to pull all your hair away from your face. The half-up waterfall braid is a lovely option when you want to show off your lengths while adding a little detail around the crown.
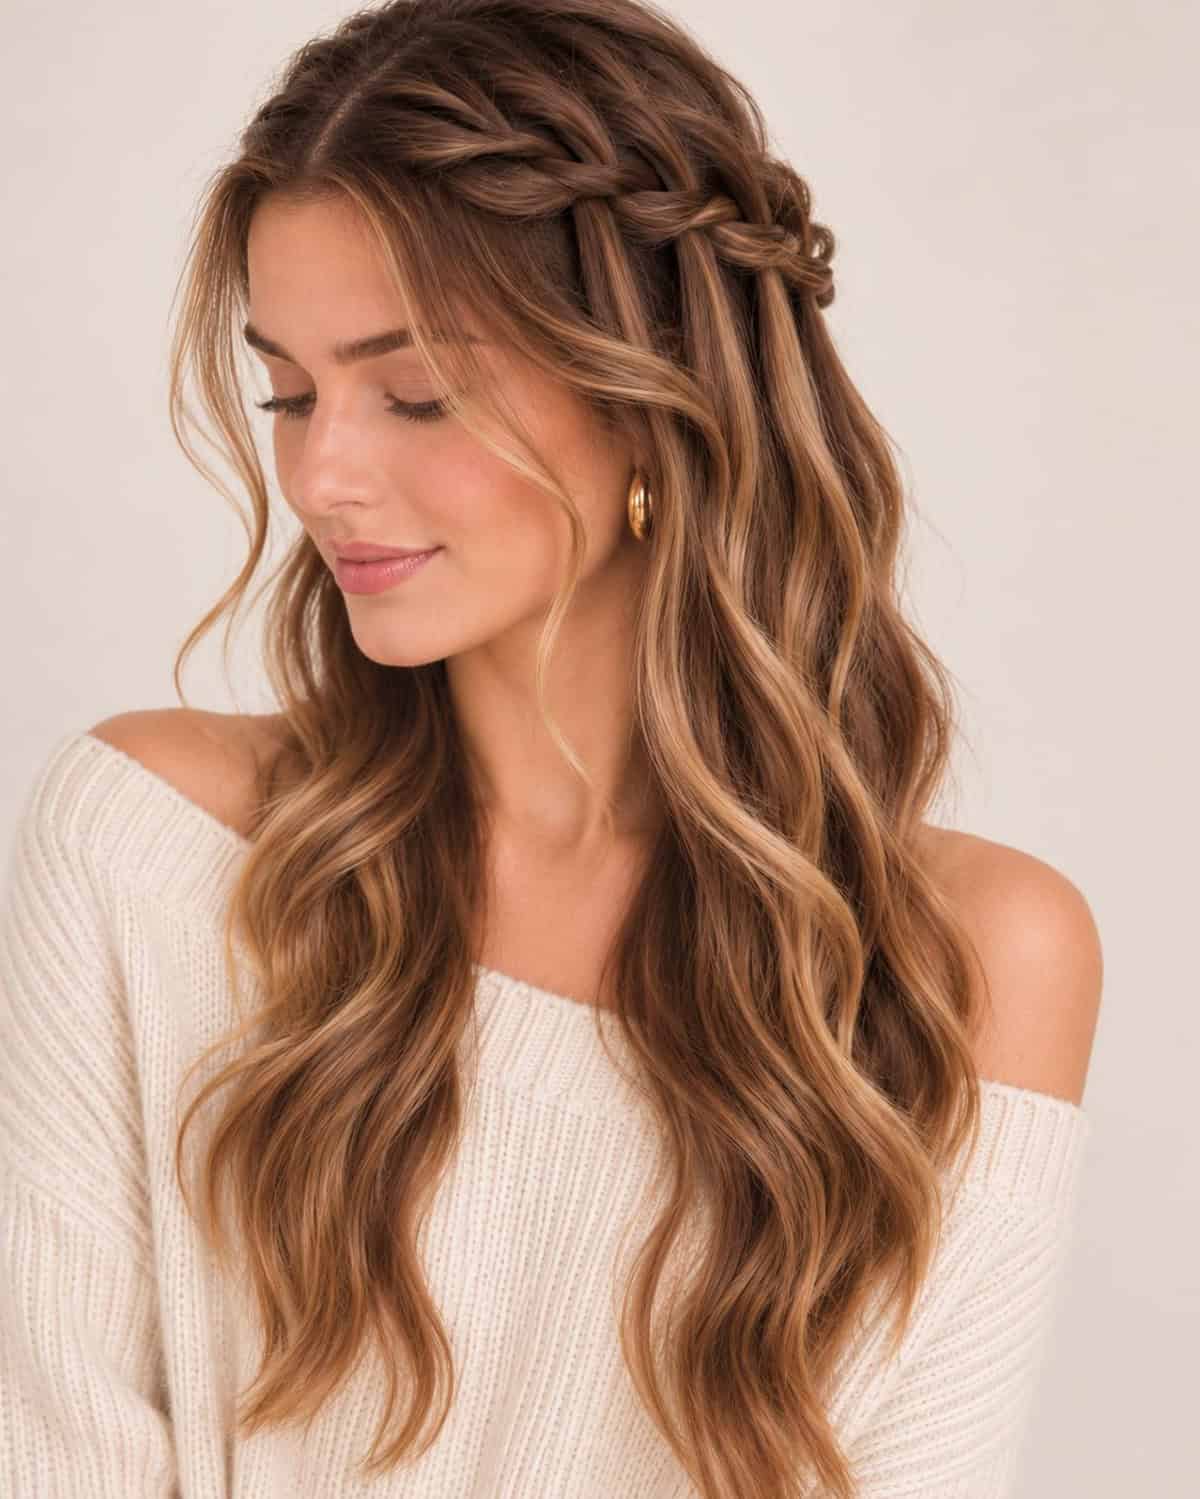
It combines a loose braid with sections of hair that are intentionally dropped as you work, creating the appearance of strands flowing through the braid. The result is delicate without feeling too formal, making it a lovely choice for a weekend brunch, a date, or a holiday gathering.
Start with a small section of hair near one temple and divide it into three pieces. Begin a regular French braid, but each time you cross the top section over, drop the lower section and pick up a new piece of hair nearby. Continue toward the back of your head, then secure the braid with a discreet pin or elastic. Repeat on the other side if you prefer a symmetrical look.
A little loose wave through the lengths helps bring out the waterfall effect. If you're wearing this style with a dress or a soft knit, a few delicate curls around the ends can make the whole look feel more romantic.
The Braided Low Bun
When the invitations start arriving, a braided low bun is an easy way to look polished without spending the entire evening in front of the mirror.
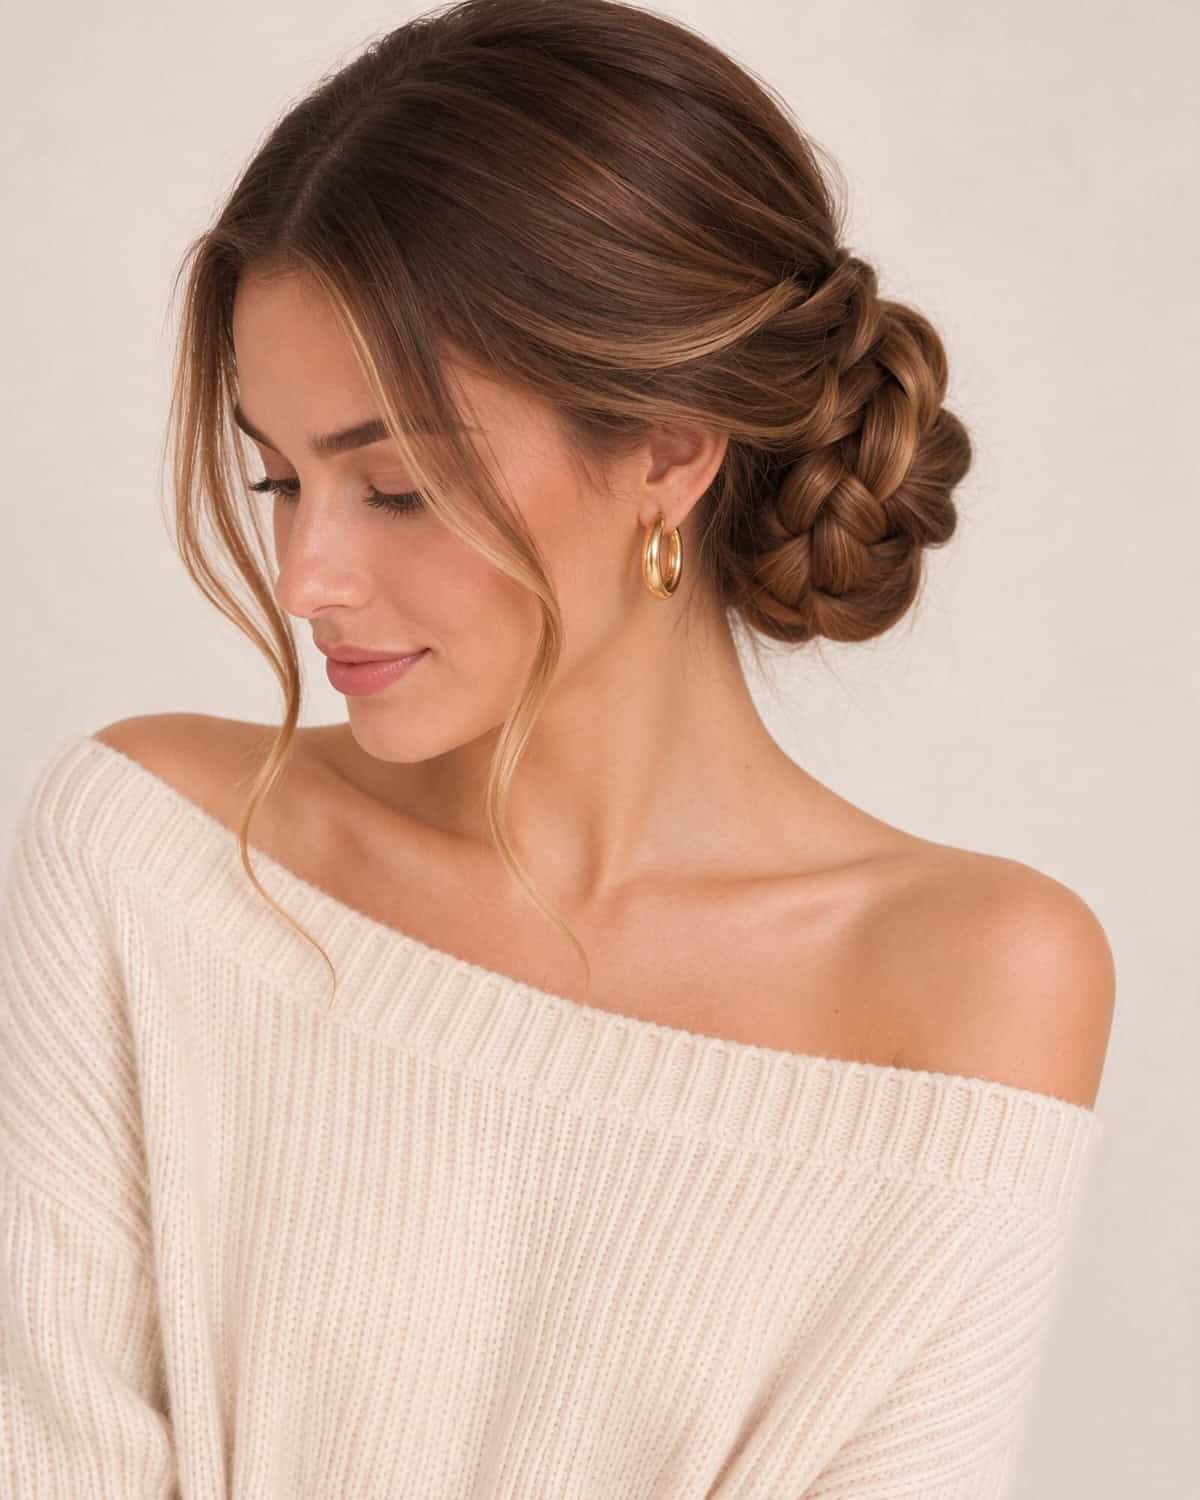
This style works particularly well for holiday dinners and winter parties. It's elegant enough for a dressier occasion but still has room for a relaxed finish. A velvet bow, pearl pins, or a dark satin ribbon can make it feel seasonal without going overboard.
To create it, start with a low ponytail at the nape of your neck. Braid the ponytail using a simple three-strand technique, then gently loosen the braid to add width. Wrap it around the base of the ponytail and secure it with bobby pins. Tuck in the ends and pull out a few fine strands around the face.
For extra texture, start with slightly waved hair rather than pin-straight lengths. The bun will look softer and less severe.
The Ribbon French Braid
A ribbon can make a familiar hairstyle feel completely new. That's why the ribbon French braid is such a fun option for the holiday season.
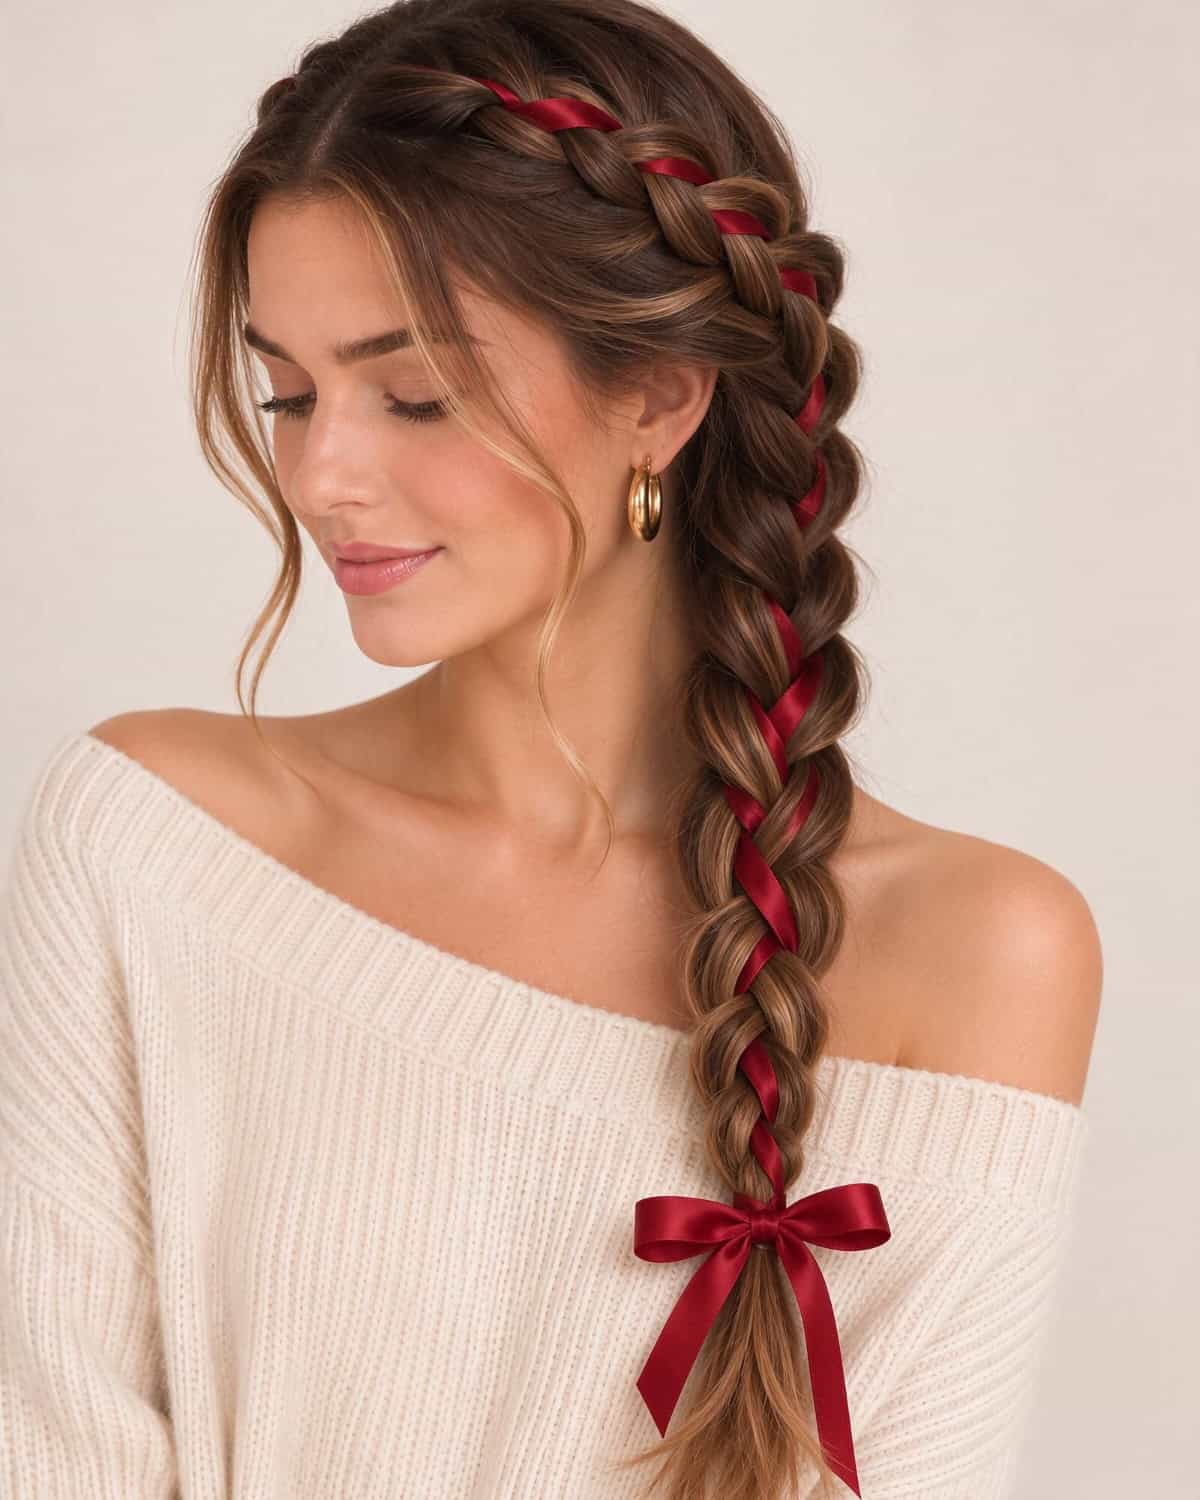
Choose a velvet ribbon in burgundy, chocolate brown, forest green, or black for a richer winter palette. You can weave it directly into the braid or tie it around the finished style as a bow. Both approaches work, depending on how decorative you want the final look to be.
For the woven version, secure a narrow ribbon near the top of your hair with a small pin or discreet elastic. Divide your hair into three sections, positioning the ribbon alongside one of them. As you French braid down the back of your head, keep the ribbon incorporated into the braid, making sure it stays visible. Finish with an elastic and tie the remaining ribbon into a bow.
Not confident with a French braid yet? No problem. Create a simple three-strand braid first and tie the ribbon around the end. It still delivers that festive detail with much less effort.
How to Make Braids Look Fuller
A beautiful braid isn't only about technique. Hair texture and density can make a big difference to the finished result.
If your hair is fine or naturally lacks volume, a tightly woven braid may look narrower than you imagined. A few small adjustments can help. Try adding texture with a light styling spray before braiding, avoid pulling the sections too tightly, and gently loosen the finished braid to create a wider silhouette.
You can also use clip-in hair extensions when you want more length or thickness to work with. A well-matched set of human hair clip-ins can add extra hair through the lengths, helping a fishtail or side braid look fuller and more substantial. The key is to place the wefts securely and keep them covered by your natural hair before you start braiding.
For example, GOO GOO Hair Clip-Ins offer different weight options to suit different hair densities, while Elf Curly Clip-Ins can help enhance naturally curly textures. If you're planning to wear extensions in a braid, choose a shade and texture that blend with your own hair, and make sure the clips are positioned where they won't be exposed as you move or loosen the braid.
One more tip: don't aim for perfect symmetry. A braid with a little natural texture often looks more beautiful than one pulled so tightly that it loses all its softness.
A Little Braid Inspiration Goes a Long Way
The best thing about braided hairstyles is how much you can change with just a few small details. A fishtail braid can feel casual or romantic depending on how loosely you wear it. A low bun becomes party-ready with a velvet bow. Even a simple side braid can look completely different with a few waves and face-framing pieces.
You don't need to master all six styles at once. Start with the one that fits your hair length and routine, then experiment with different accessories and textures. When the weather calls for cozy layers, your hairstyle can have a little personality of its own.
Leave a Reply