The impact of captivating Photo Cookies visuals is especially noticeable within baking photography. The way food looks is no less important than its taste. For bakers and food bloggers, mastering the cookie photoshoots will pop their creations out, inviting the audience to visually taste the culinary delights.
In this guide, we will explore various cookie photography ideas and techniques to transform simple baked goods into a feast for the senses. Spark cravings and encourage viewers to reach for a bite.
Preparing Your Cookies for the Camera
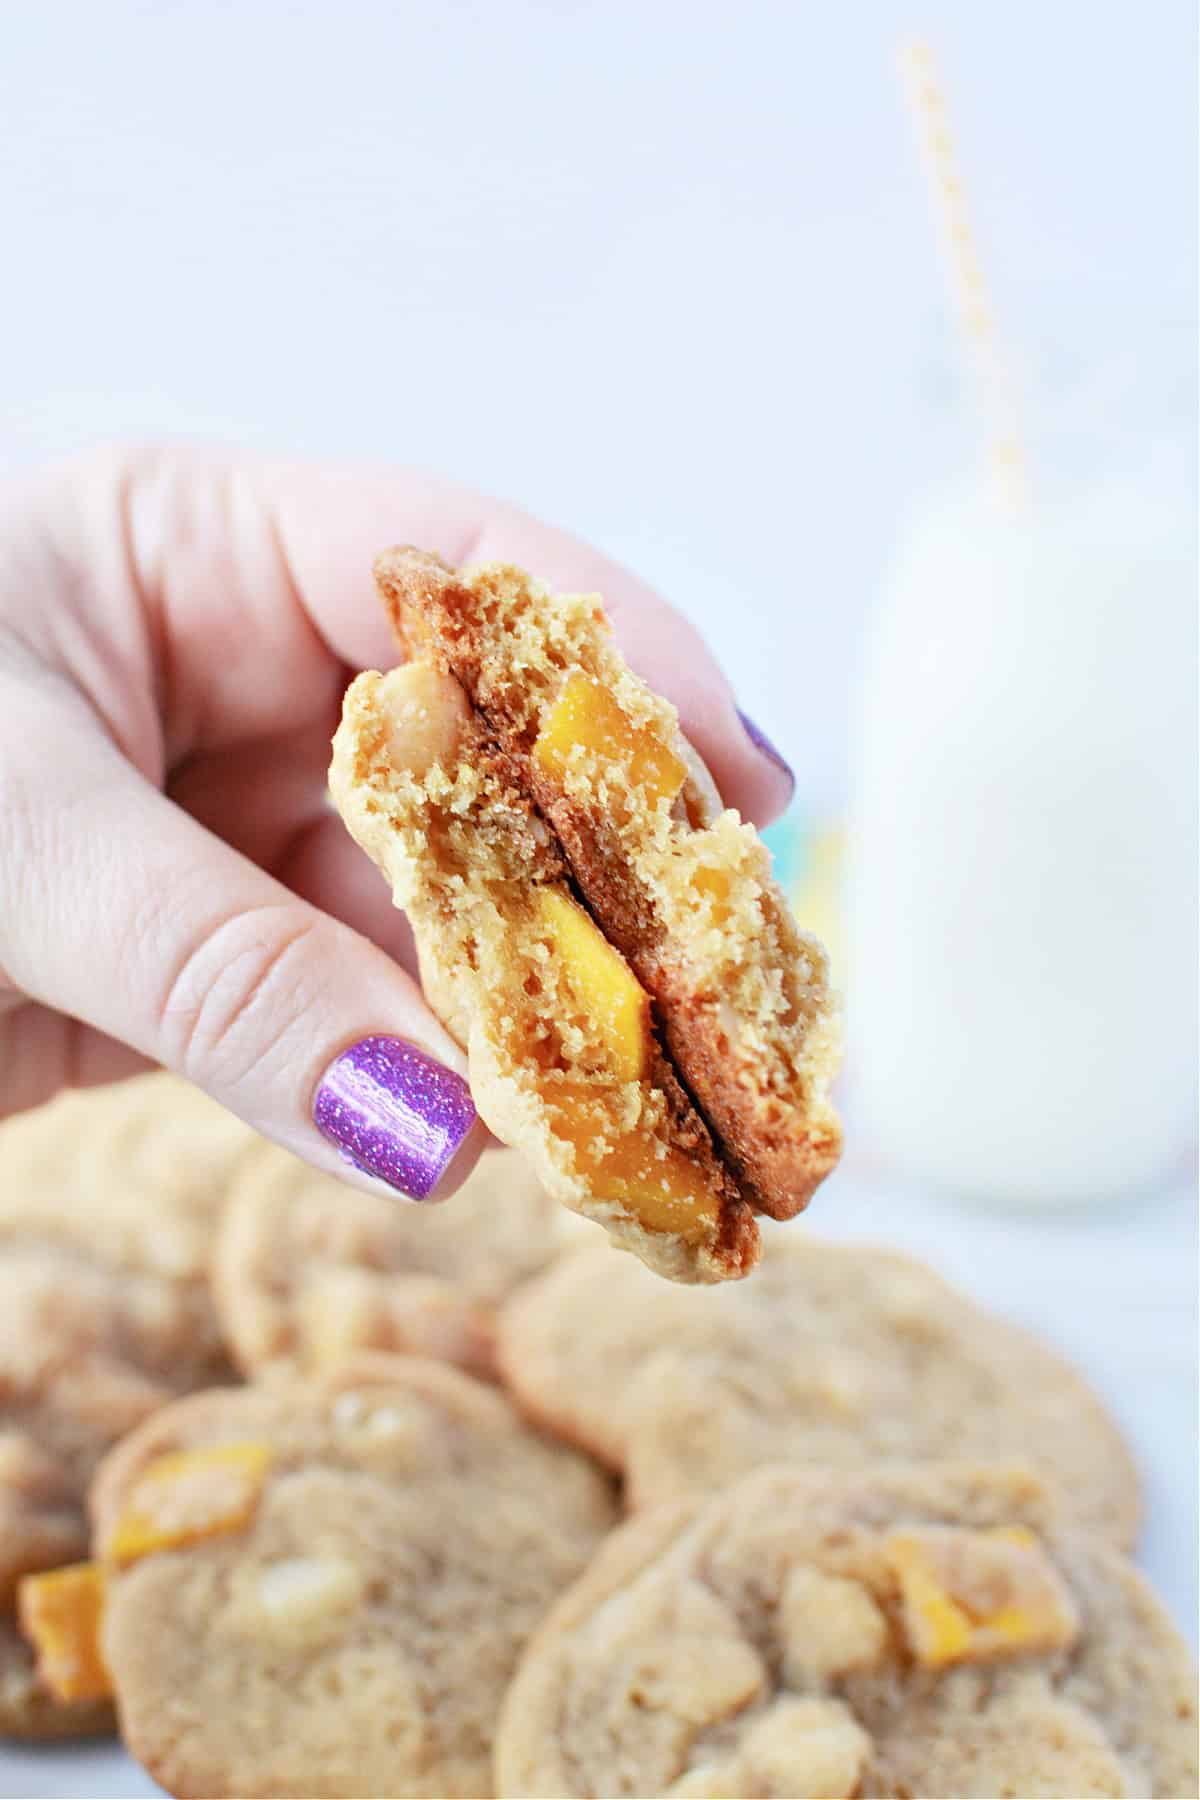
Cookie food photography begins with meticulous subject selection. Even if food seems perfect to the human eye, the camera can expose certain imperfections, so be attentive. Select items with consistent shape and even bake. Do not neglect decorations for your creations to be eye-catching. If there is icing, it should be applied evenly.
Composition and lighting are the pillars of photography. When it comes to cookies, arrange them in patterns or a natural spread. Consider using different heights and layers to add depth to your photos. Use props that complement your subjects without overshadowing them — like rustic wooden boards for classic chocolate chip cookies or a sleek, modern plate for sophisticated macarons.
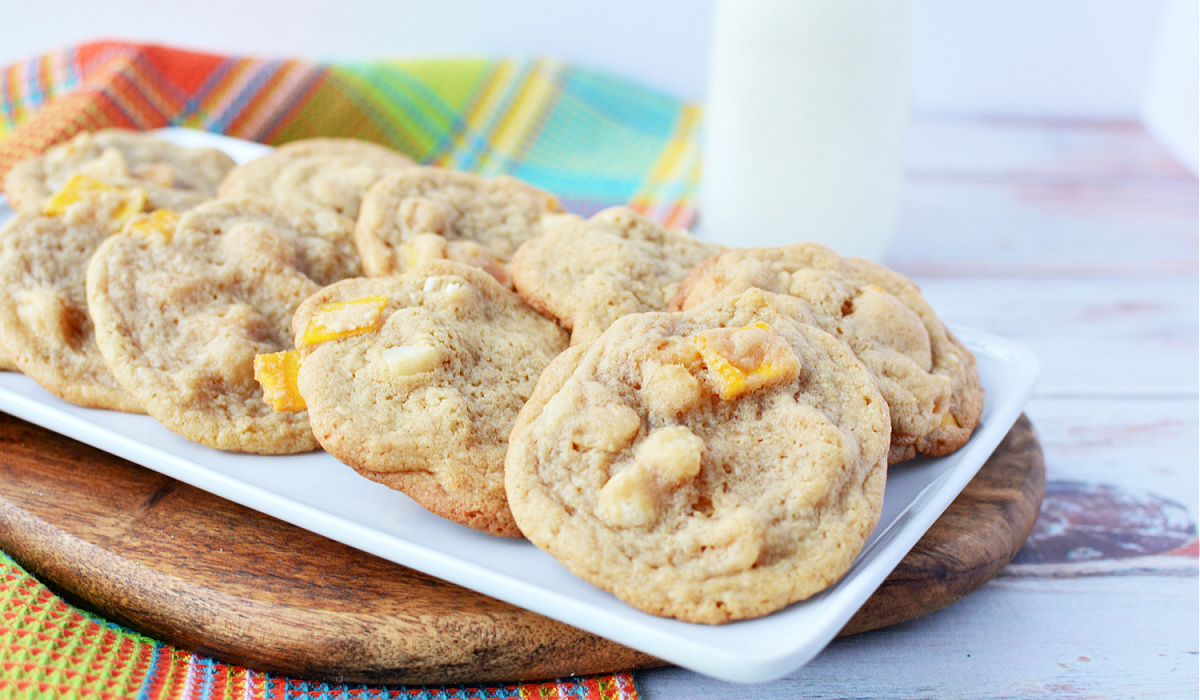
Natural light will enhance the dough’s texture without harsh shadows or a sense of artificialness. Set up your shoot near a large window. Embrace golden hours (early mornings and late afternoons) and avoid direct sunlight to prevent overexposure. Use diffusers and reflectors to make natural light work for you. Diffusers soften the direct light. Apply them to reduce harsh shadows and bright spots that can detract from the texture of the cookies. Reflectors, on the other hand, bounce light back onto the darker side of the cookies. They ensure even lighting and reveal details that might otherwise be lost in shadows.
Mastering the Shot
Camera Settings
DSLR and mirrorless cameras can offer the best image quality, but a smartphone camera may be sufficient for food photos. Choose the manual setting mode on your camera. Set your aperture to a lower f-number (like f/2.8 or f/4). A shallow depth of field will let you focus closely on your main subject, blurring out the background. Use a tripod to prevent unnecessary blur. In low-light conditions, slow down the shutter speed as much as possible. Adjust ISO to the lowest to avoid digital noises. However, consider the lighting conditions — the darker the scene, the higher the ISO.

Angles and Perspectives
Top-down angles work wonderfully for cookie spreads. Try them to showcase the arrangements and variety. Side angles can highlight the texture and stack of the cookies. Use them to emphasize depth and layers. Feel free to experiment with unusual angles. They can help highlight some specific details.
Storytelling
Think about a message you want your photos to convey. Are your cookies made for a holiday? Capture them with warm, festive backdrops. Are they artisanal or exotic? A minimalist approach would be better suited to this case. Focus on intricate details. Do you want to show that they are homemade? Incorporate additional elements, such as human hands holding a cookie. Create a warm, inviting feel.
Advanced Techniques
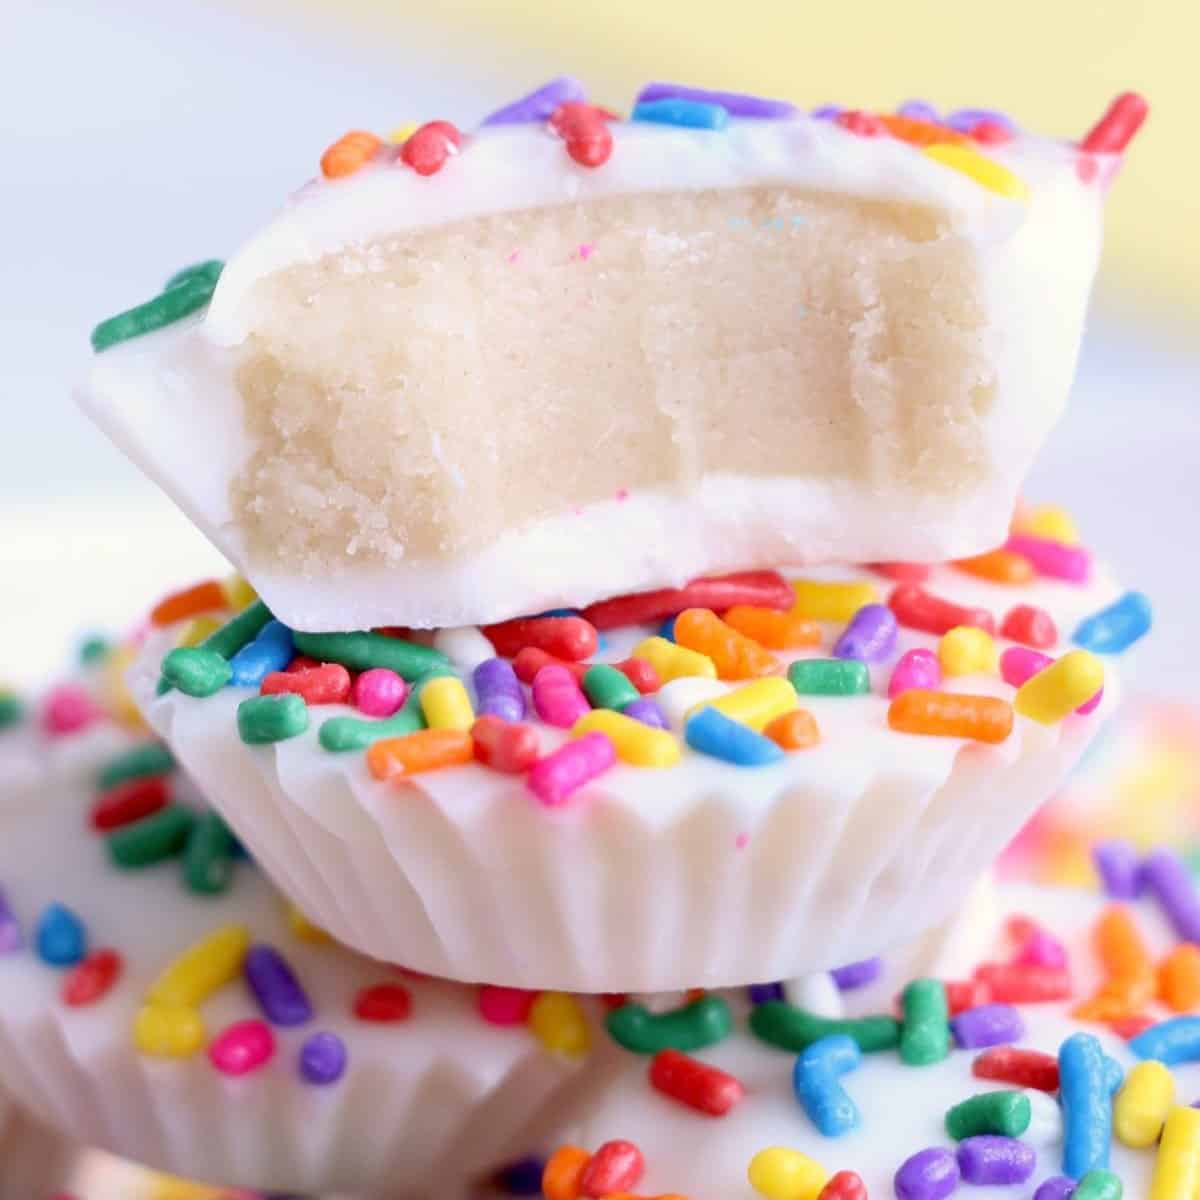
Consider using macro lenses to showcase the texture of a cookie’s surface or the individual grains of sugar and sprinkles. Capture close-up shots that reveal details invisible to the naked eye, making the viewer appreciate the craftsmanship that goes into each cookie.
Experiment with high-speed photography to capture dynamic shots of cookies being decorated with icing, sprinkled with sugar, or even mid-air shots of cookies being tossed.
Editing Your Photos
Make your shots look vibrant yet realistic. Brighten pictures and adjust contrasts. Experiment with highlights and shadows to showcase the important element. Increase saturation if needed to make colors pop out. Be careful not to overdo it; maintaining a natural look is pivotal.
Crop your image. It will let you focus on the main subjects and remove unwanted elements from the frame. Unwanted crumbs or blemishes can ruin the general appeal of your dishes. That is why food photo editing usually includes meticulous selective adjustments to remove minor distractions. Experiment with effects. Try applying a vignette to guide the viewer’s eye to the center of your image.
Properly balancing the light and shadows can make your cookies appear glowing and ready to be eaten right off the screen. Color grading helps create a proper mood and atmosphere. Warmer tones evoke a sense of homeliness and freshness, while cooler tones highlight the crispness of a chocolate chip cookie.
Adjust sharpness to bring out textures. This will be particularly effective for cookies with icing or sugar crystals. Ensure your post-processing software includes focus stacking capabilities. This will let you upload multiple photos with different focus points to the software and combine them into a single image with the main subject in the sharpest focus.
Whether you are a professional photographer sharpening your focus on food or a baking enthusiast eager to showcase your creations, our tips will bring your edible masterpieces to life. Capture mouth-watering images that make cookies jump off the page!



Leave a Reply